
Things are coming along nicely now and there are some more important upgrades to be made in Part 5. In Part 4 we got more power and with great power, comes great responsibility. Or, translated into car terms, with great power comes a great requirement for better brakes!
The series
It's all fun and games making your car go faster but as your car becomes more powerful you place a larger and larger burden on the braking system. Imagine driving a twisty road and previously you could accelerate to 40 Mph between corners and needed to slow to 20 Mph for the corner, the braking system has to shed 20 Mph worth of speed by converting it into heat energy for each corner. Now, with better power and handling, you can achieve 60 Mph between corners so the braking system needs to shed 40 Mph worth of speed for every corner, twice as much! This means your brakes are going to get a lot hotter a lot faster and have to work a lot harder. We need to do something to help them out.
The BMW M Performance Big Brake Kit
It's known as the MPBBK for short and it's designed for exactly the problem I explained above. The MPBBK gives you a lot more stopping power and allows for much more aggressive use of the brakes without them failing you. Many people question brake system upgrades and I had a lot of questions along the same line of thinking when I did the upgrade. "My brakes are already good enough because I can press the brake pedal and lock up the wheels or trigger ABS, how can you have better brakes if the tyres are the issue?". I see the logic here, and to some extent there is a valid point in there, but let me explain.
Any braking system on a car is going to be able to overwhelm the tyres. Next time you're in a safe environment you can test this by planting your foot hard on the brakes and you may hear a little tyre screech or feel the ABS system kick in (usually a lumpy or vibrating feeling in the brake pedal). So, if we can already overwhelm the tyres, how can we actually 'use' better brakes? Well, better brakes aren't about that one single braking event. When I'm on the track I'm braking from high speed, really hard into a corner and then back up to high speed. Rinse and repeat. The brakes are being pushed hard time after time after time and they heat up more each time. If your brakes get too hot you get something called brake fade which is a wonderful experience because you press the brake pedal and fuck all happens... I put my track car in the gravel after overcooking the entry to a chicane because the brakes faded and I couldn't slow down enough. This is why you need better brakes, not to stop harder in any single braking event, but to consistently stop hard time and time again.
Being an M-class 1 Series my car already came with an upgraded brake system called the M Sport Brake Kit. Non M-Class cars have a standard set of discs and calipers but the M140i comes with upgraded Brembo brakes. It has 4 pot (piston) calipers up front with twin-wall, vented discs and 2 pot calipers at the rear which also have twin-wall, vented discs. One of the unusual things here is that the front discs are 340mm x 30mm while the rear discs are 345mm x 24mm. The rear discs are slightly larger but, being a rear wheel drive car the rear wheels/tyres are also larger than the front (the front tyres are 225/40/18 and the rear tyres are 245/35/18 as standard) so there is a little more grip at the back. Here are the old M Sport braking components that are being replaced.
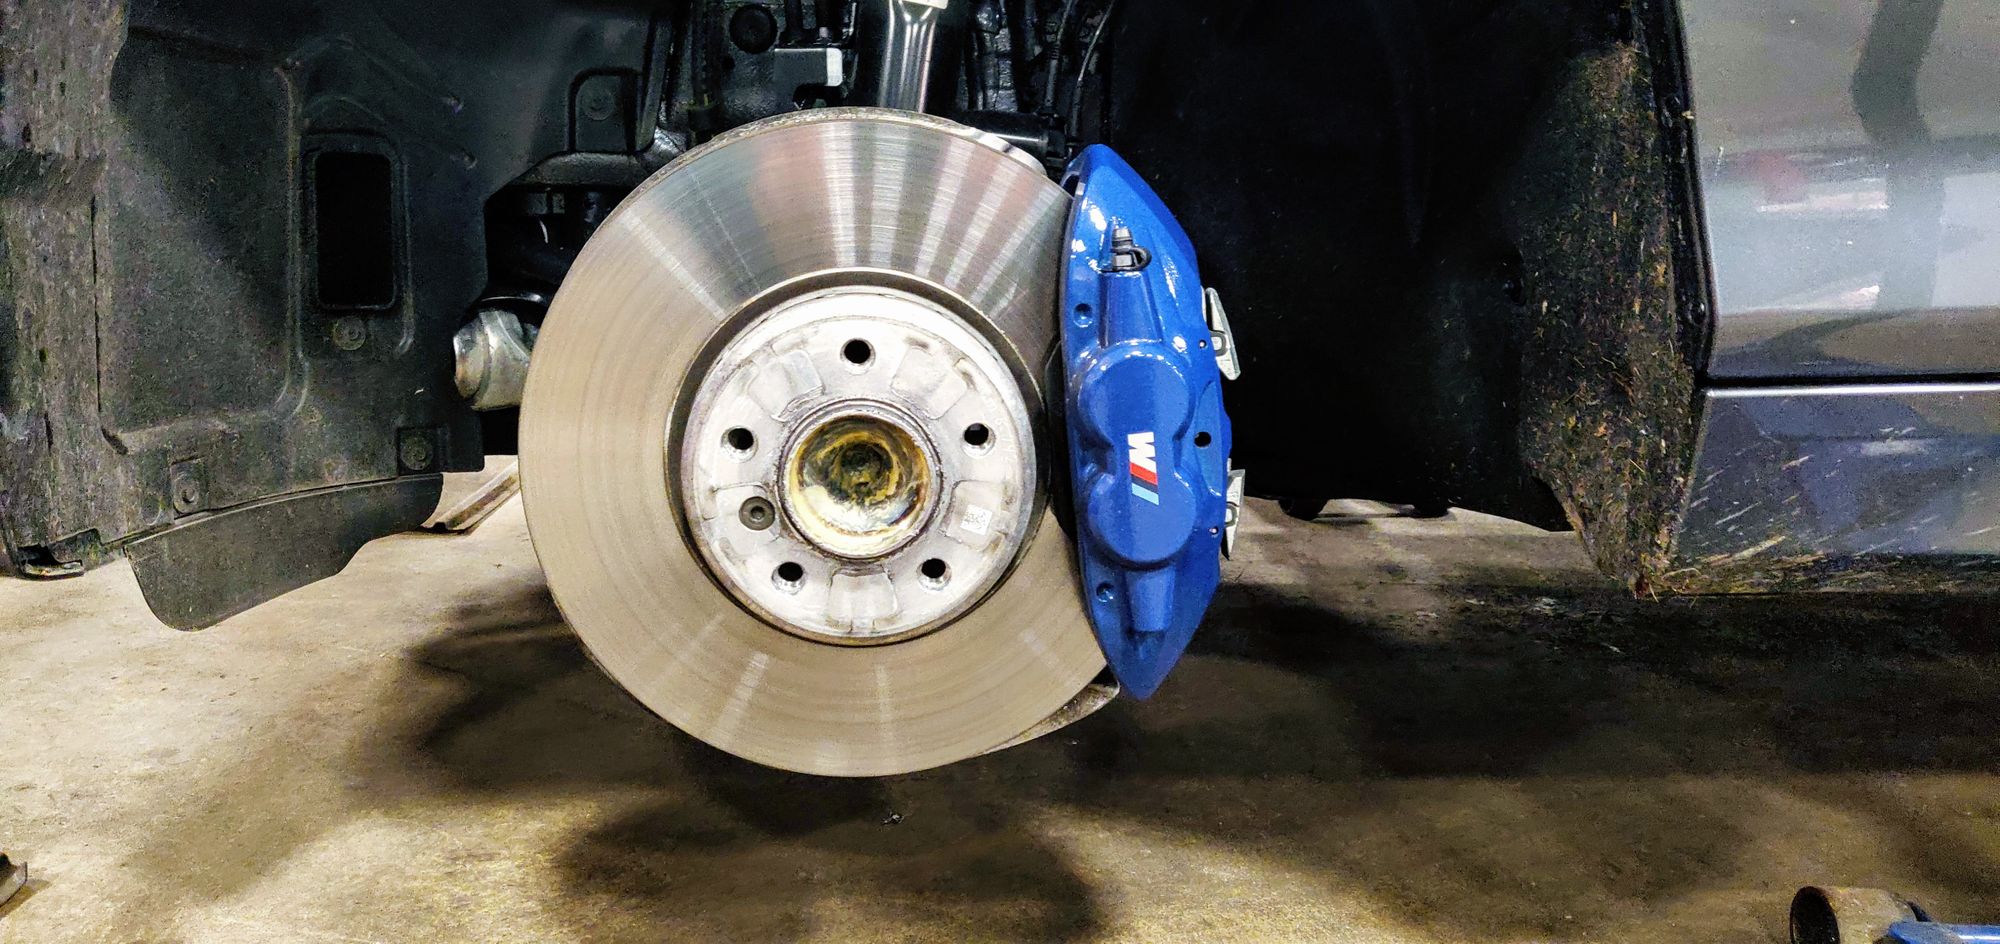
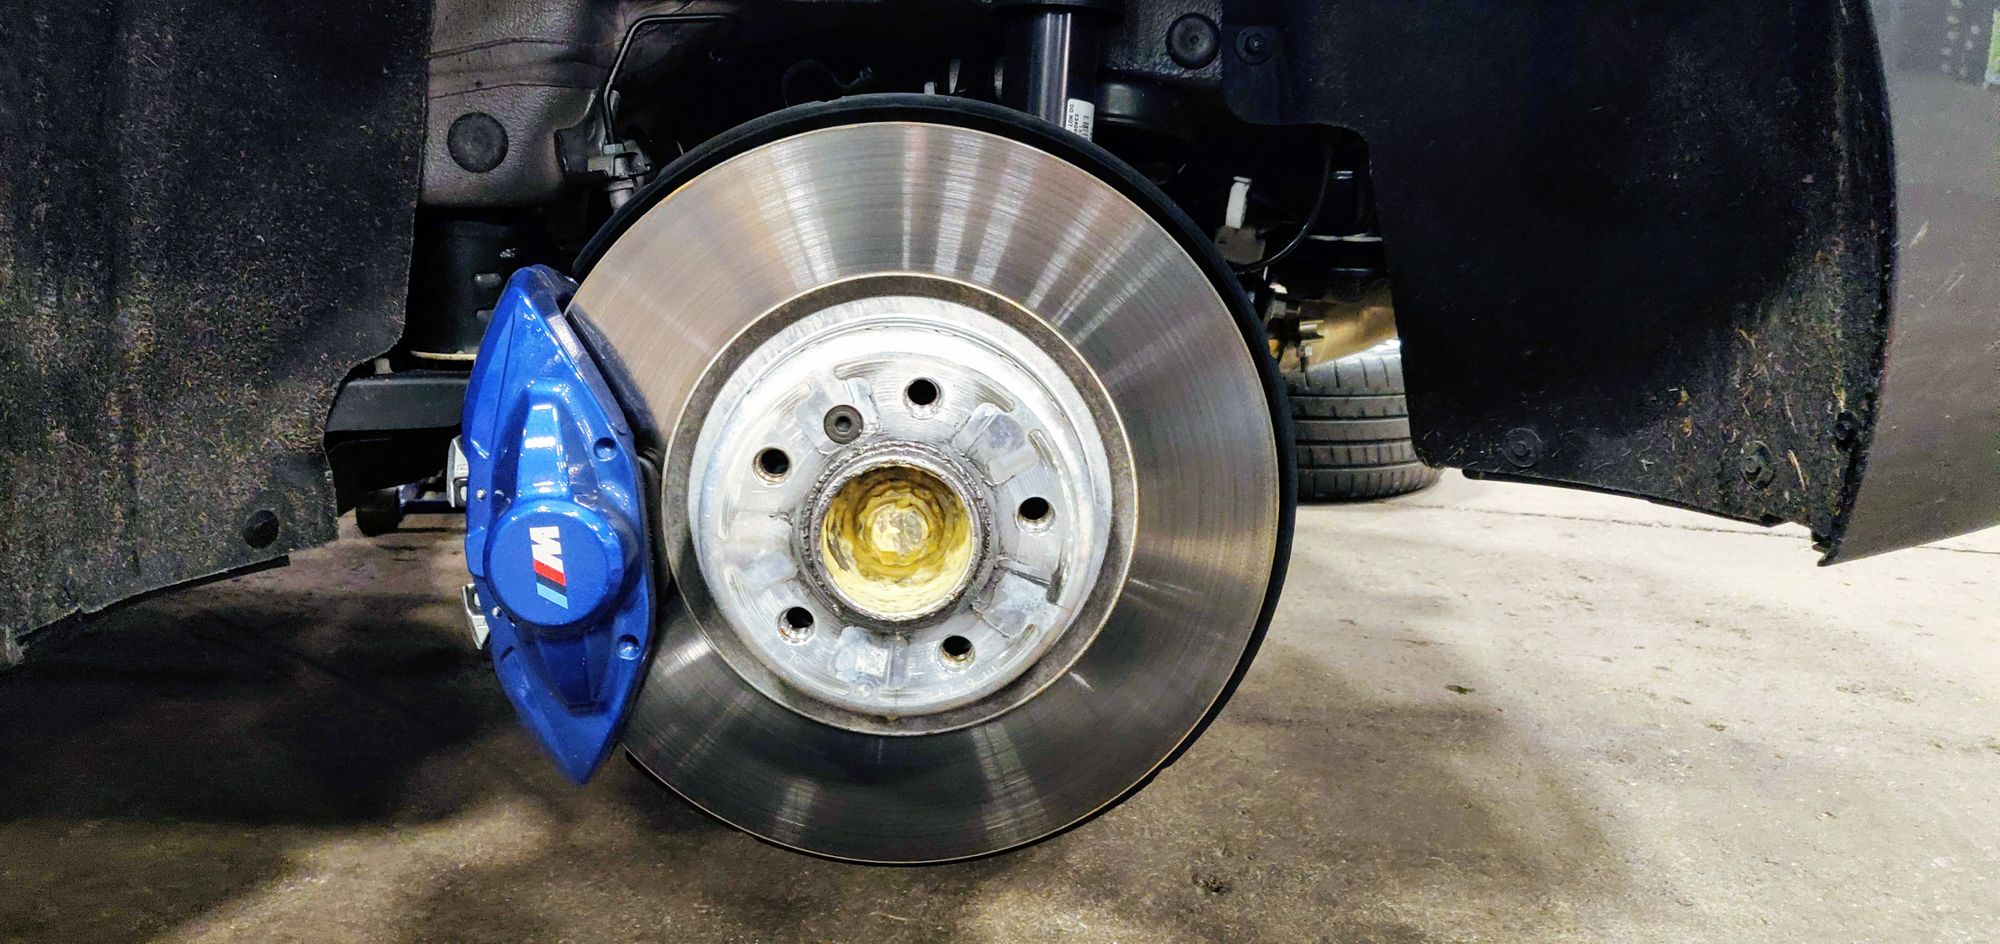
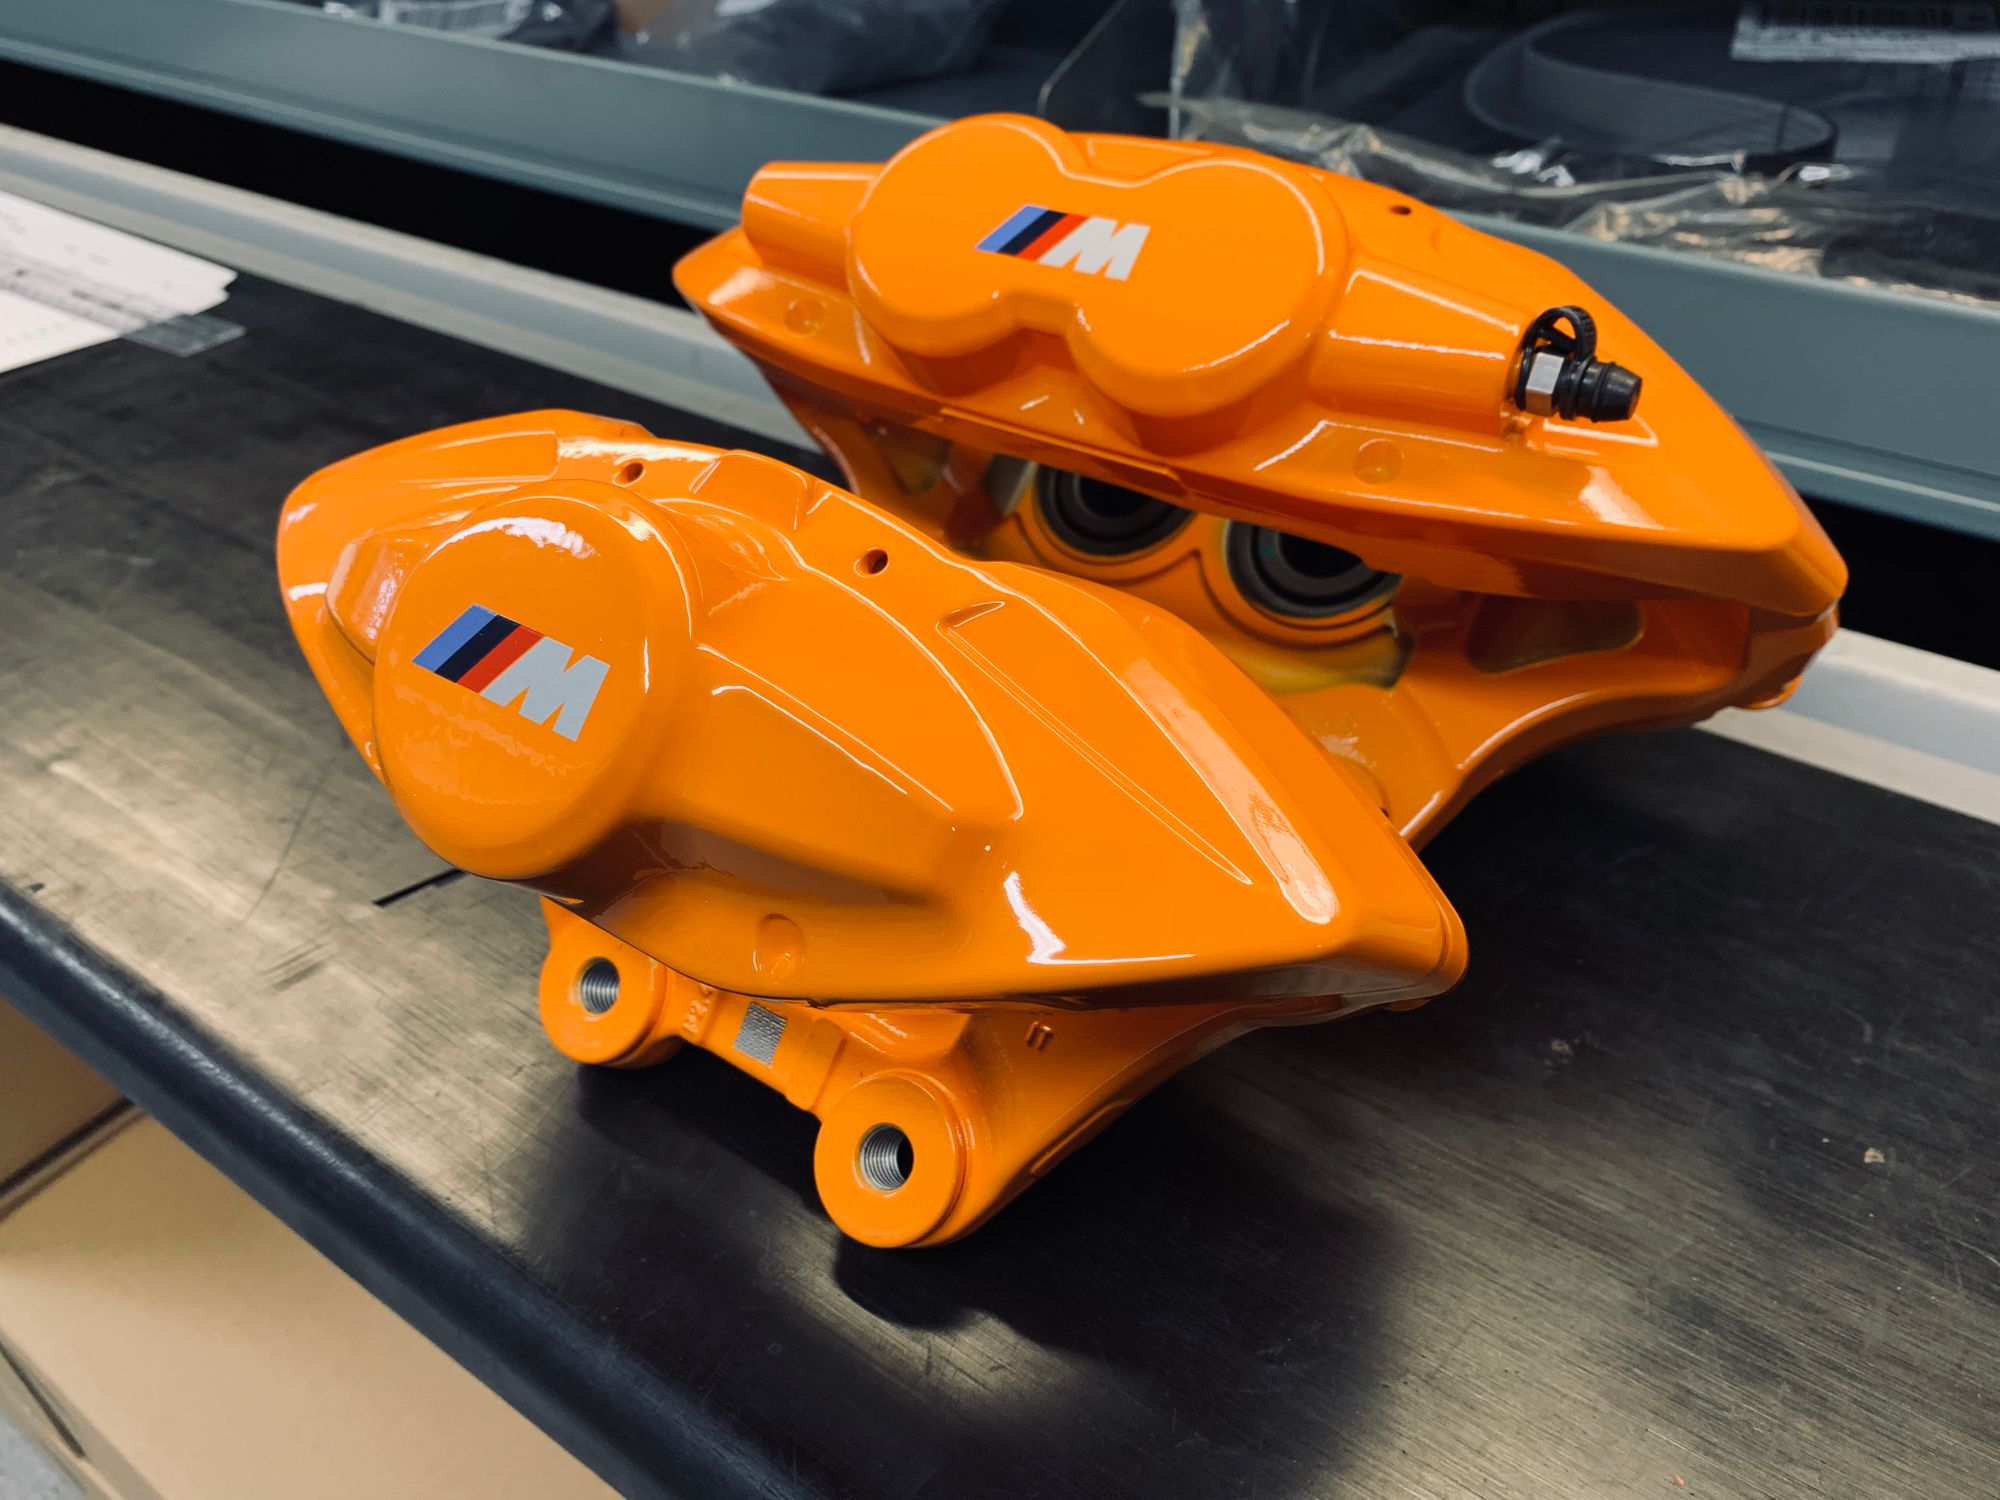
As you can see they're not the worst system to come as standard on a car and they do look quite well, but they're going! They're being replaced with the MPBBK which comes in a choice of 3 different colours: yellow, red and orange. The MPBBK isn't standard for the car but it will fit as long as you have at least 18" wheels to allow for the larger discs to fit inside them. Even with 18" wheels it is a tight squeeze but it will, just about, fit. The parts need to come from BMW Germany which took about 5 days to the UK and they are absolutely stunning. If you don't want to order directly from BMW there are 3rd party suppliers who buy and sell kits like ML Performance here (note that the kit doesn't come with rear discs which you also need to buy here).
The MPBBK is a big step up from the M Sport brake kit and a colossal step up from the standard brake kit, taking the front discs on mine from 340mm x 30mm up to 370mm x 30mm and keeping the rear discs at 345mm x 24mm. On top of the larger diameter discs at the front, the M Performance discs are dimpled, grooved and vented twin-wall discs which allows them to run a lot cooler and with the improved cooling features helping them to hold up longer under harsh usage. The kit also comes with better brake pads that are made of a significantly better material. This allows them to have a lot more 'bite' and brake harder and the material is more resistant to heat and can run a lot hotter without fading.
Whilst the fitting of a new brake system is somewhat simple and can be done at any local garage, there is one additional concern. With making such a significant increase to the performance of the brakes, the Dynamic Stability Control (DSC) and Traction Control System (TCS) modules need to be re-programmed by BMW. The DSC module basically works to stop you from crashing by making minor adjustments to the speed of a wheel by applying the brakes on any wheel where required and the TCS does the same thing to stop wheel slip under hard acceleration. These minor adjustment will now be very different with a significantly different brake setup so the modules need to be re-programmed to operate properly with the higher performance brakes. You can have the labour to install the MPBBK done elsewhere and just pay BMW to re-program the modules but I just decided to get all of the work done at my local BMW dealership. Here is the original M Sport brake kit:
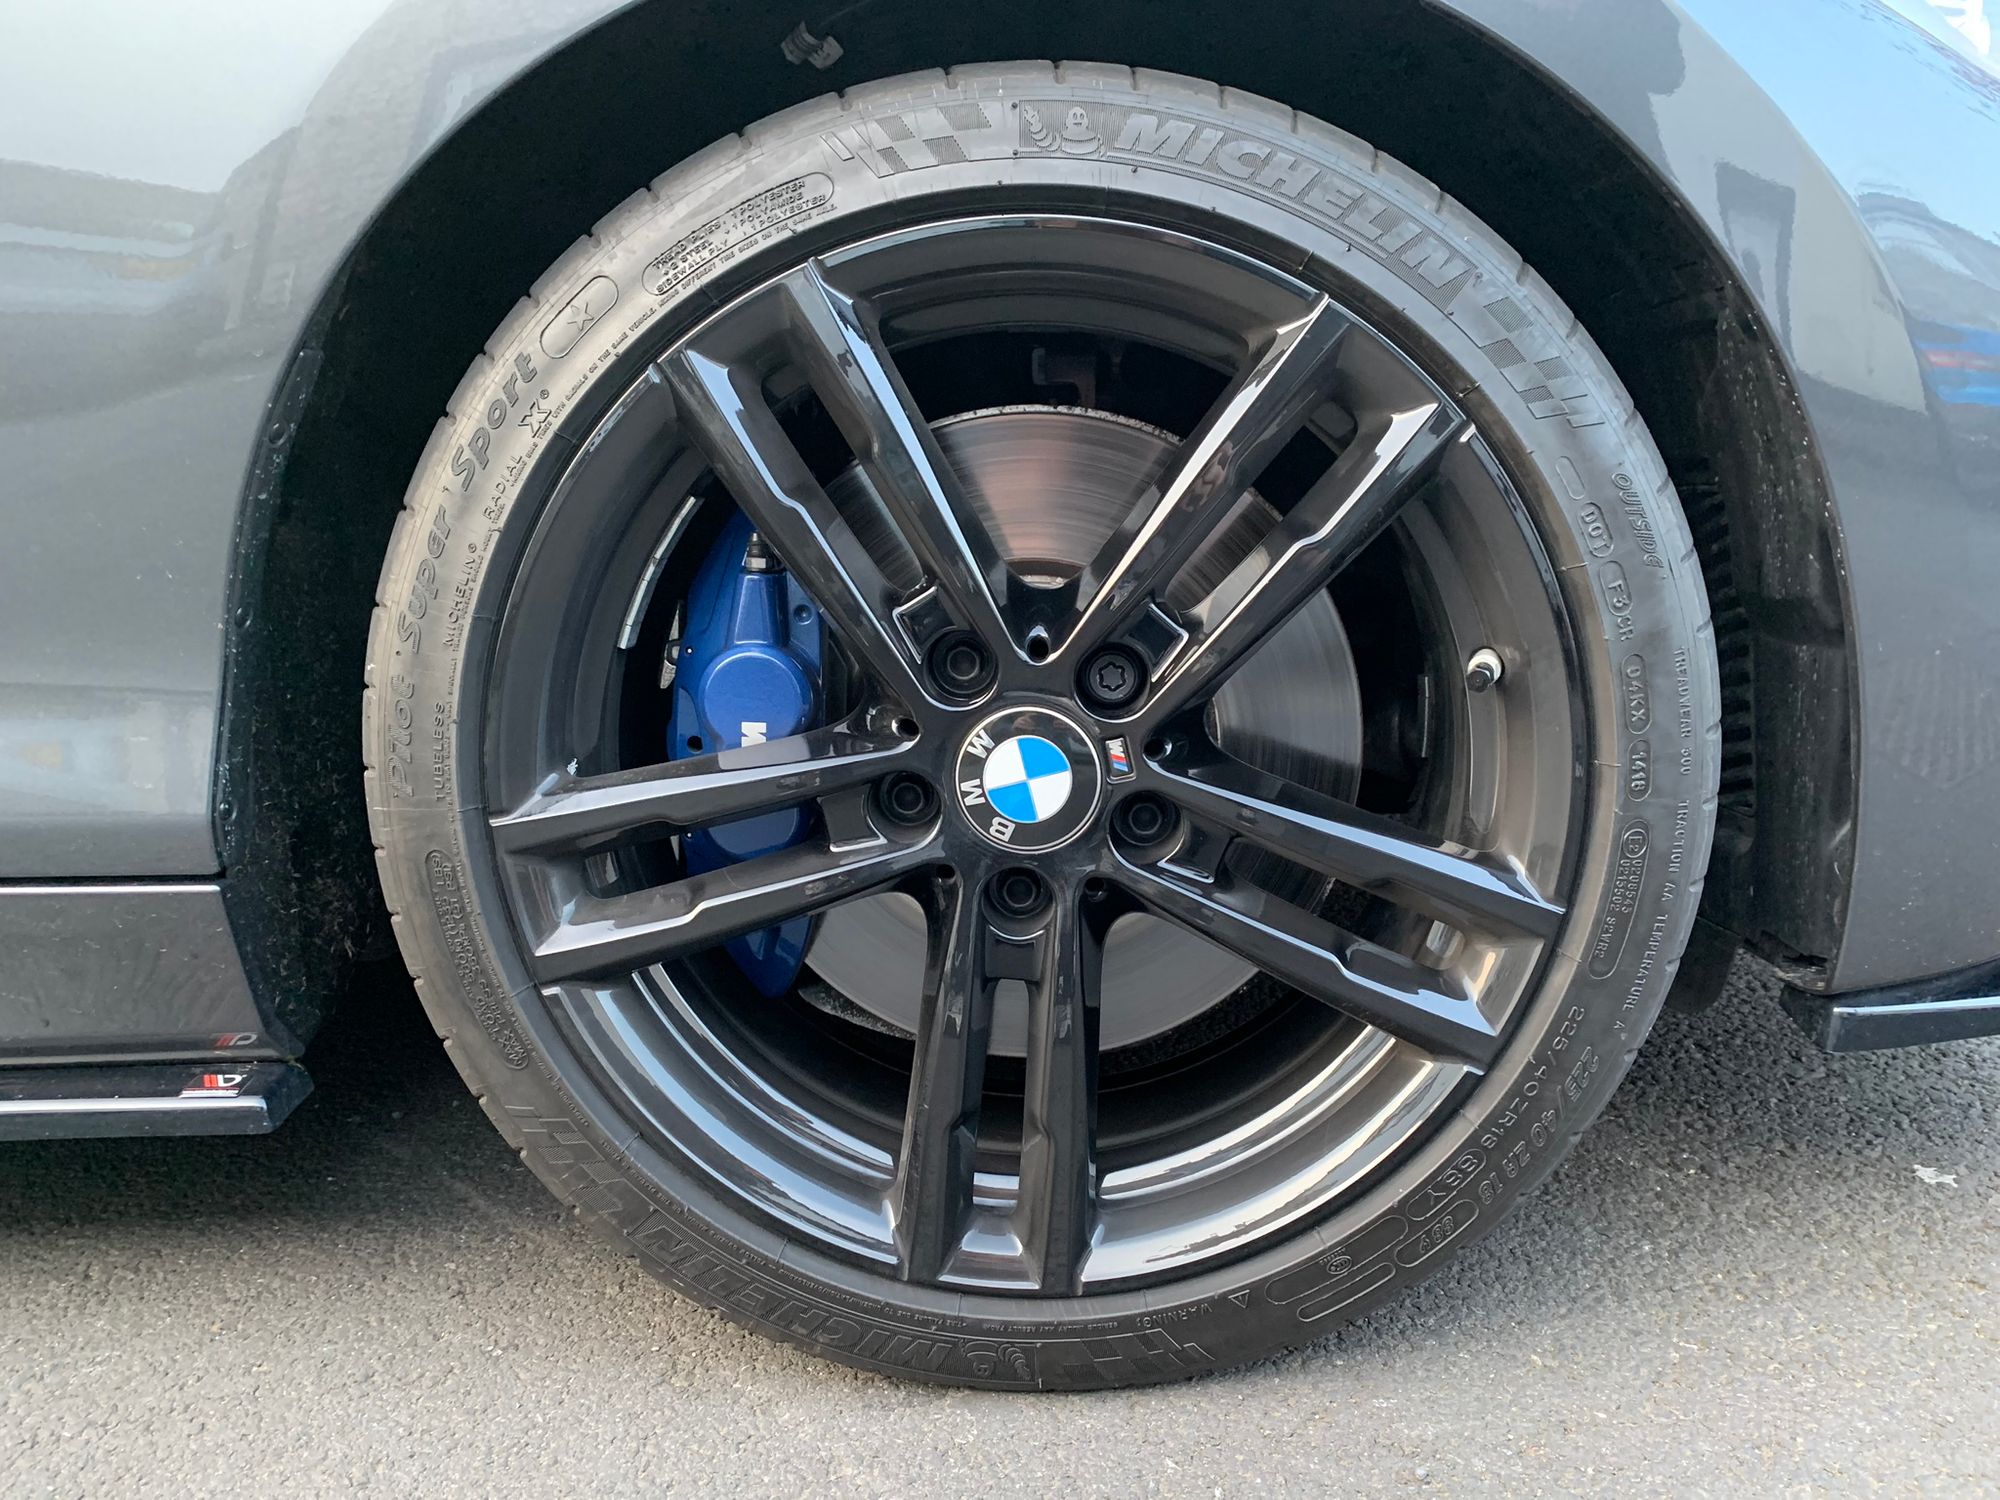
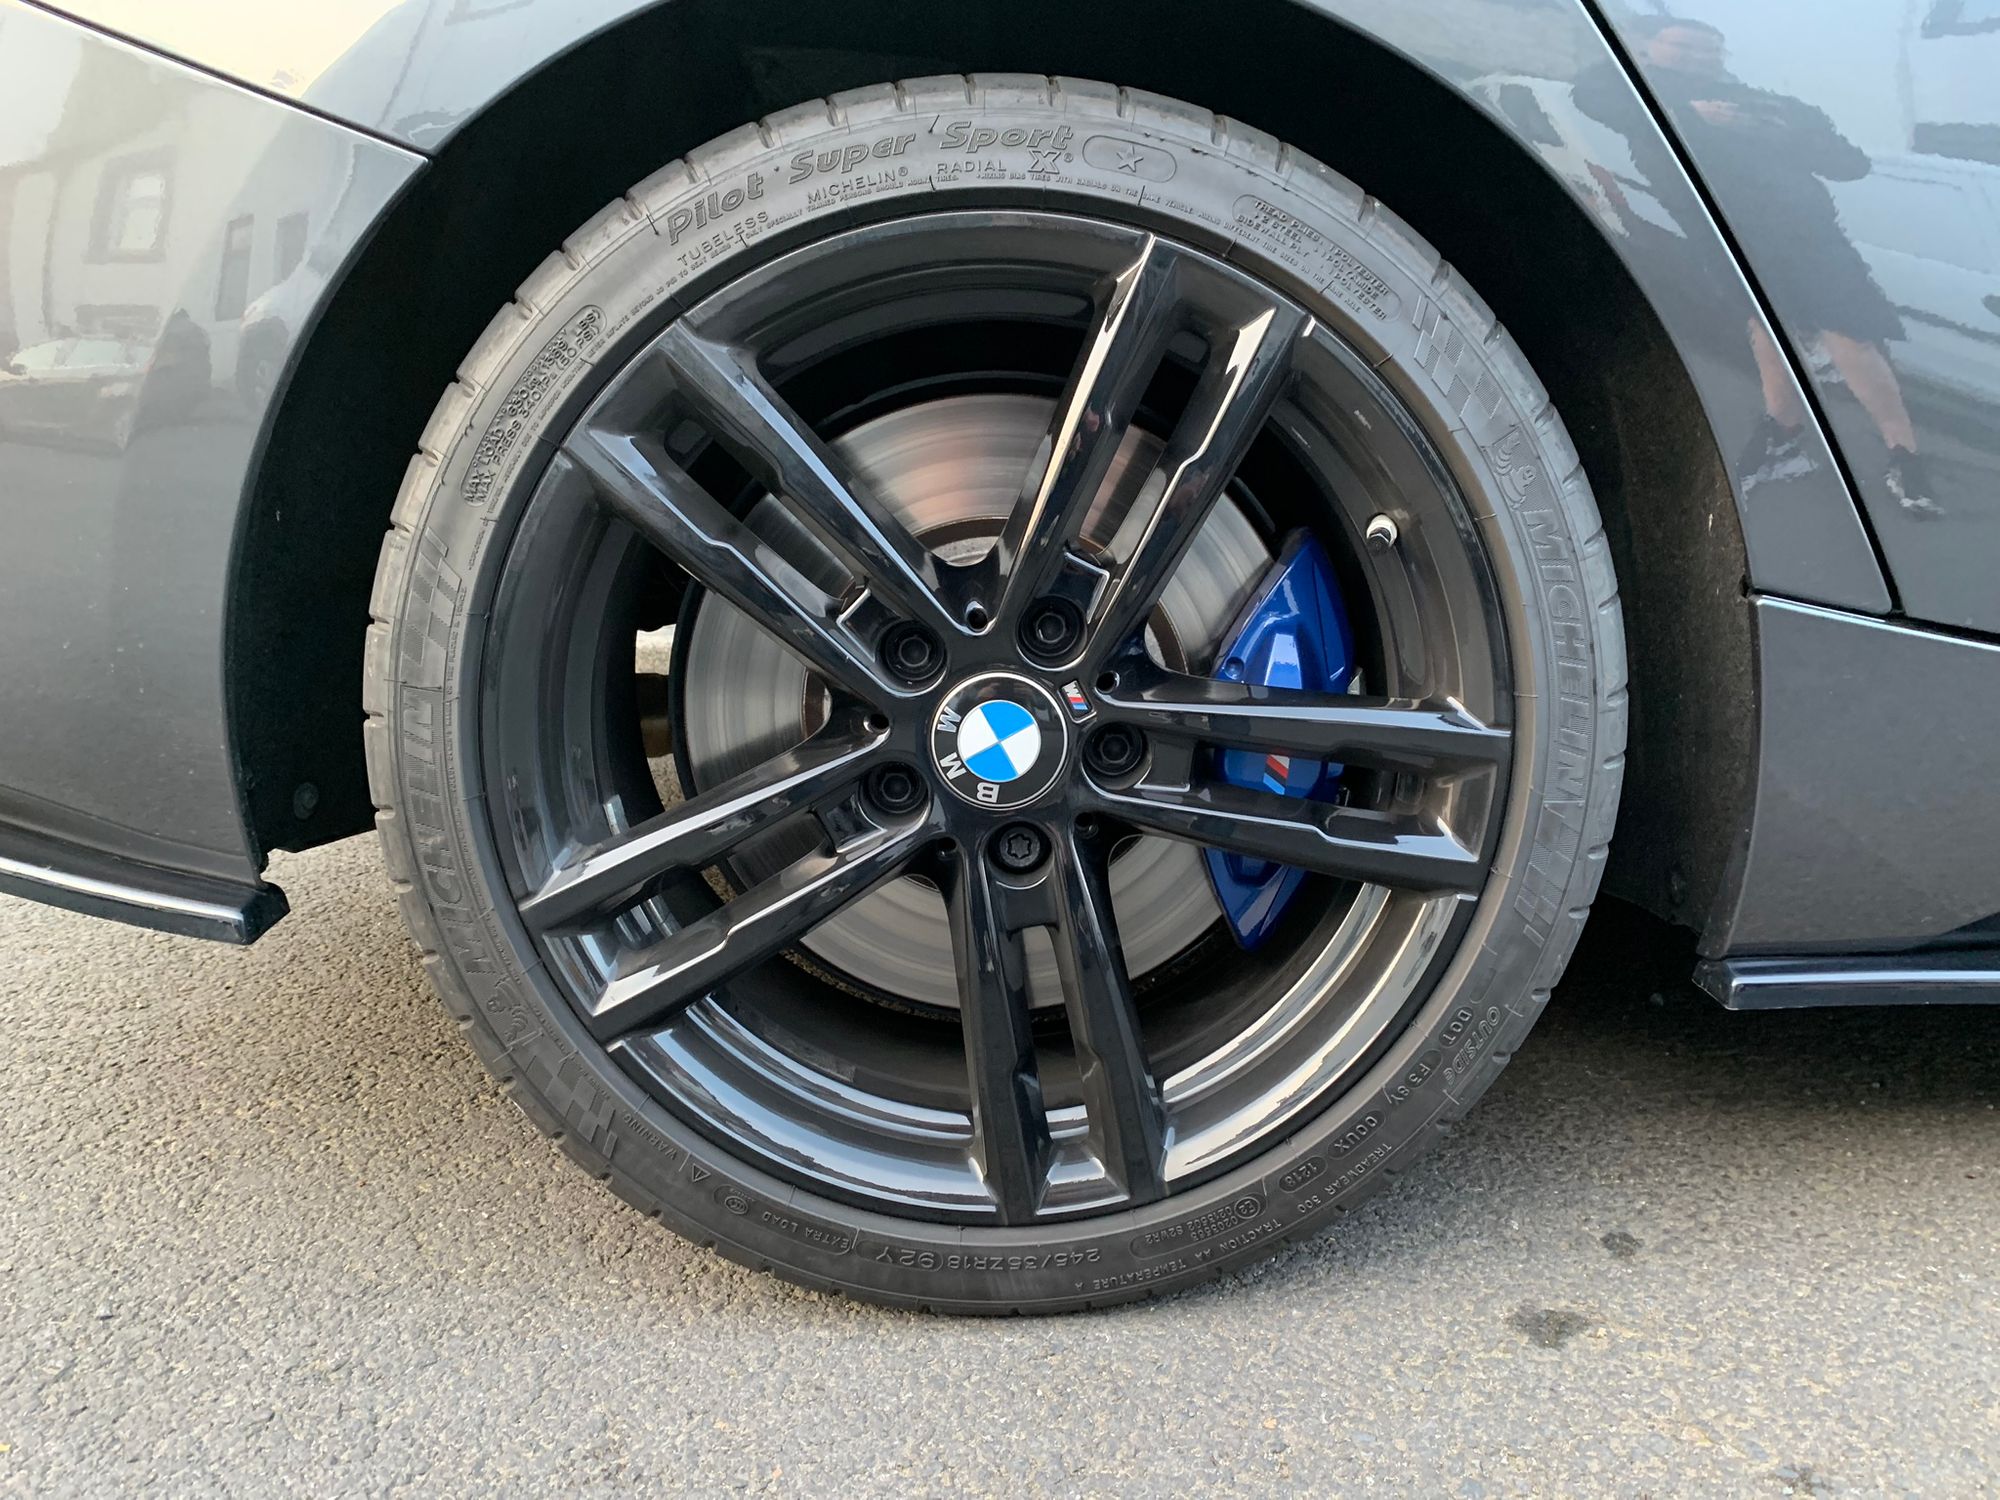
Following that here is the MPBBK being installed and the finished product! First up is those stunning new calipers which I decided on orange for. This is a nice contrast against the dark/shadow theme of the car and will look great behind the black alloys.
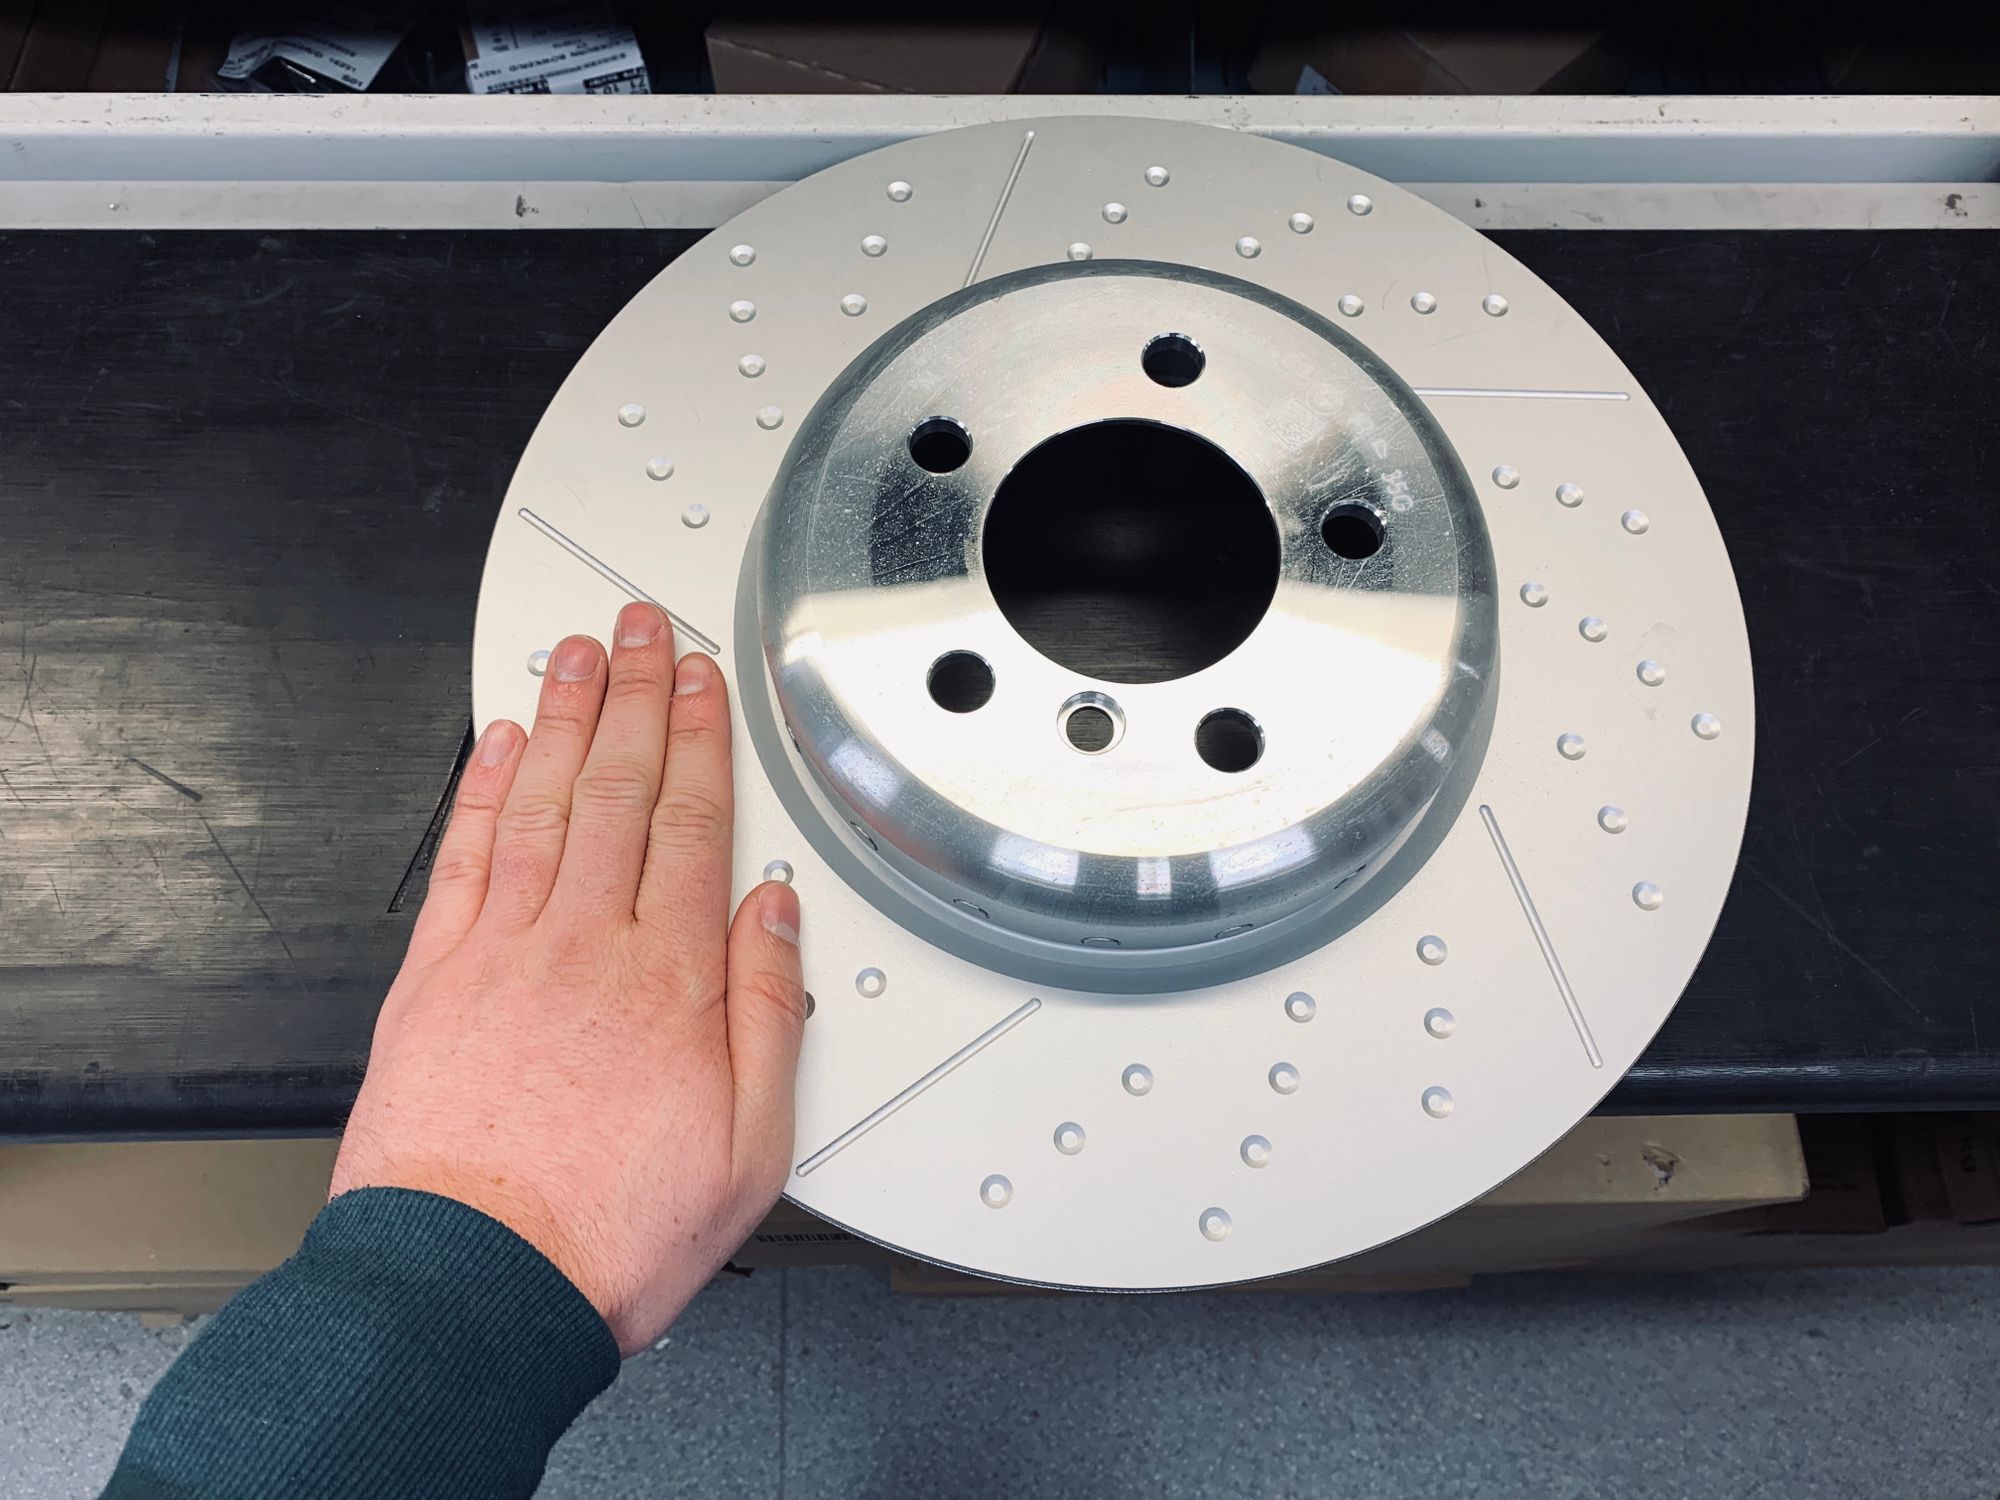
Next is the brake discs and here is my hand for size. These things are freaking ginormous!
When squeezed into the rear wheel they look good and almost fill out the entire space inside.
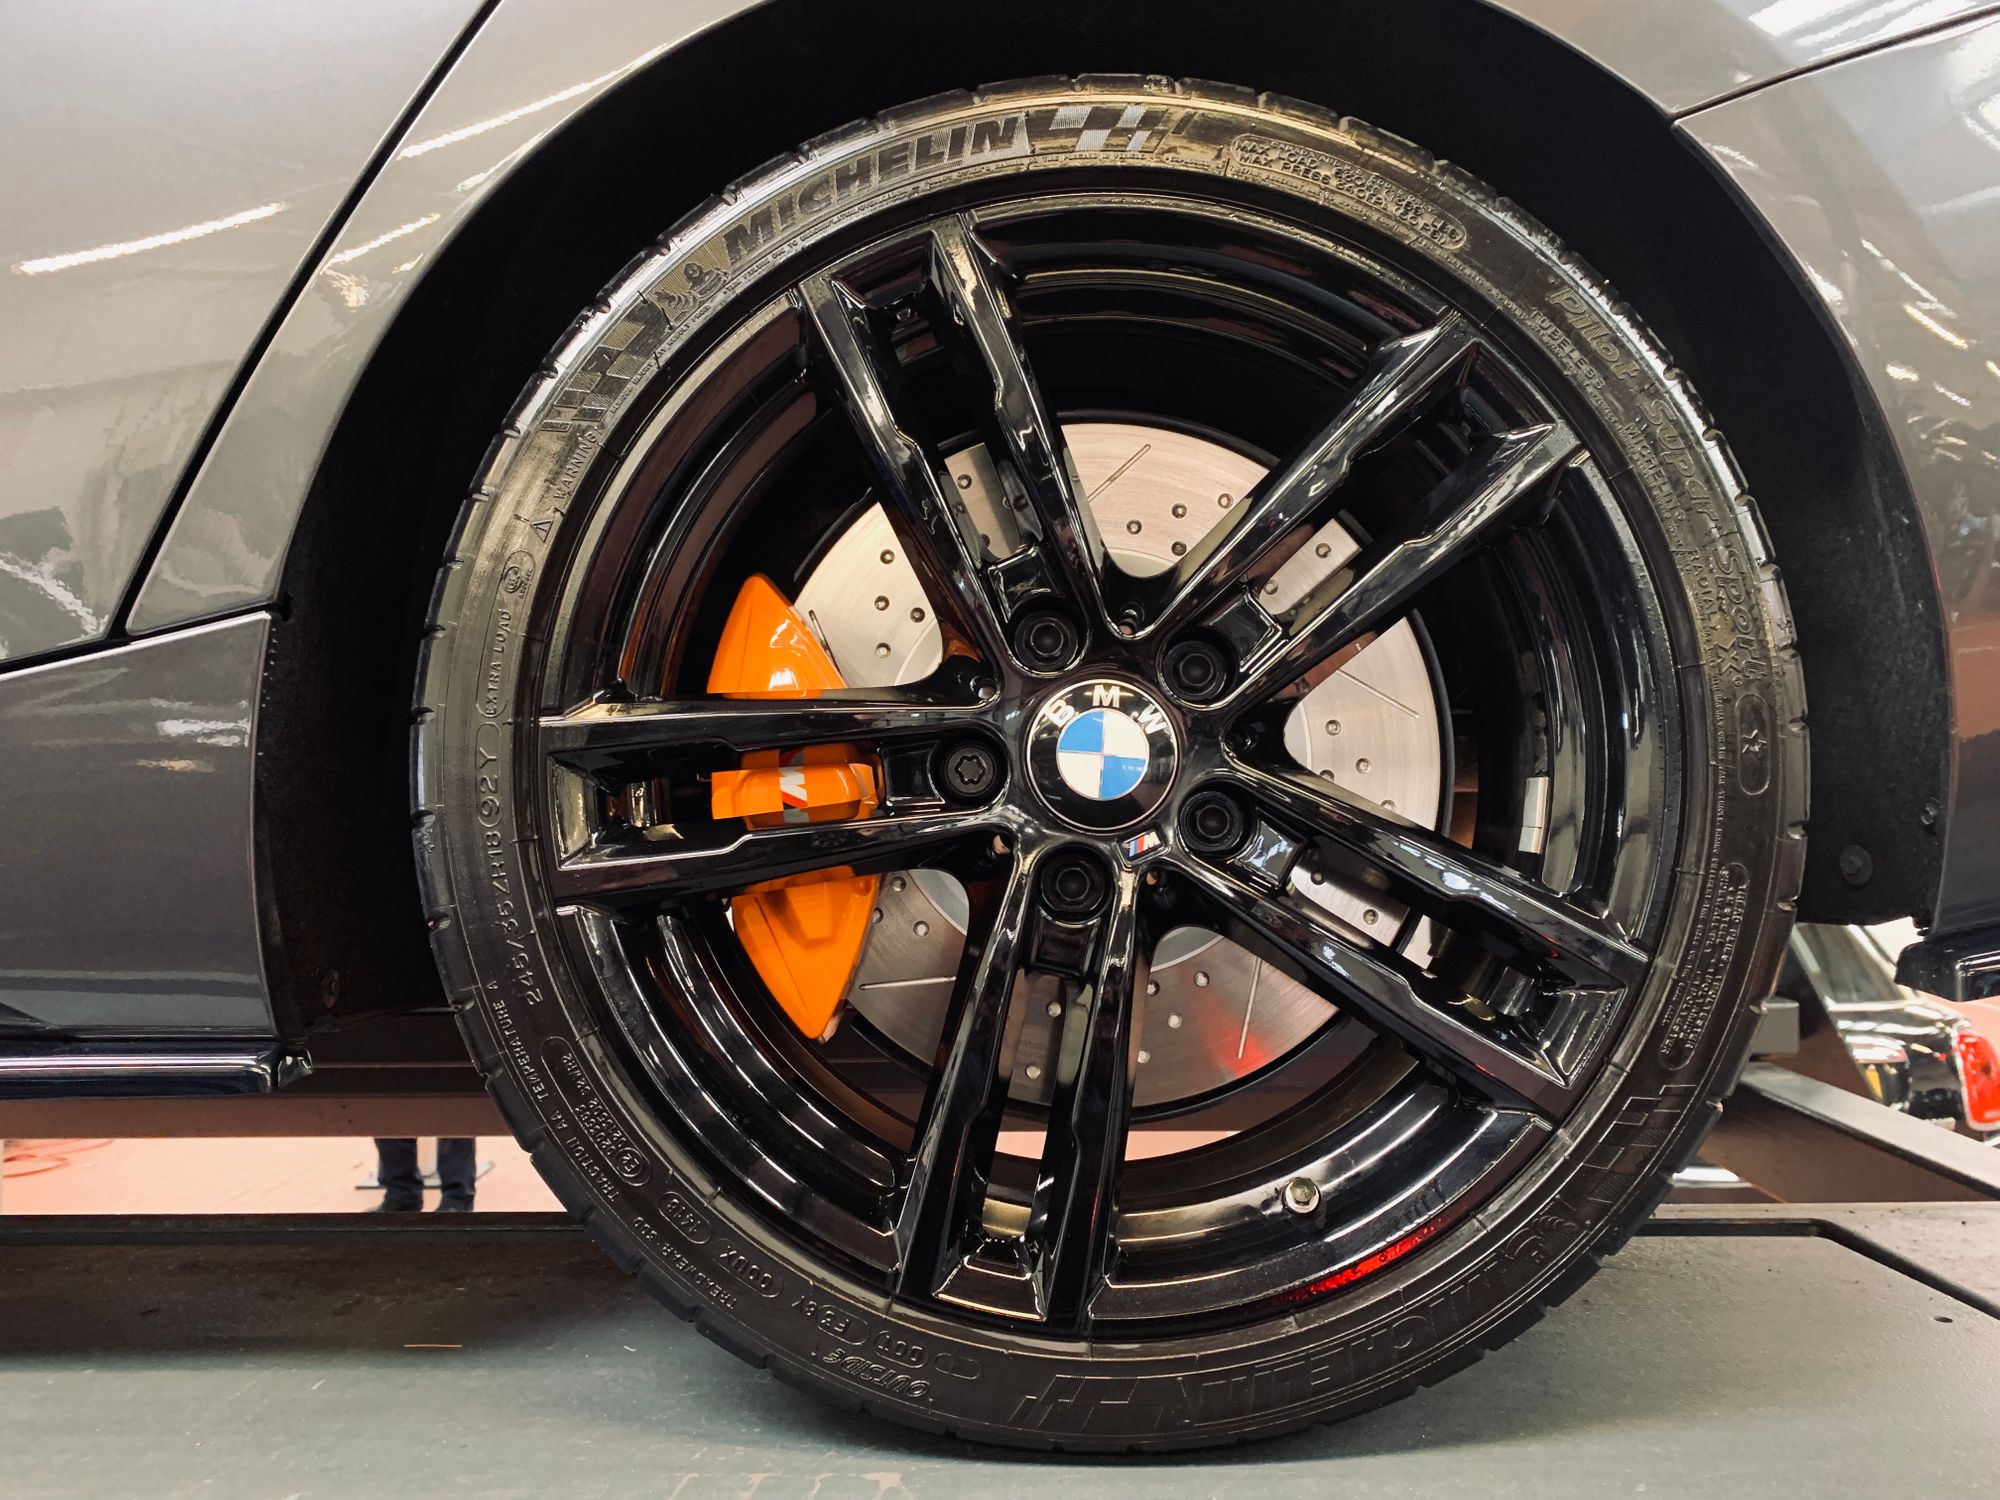
When squeezed into the front wheel they really do fill out all of the space inside and it's a tight squeeze to get the wheel back on! That is one seriously big brake disc!!

They look superb and were promptly put through the vigorous bedding procedure that you need to go through with new brakes, especially performance ones. This involves a series of hard braking events from 60 mph down to 10 mph repeated until the components get nice and hot and form a good mating surface between the new pads and discs. This wasn't the only upgrade done to the braking system either, there were some other things behind the scenes too!
HEL Braided Hoses and RBF 660 Racing Brake Fluid
When you install a new brake system you will have to, at a minimum, bleed air out of the hydraulic system once the work is complete. This is a great opportunity to flush the entire system because the extra amount of work is insignificant at that point. When you're flushing the entire system it's a great opportunity to replace the fluid entirely with an improved version, and that's exactly what I had the dealership do.
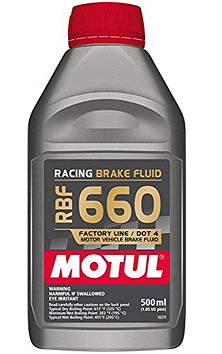
Because the brake fluid runs into the calipers, and the calipers get exceptionally hot, the brake fluid also gets exceptionally hot. When fluids get hot they tend to boil and if you have boiling fluid in your hydraulic lines you're going to have a really bad day. It usually involves crashing into a wall at high speed... As a result, I went for a much better brake fluid in the form of RBF 660. The standard brake fluid that BMW put into the car will boil at ~220c (446F) but the RBF 660 will boil at ~325C (617F), giving you a lot more braking performance before you boil the fluid and end up in a wall, which is great.
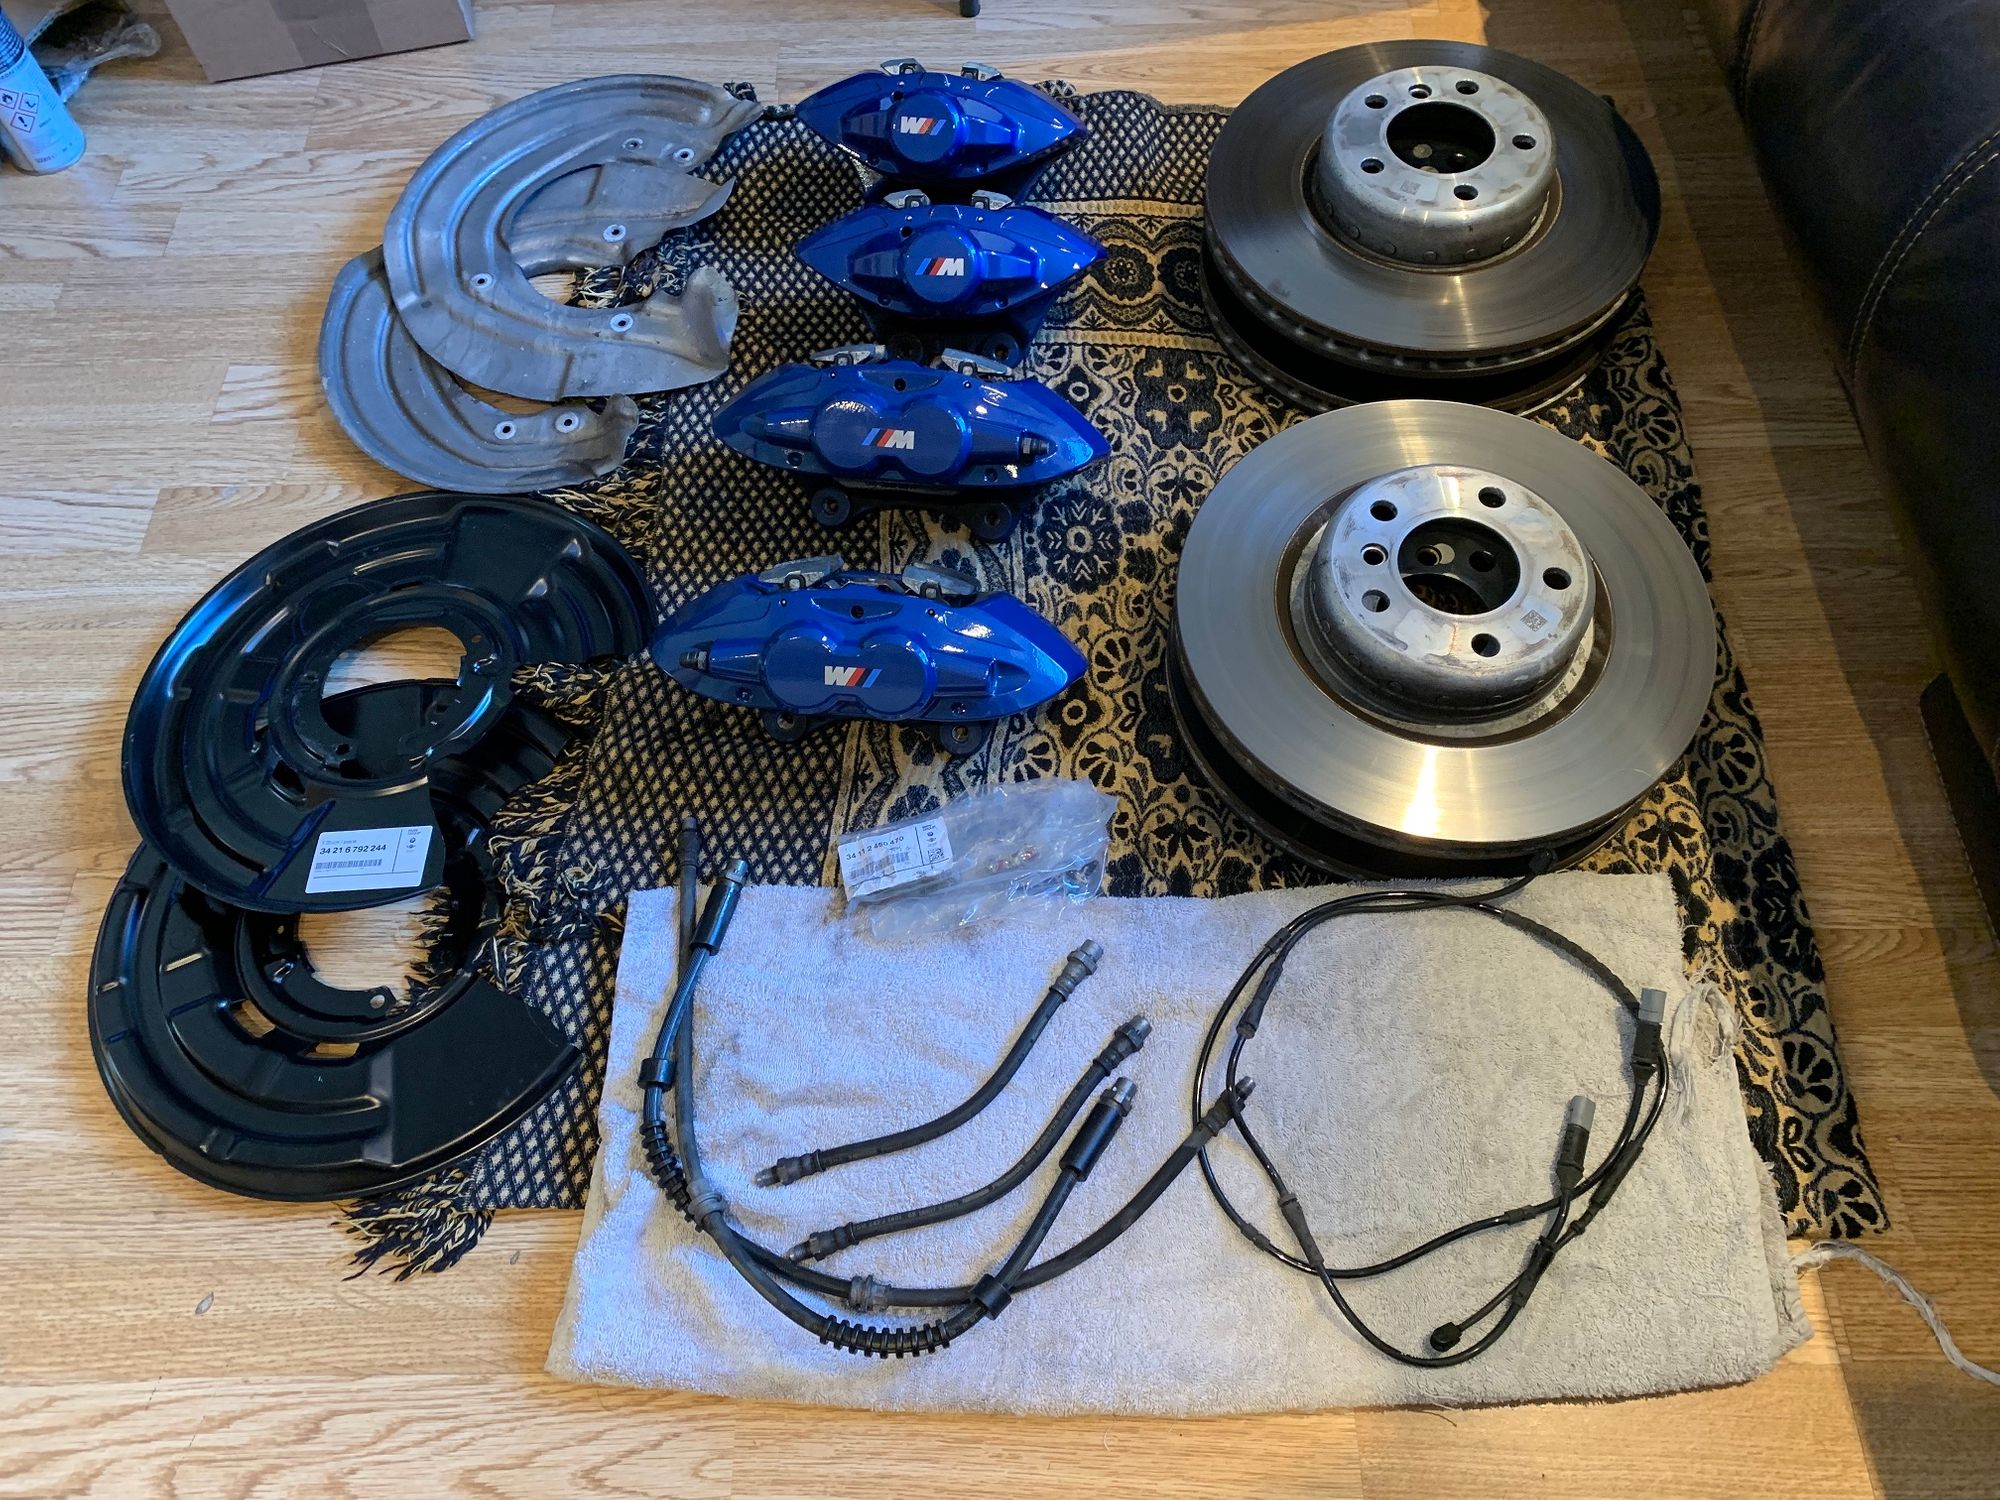
With the new fluid being flushed through the lines during installation, another serious upgrade was made while the brake system was off the car. When you press the brake pedal you push fluid down a pipe to each wheel and the pressure pushes a piston which pushes the brake pad against the brake disc, slowing you down. It's a really simply system in essence, squeeze fluid in one end and push the piston out of the other. Most of the system is hard, metal piping mounted to the chassis but there is a joint between the car and the wheel that needs to be flexible. This is because the wheel goes up and down on the suspension and it cant turn left to right with the steering, so it has to have flexibility. This small section of usually rubber hose can be a weak point in the system. If you press the brake pedal really hard this rubber hose can expand and you've lost some of the pressure you applied to the pedal. To remedy this, you need to replace the hose with something better and HEL are a well known maker of braided hoses. The HEL braided hoses were installed onto the new calipers to further improve braking performance because the metal braid in the line stops it expanding when there is a lot of pressure inside. If the hose can't expand then the pressure moves down the hose to the piston and squeezes the brake pad harder instead. Good result!
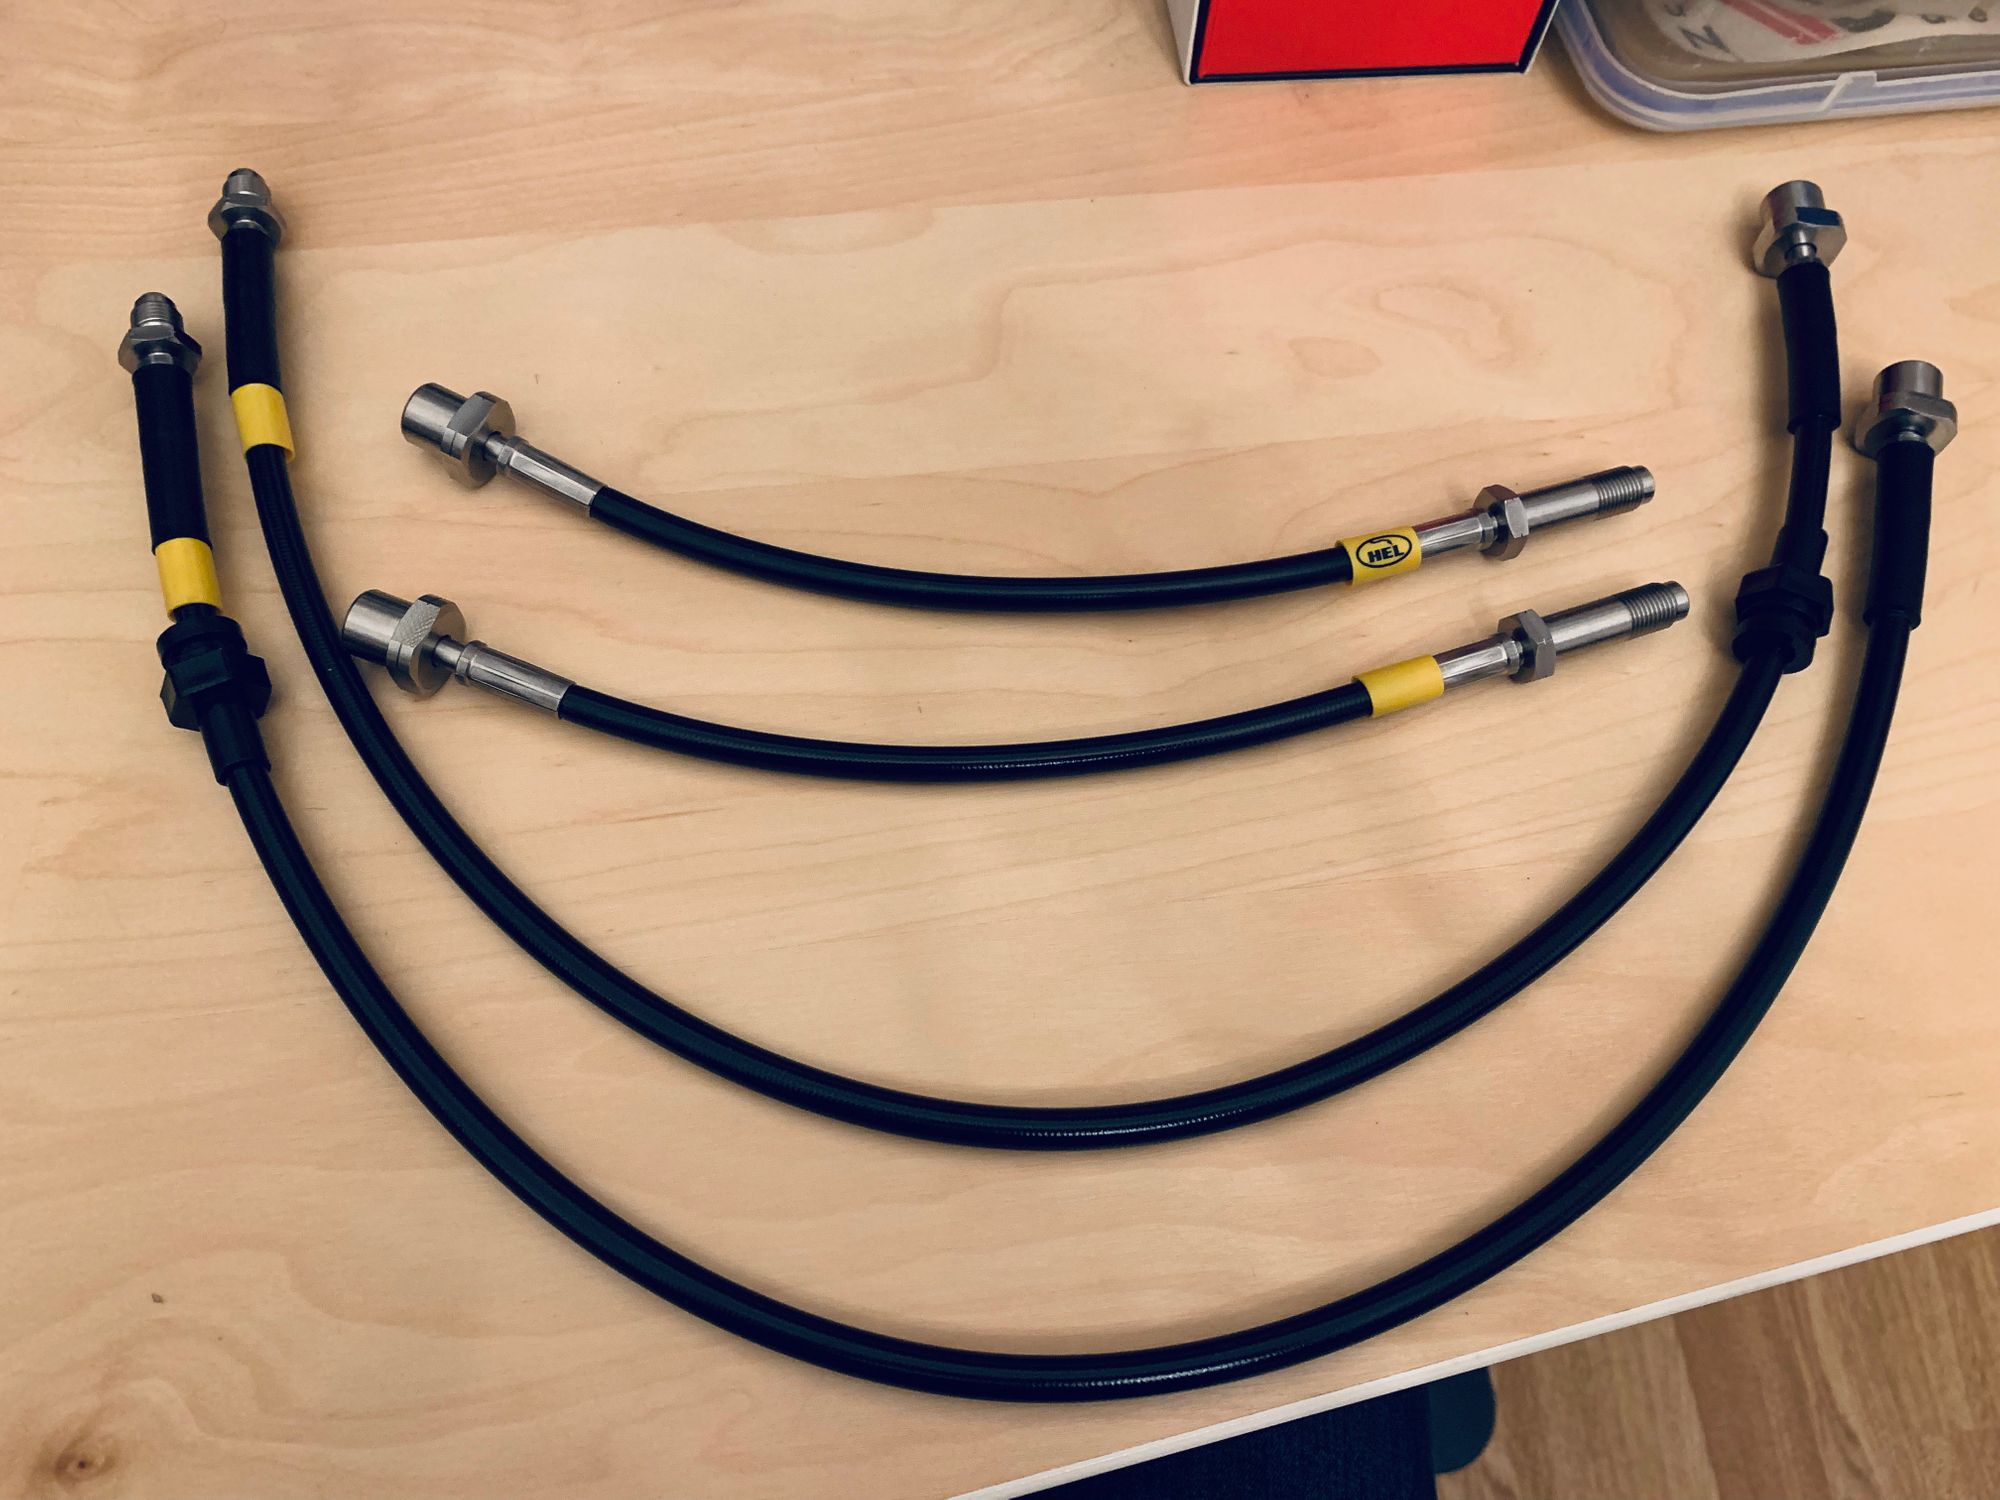
These hoses are a lot stronger and have less flex than the standard rubber lines but they can still more than handle the limited range of movement between the car and the wheels. The shorter lines are for the rear wheels which only go up and down, and the bottom hoses are longer to allow for steering on the front wheels. With all of this installed, the braking system is now ready for some serious work!
Selling off old parts
One thing I didn't mention in the previous post when I replaced the diff was that I did get quite a nice price when I sold my original diff that was replaced. It was very much the same with the brake kit here too. The parts being taken off the car are far from worthless and if you clean them up you can sell them for some quite reasonable sums of money.
Much like selling my original diff paid off a good portion of the upgrade cost, I sold off my M Sport brake kit that came off the car and made back almost half the cost of the upgrade, which means it was a lot nicer on the wallet!
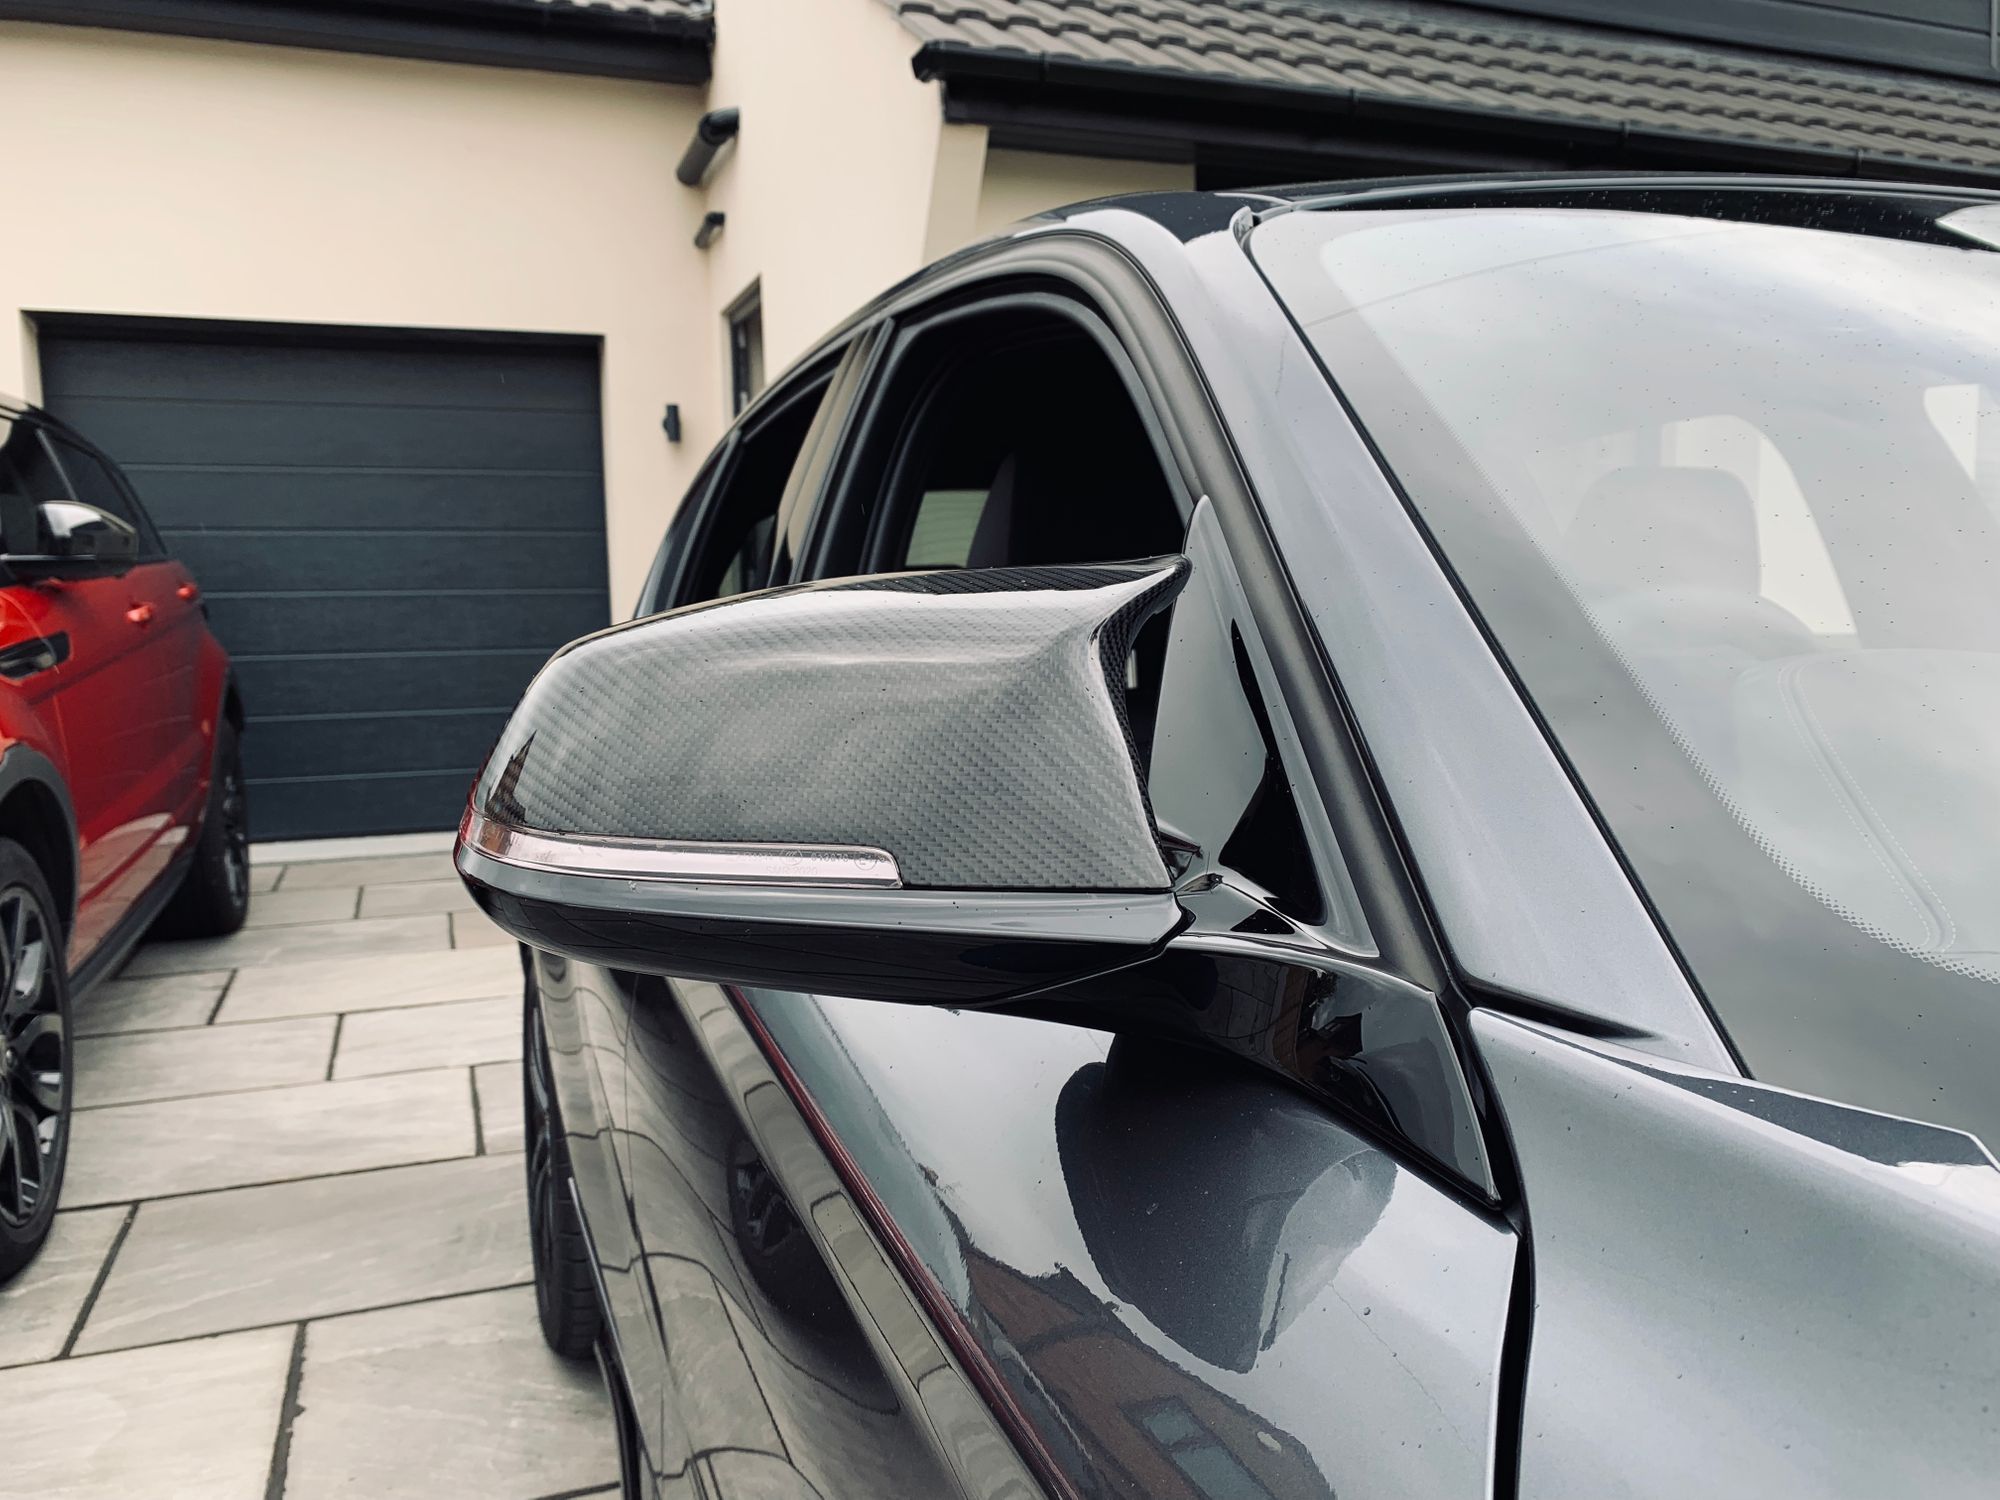
BMW M3 Mirrors
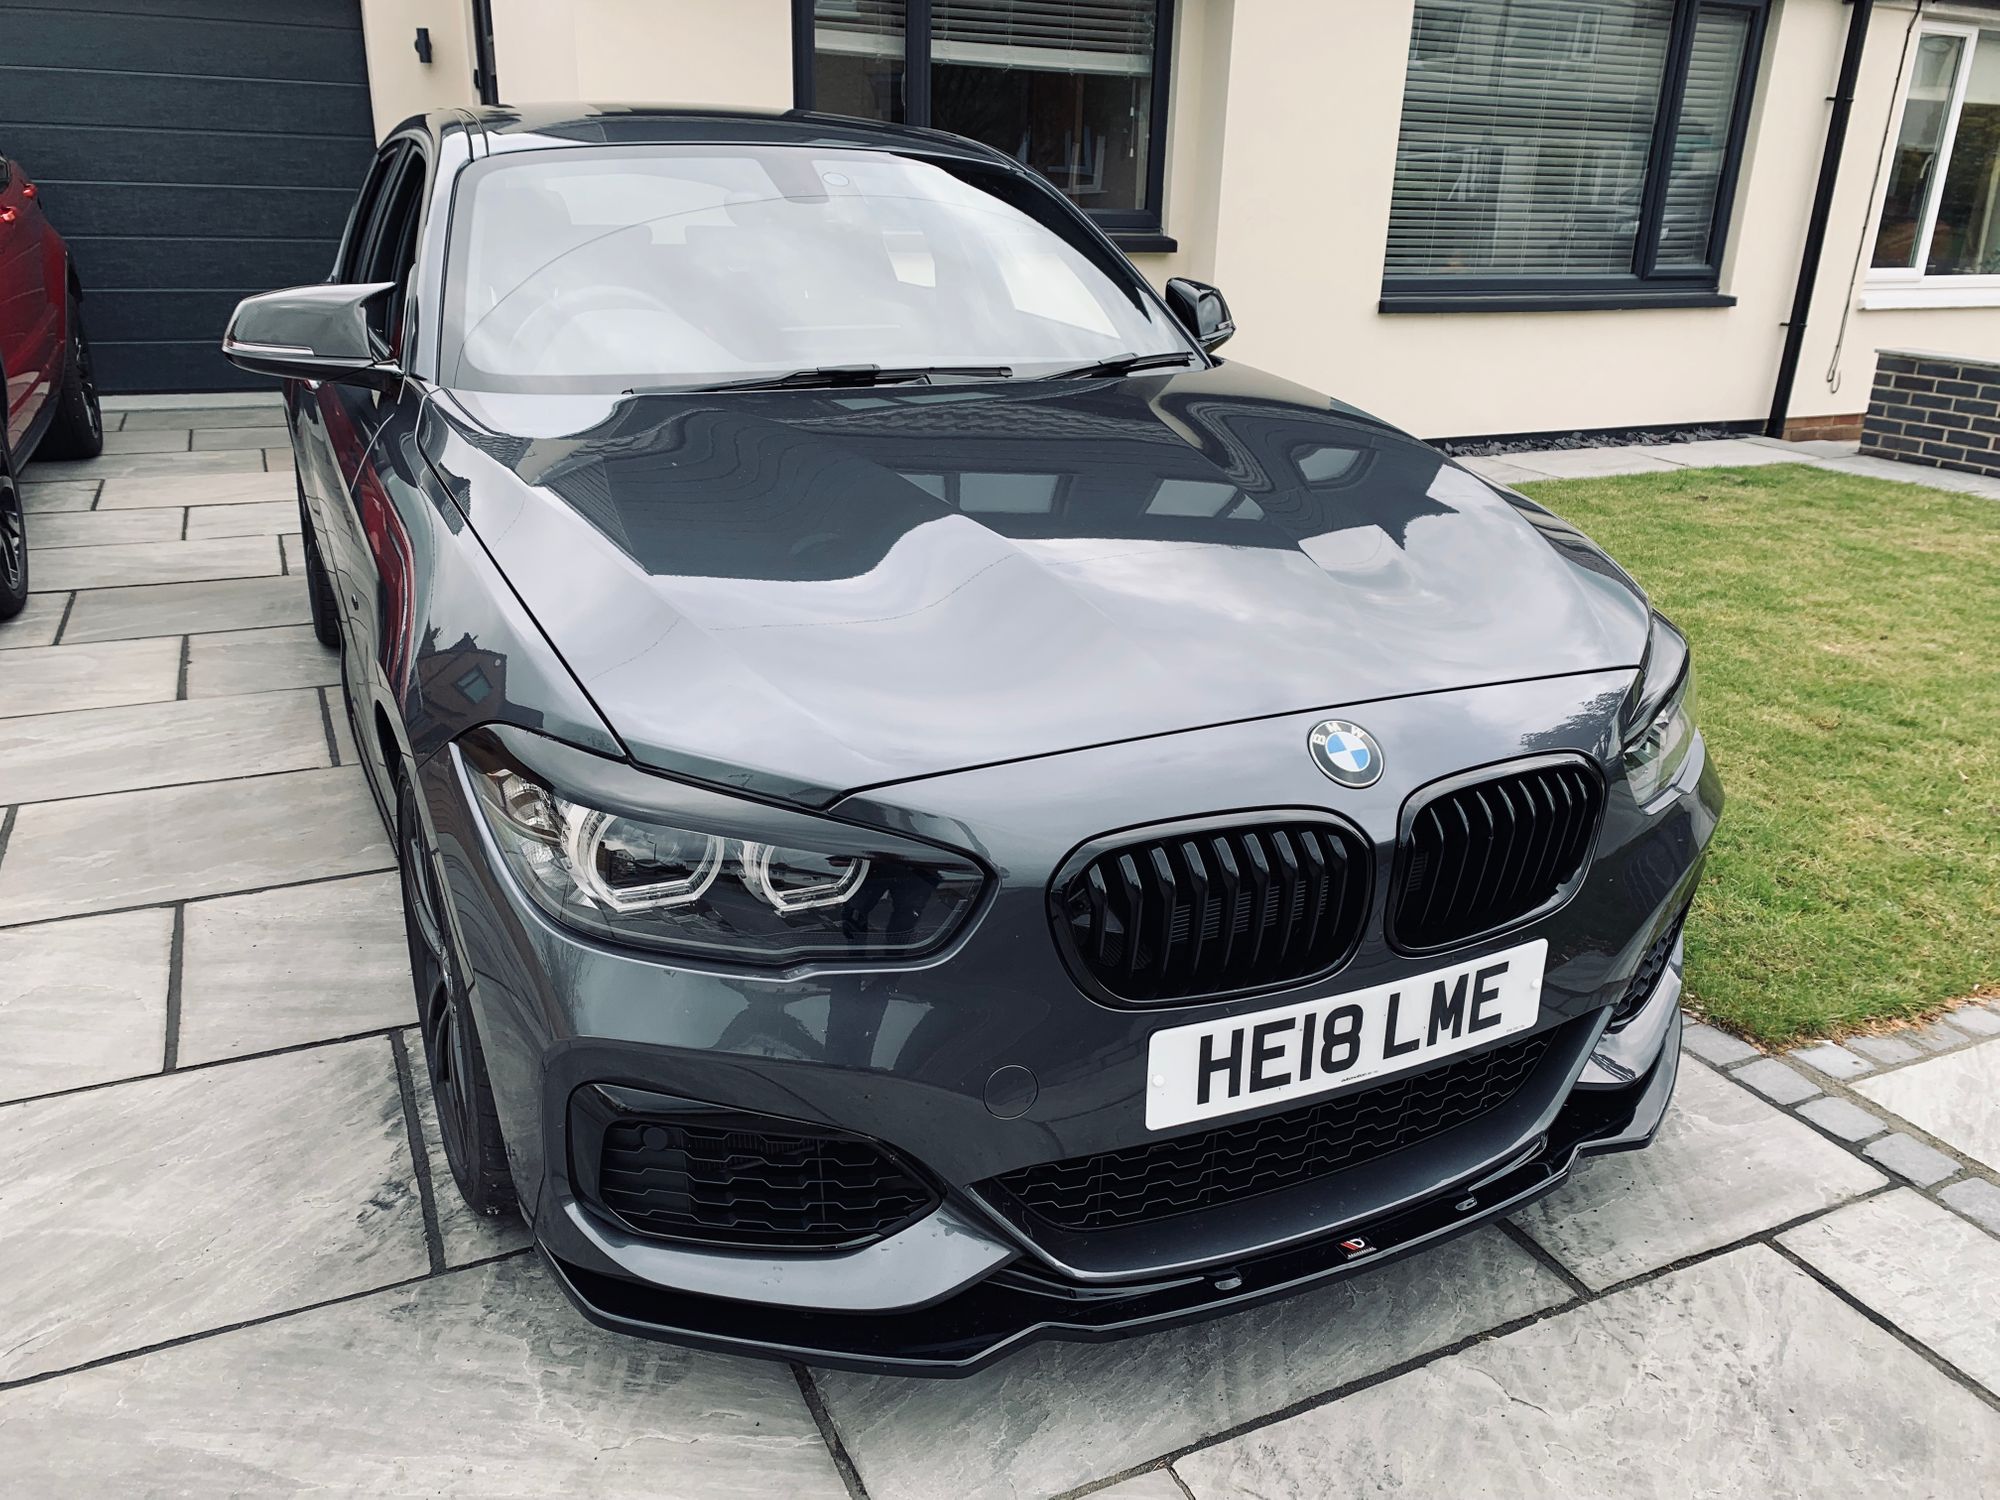
Time for a quick break from the serious mods and another cosmetic tweak to the car. The gloss black wrap on the mirrors looked good, but it wasn't quite cutting it for me and I wanted a little more. I decided to go for a set of the M3 style carbon fibre mirrors instead!
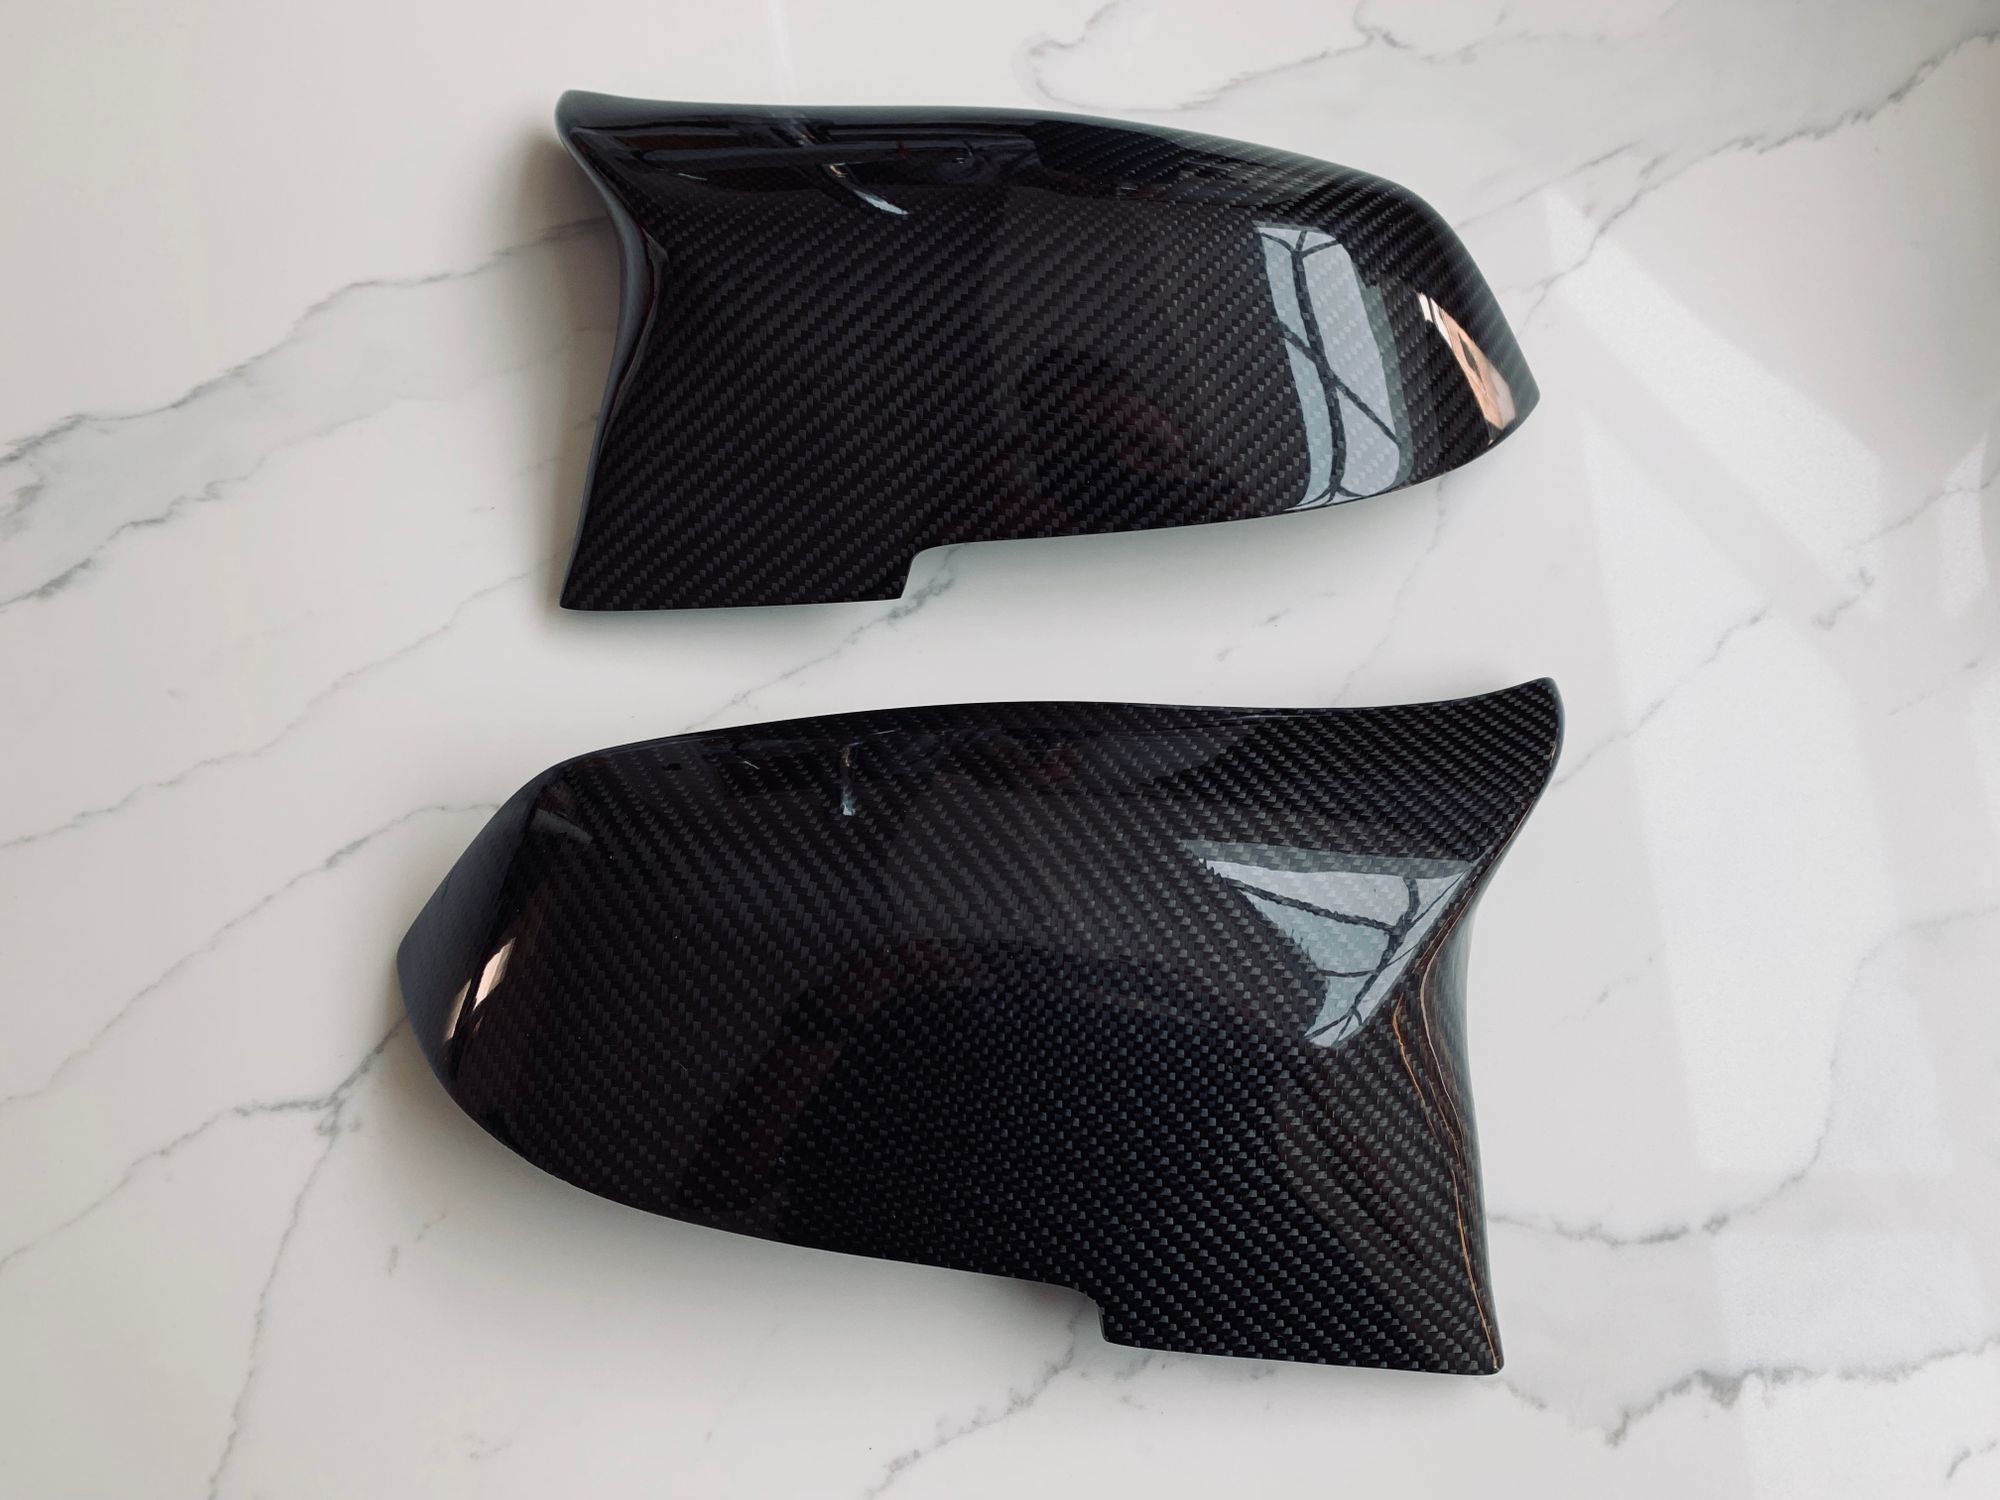
Being made of carbon fibre these mirror caps weigh less than the original ones and are going to save me... Nah just kidding I got them because they look good!
Purely cosmetic, but who doesn't like a bit of carbon fibre?! (that was a rhetorical question btw)
Awron Gauge
With the extra power so far, and tweaks made to the car, keeping an eye on everything running nicely is always a good idea. There are temperatures and fluid levels to think of, boost pressure, fuel pressure and things like timing that are all really important to the healthy running of your engine. Most standard cars will tell you if they're overheating, and maybe low on oil, but that's about it. For a modified car, and one that's going to be pushed hard, I need a lot more access to a lot more data about exactly what's going on inside the engine to make sure there aren't any serious issues. Having access to this kind of telemetry means you can spot issues before they become big issues and potentially avoid costly damage.
There are several ways to go about this and some people buy a Bluetooth device that plugs into the car and links to your phone to display this data. That's good, but it's not going to work when I'm out on the track so I wanted a gauge mounted in the car so I can quickly glance at the data. There are a couple of aftermarket gauges out there and the Awron and P3 caught my eye as the best candidates. In the end I went for the Awron for the really slick integration into the car, the awesome OLED display and the features are a lot more extensive too.
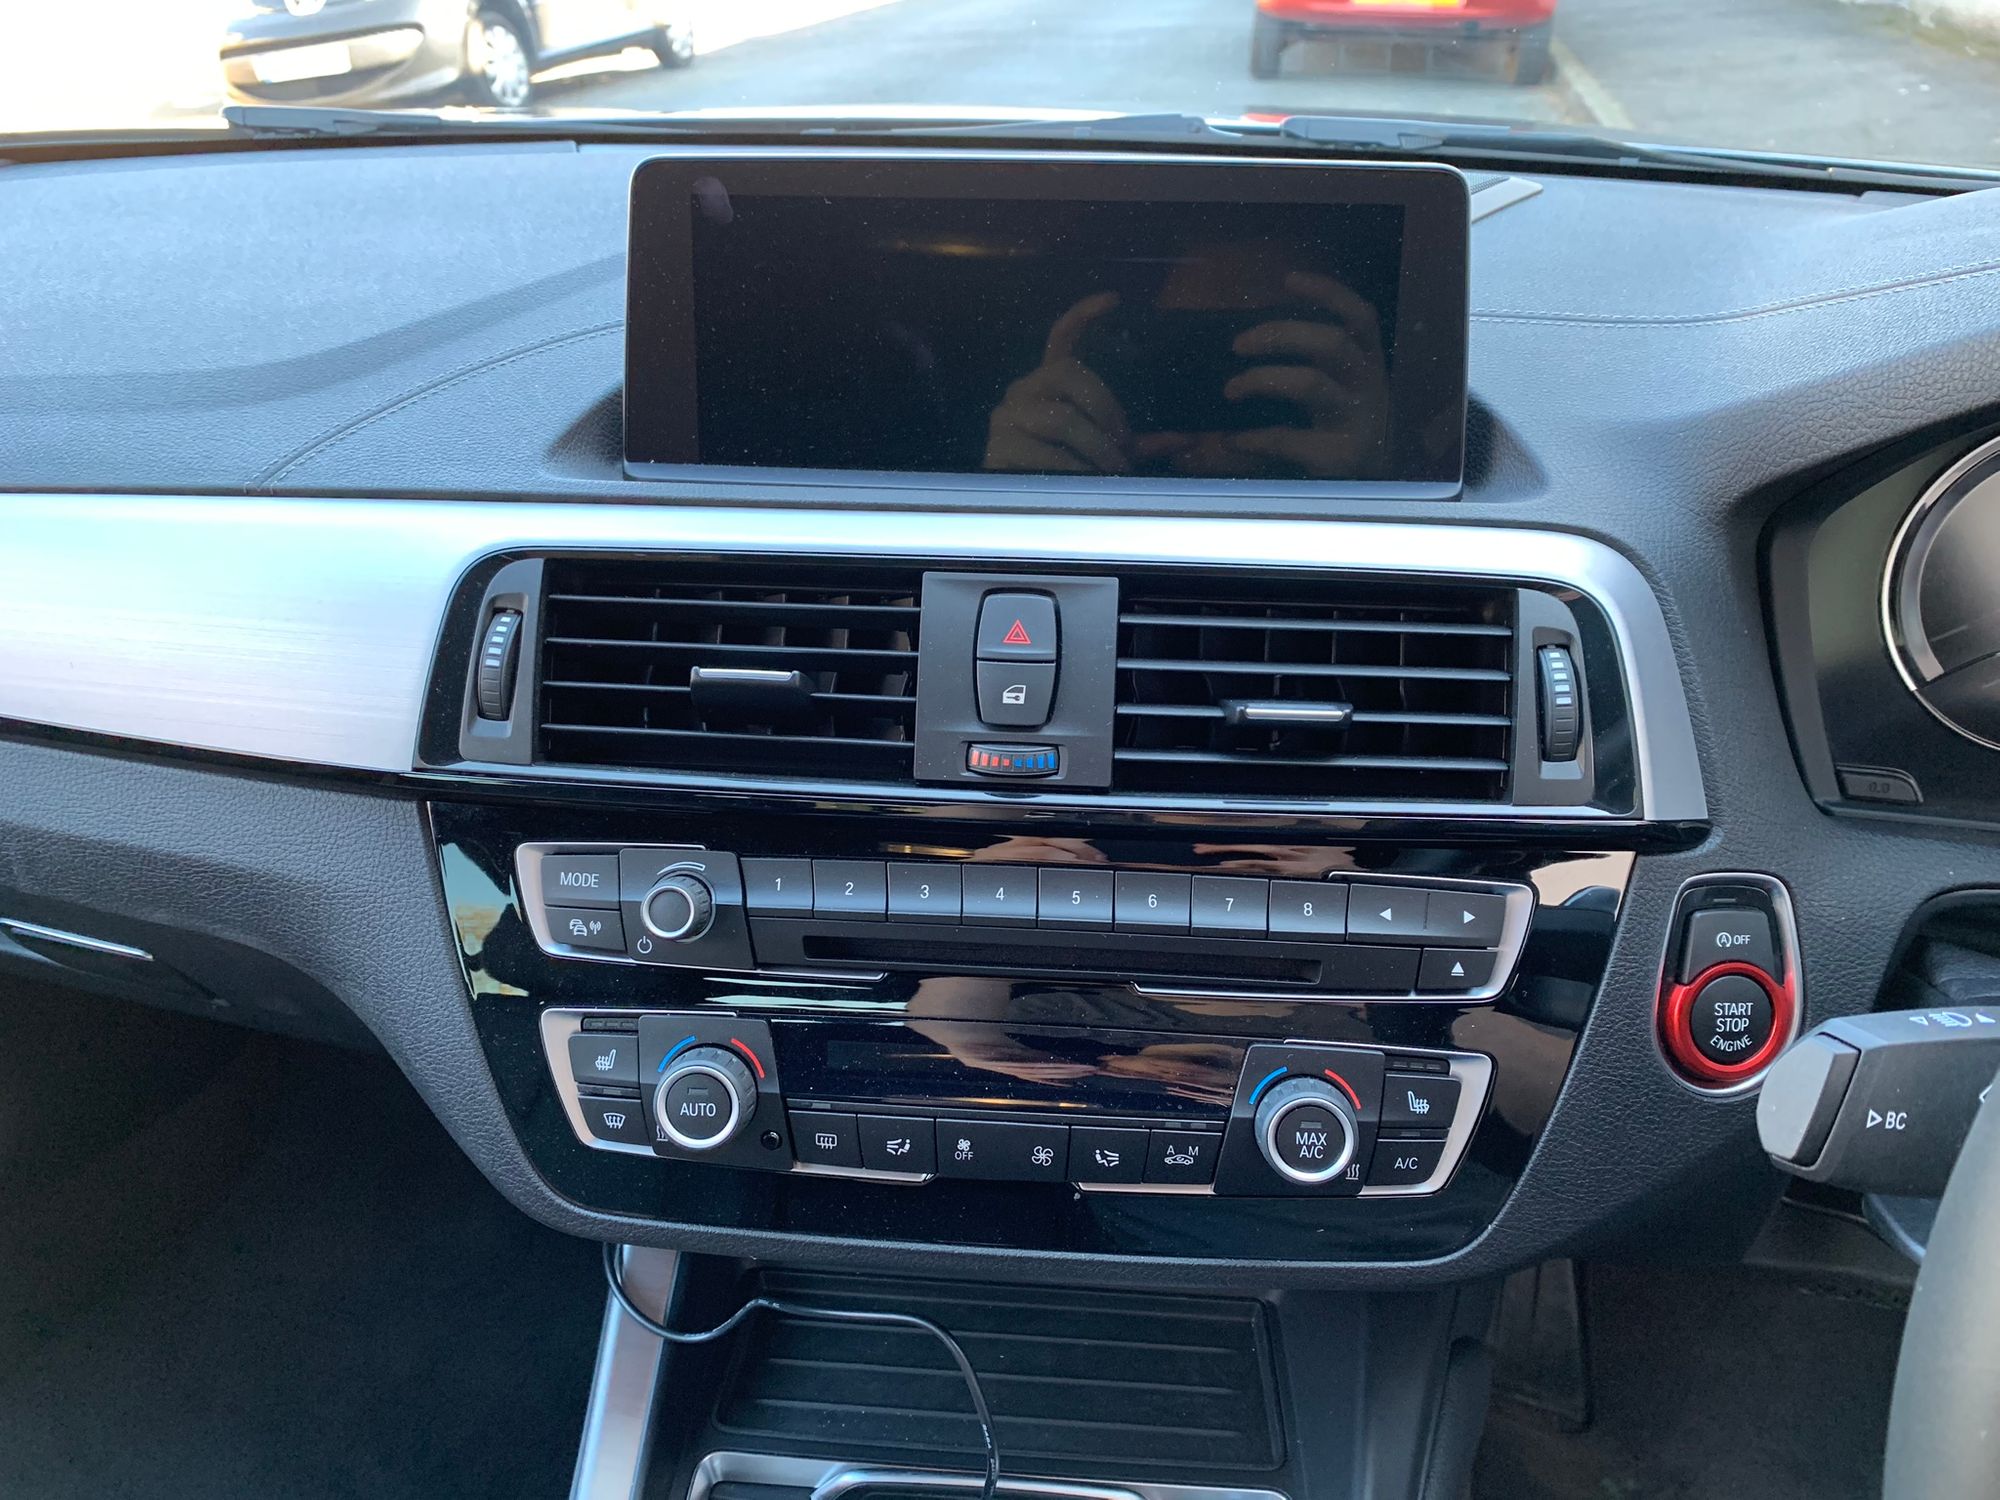
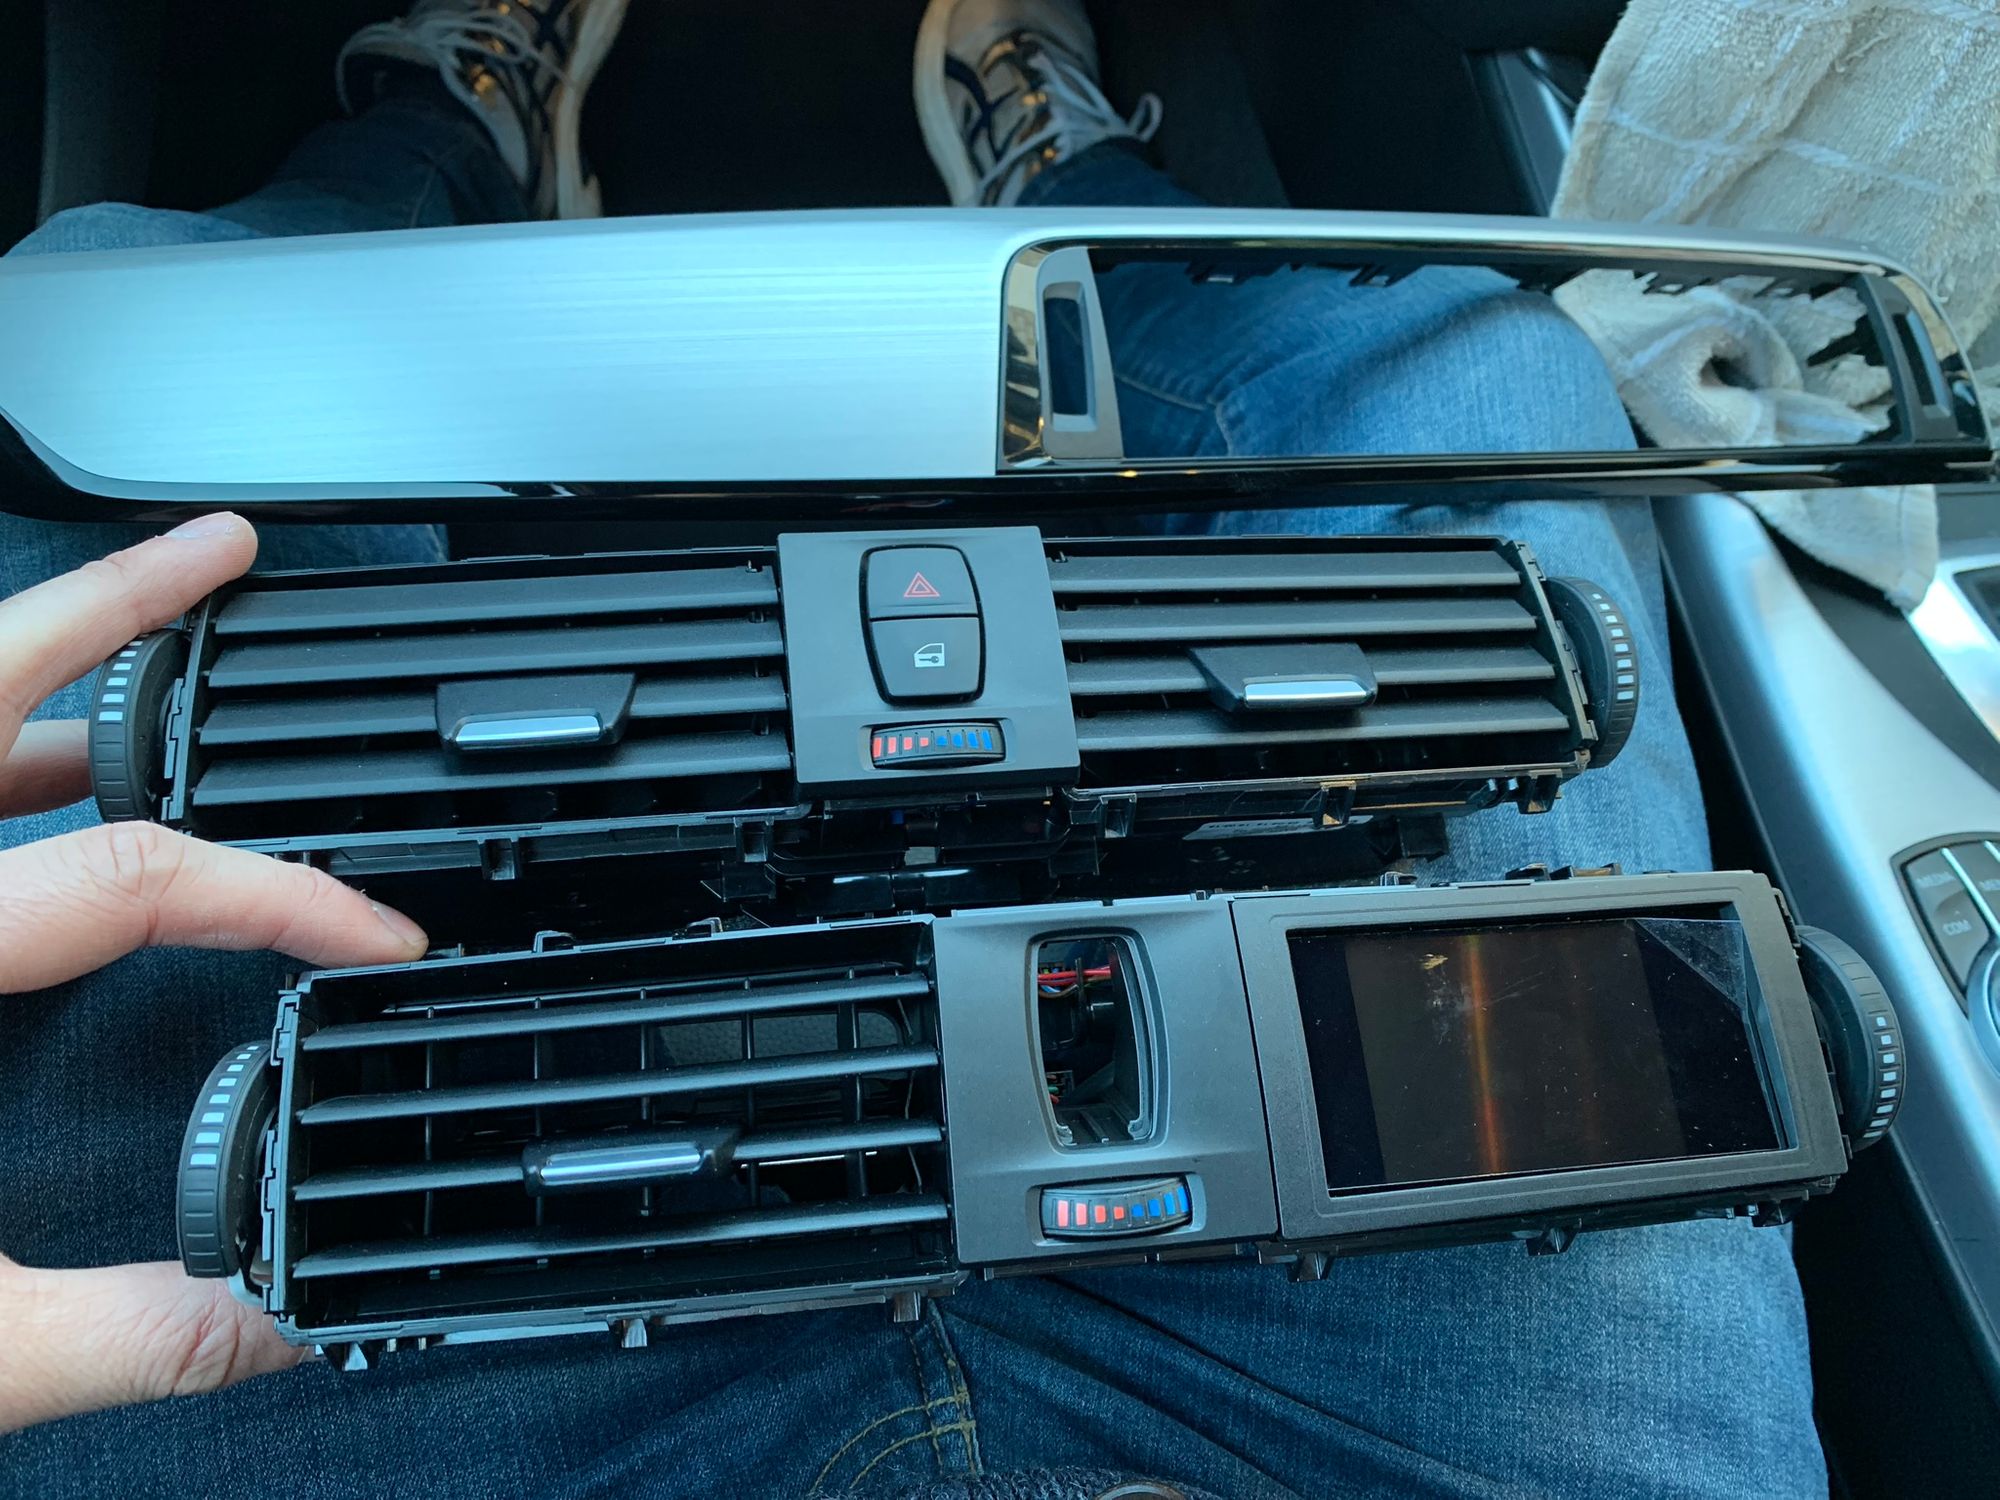
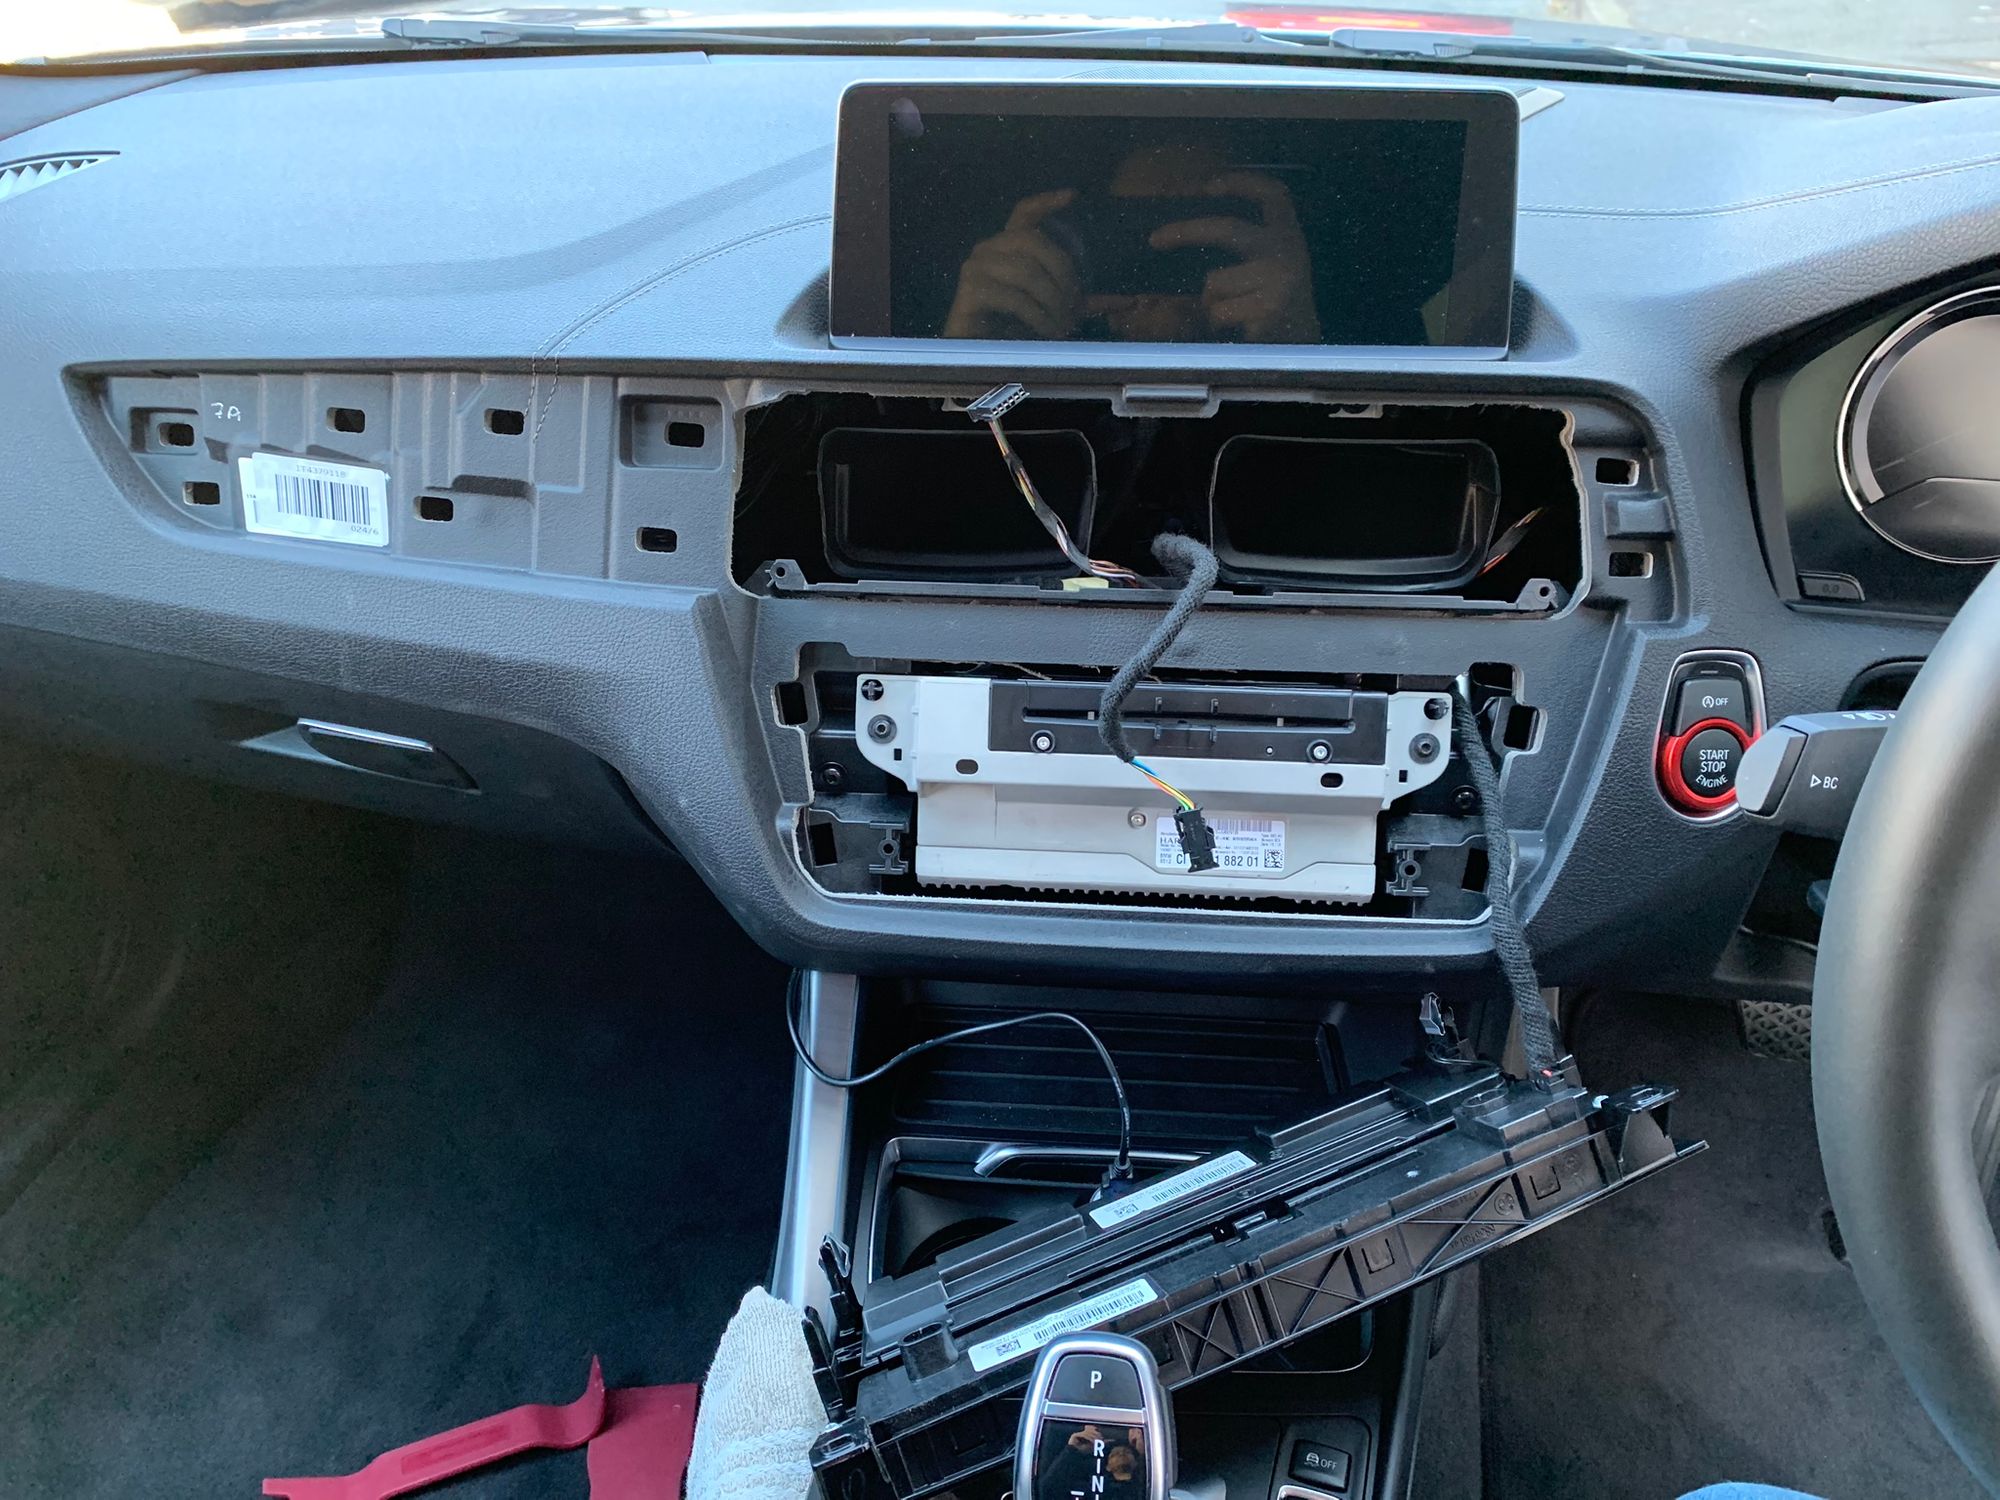
The gauge itself replaces one of the air vents in the car and Awron order a new vent unit from BMW Germany, fit the gauge into it and ship me the whole unit and all I had to do was wire it in. "All I had to do"... Here's the dash before I got started.
And here's the new vent unit that Awron ship out with the OLED screen in there.
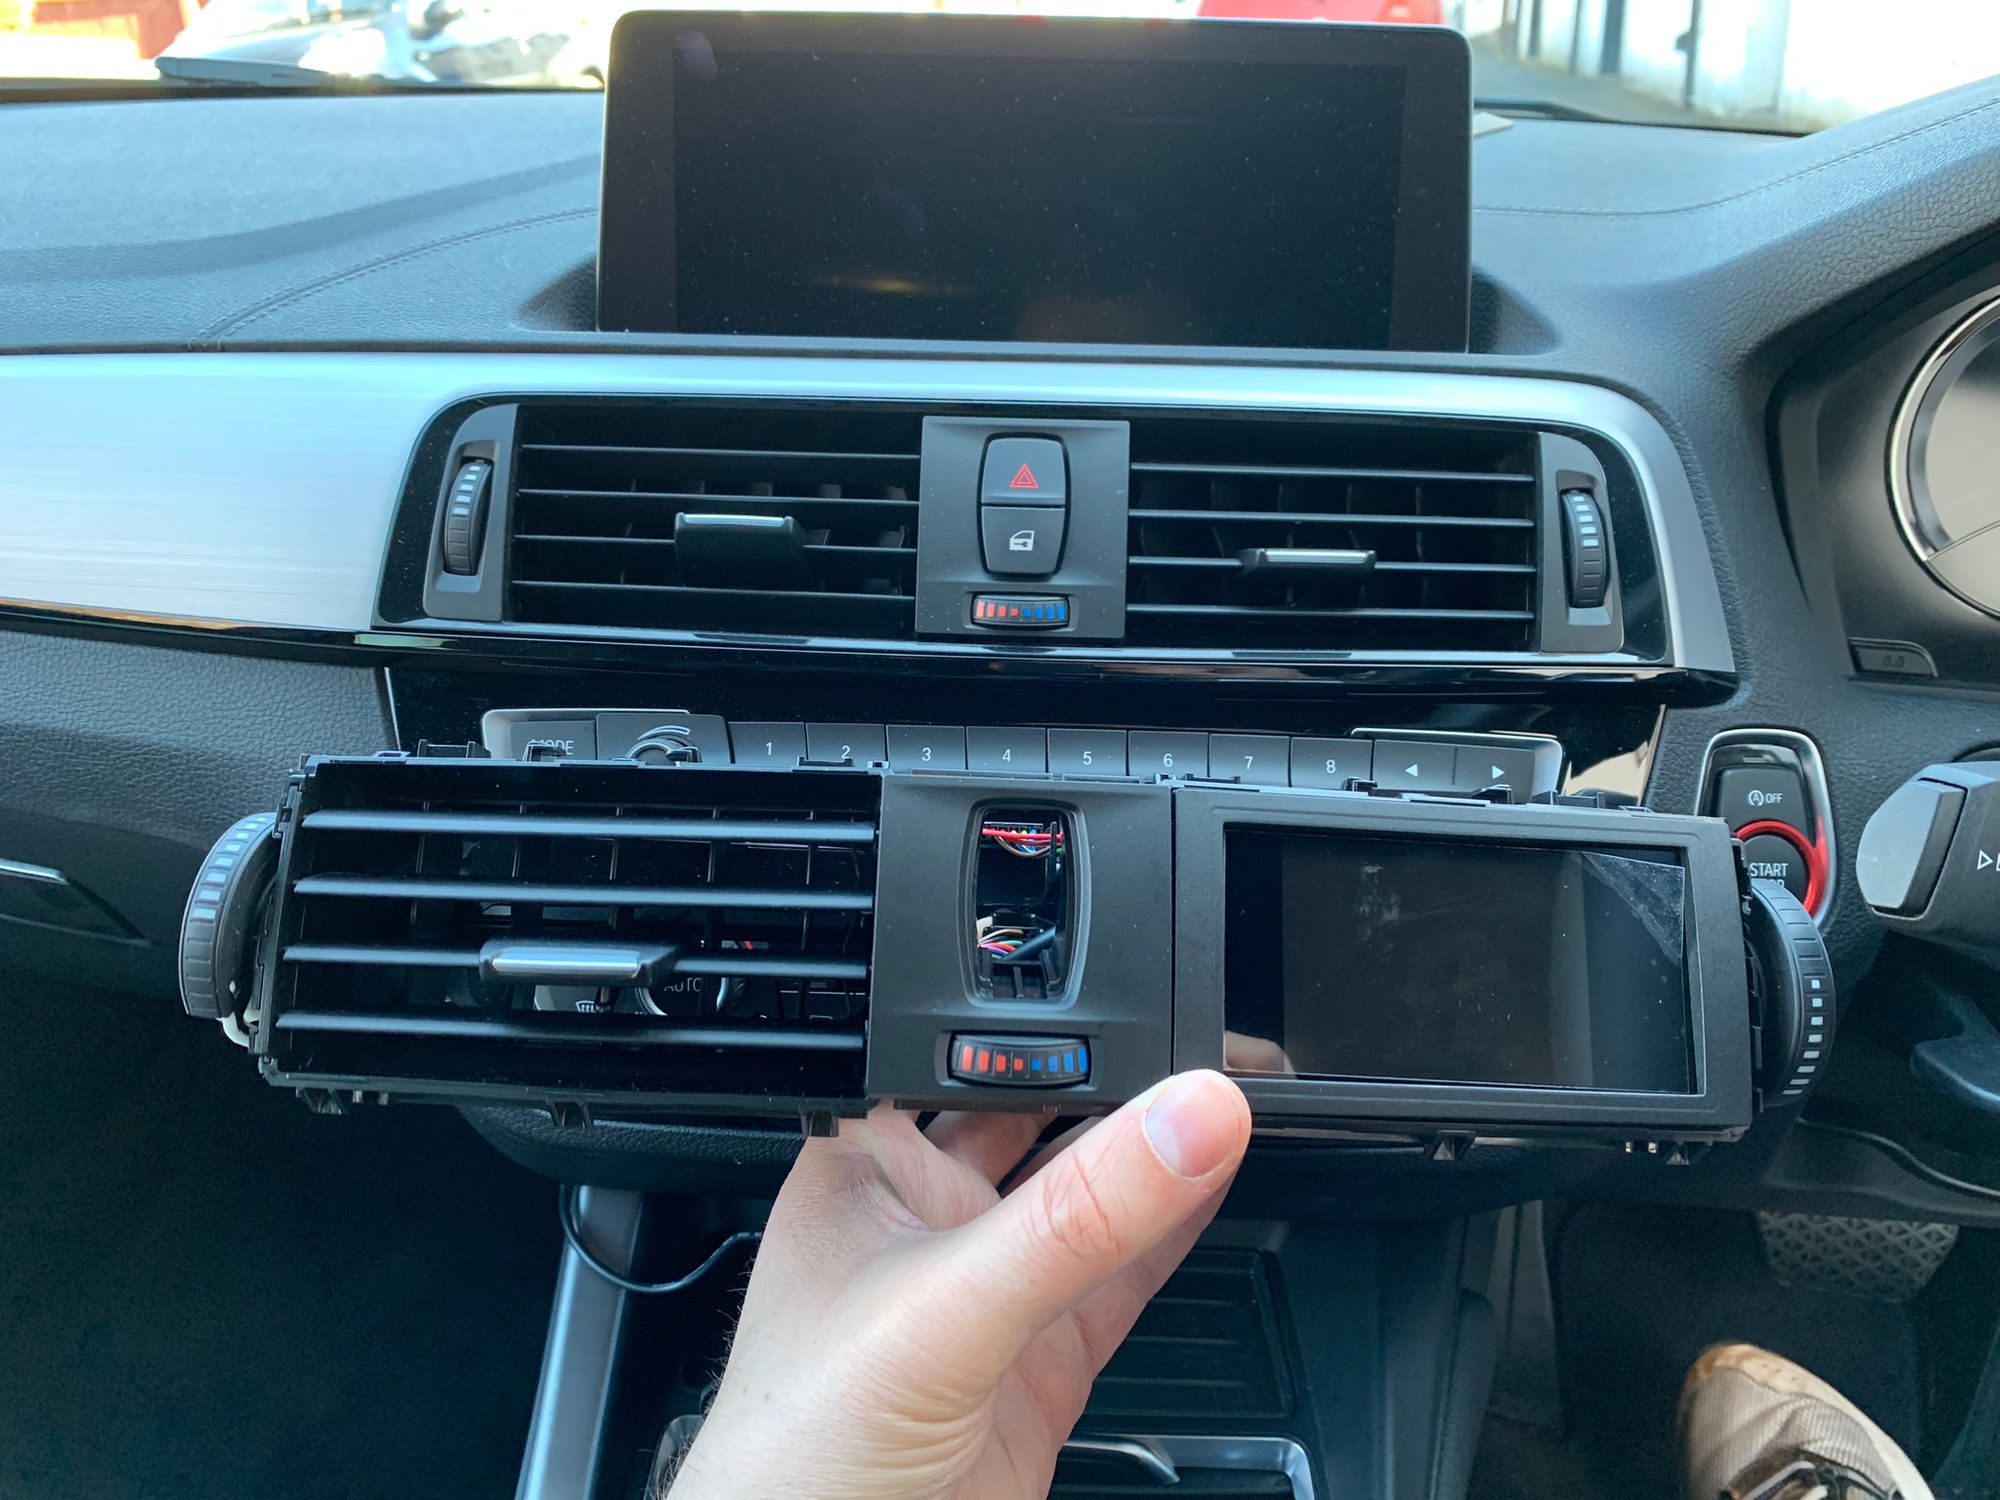
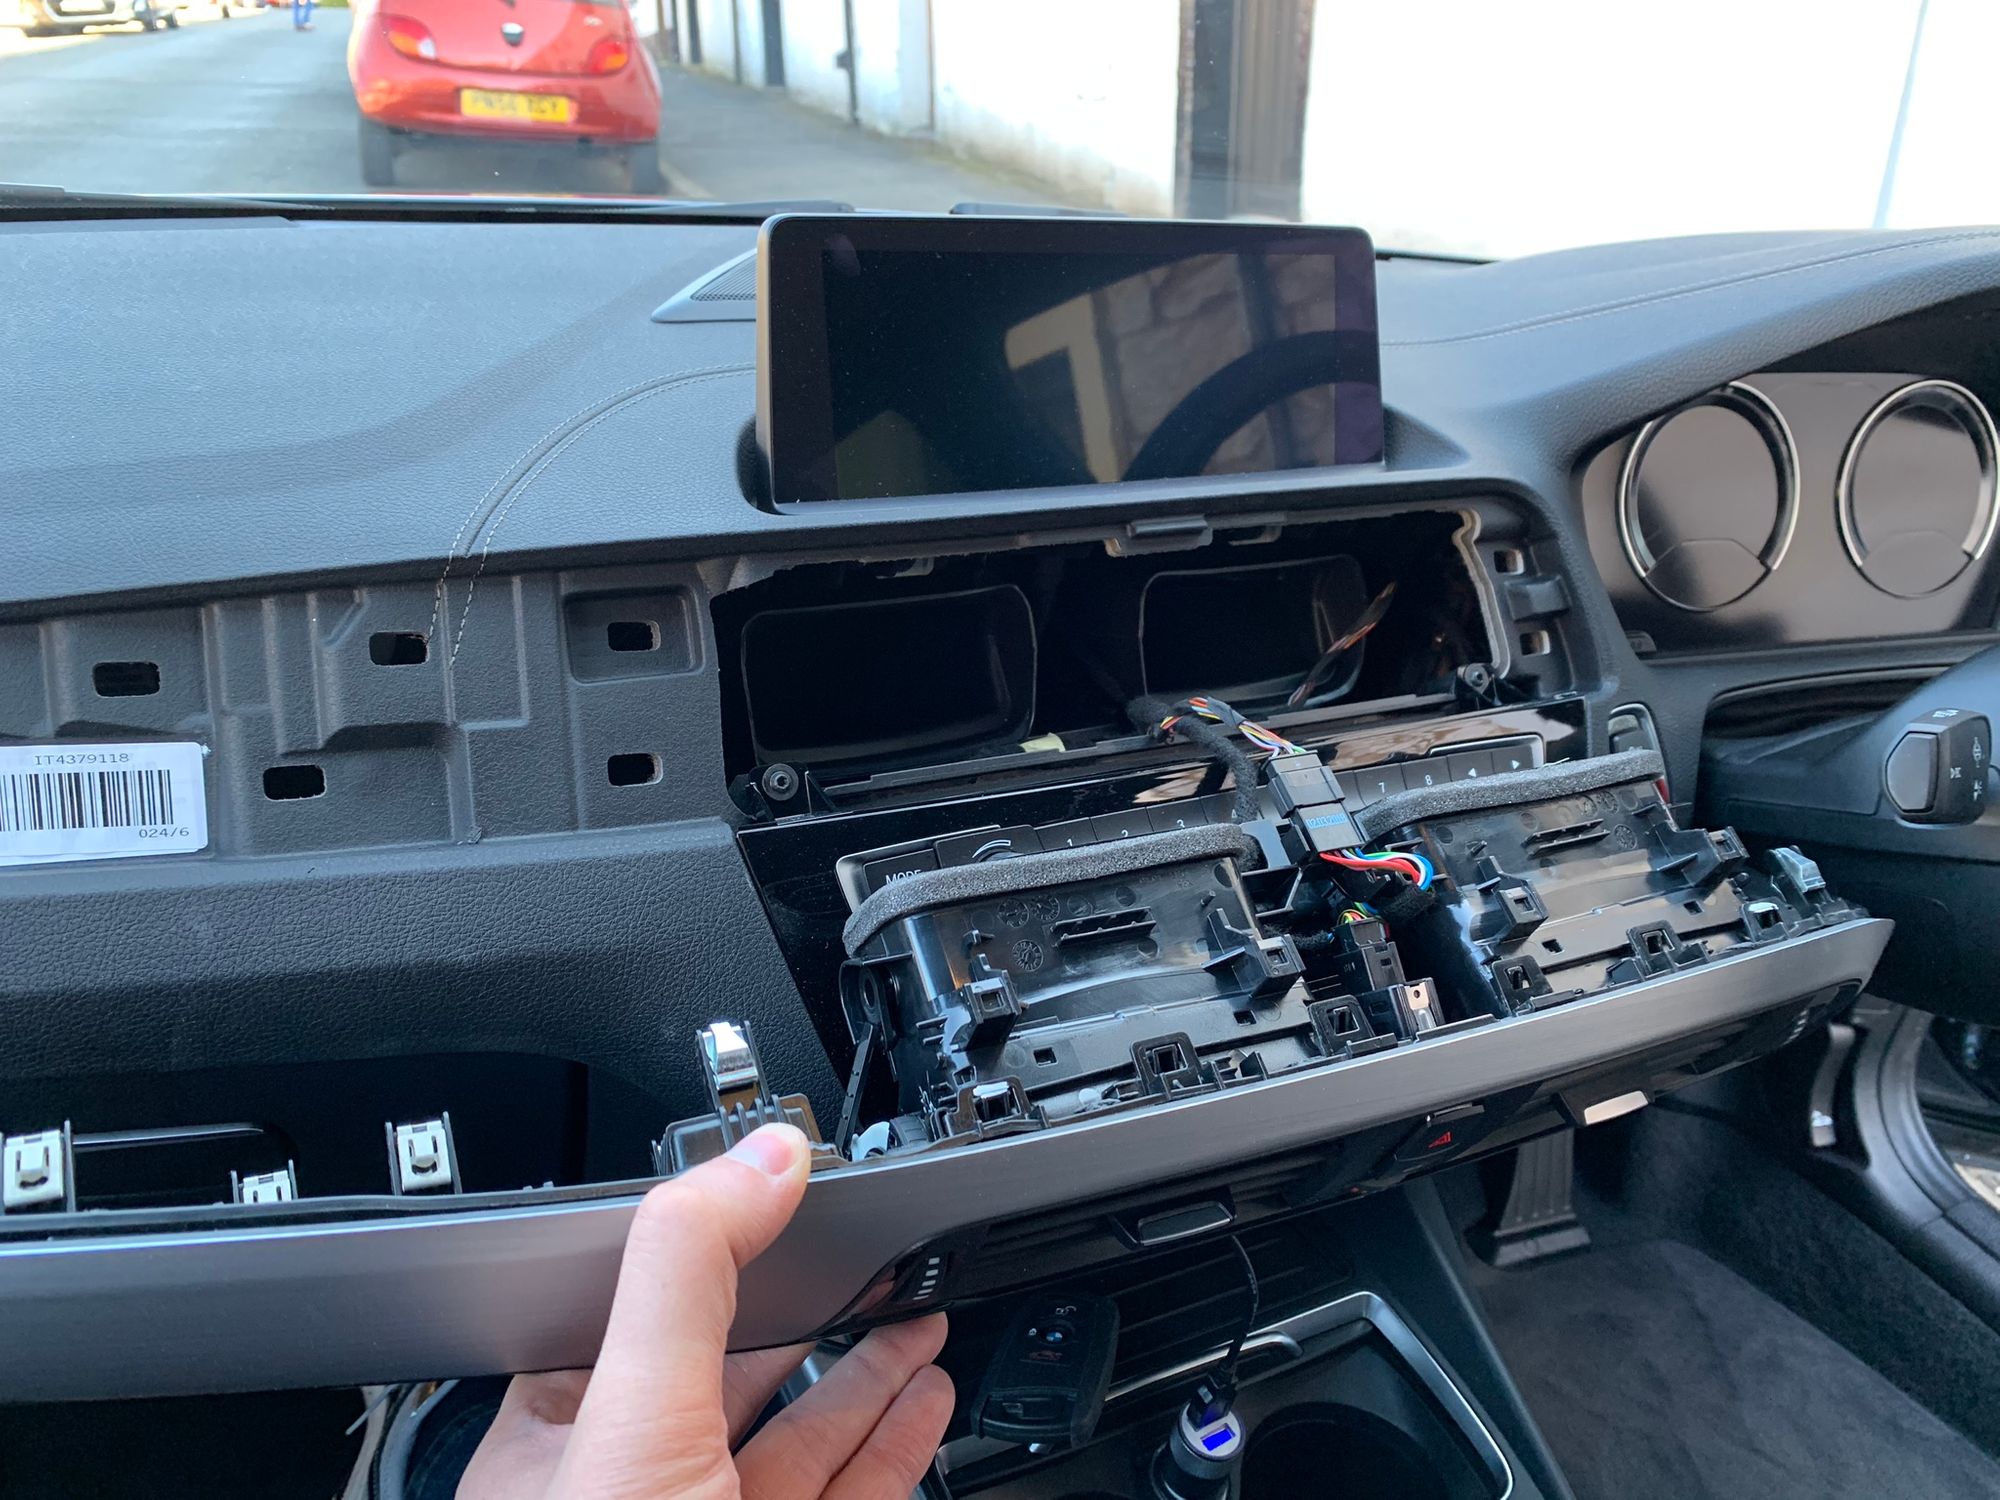
There's only one thing for it and it's time to get stuck in and start dismantling the interior to mount the screen and run the necessary wiring looms.
Putting the screen in was actually the easiest part as most of trim panels pop out or just have a few small screws holding them in.
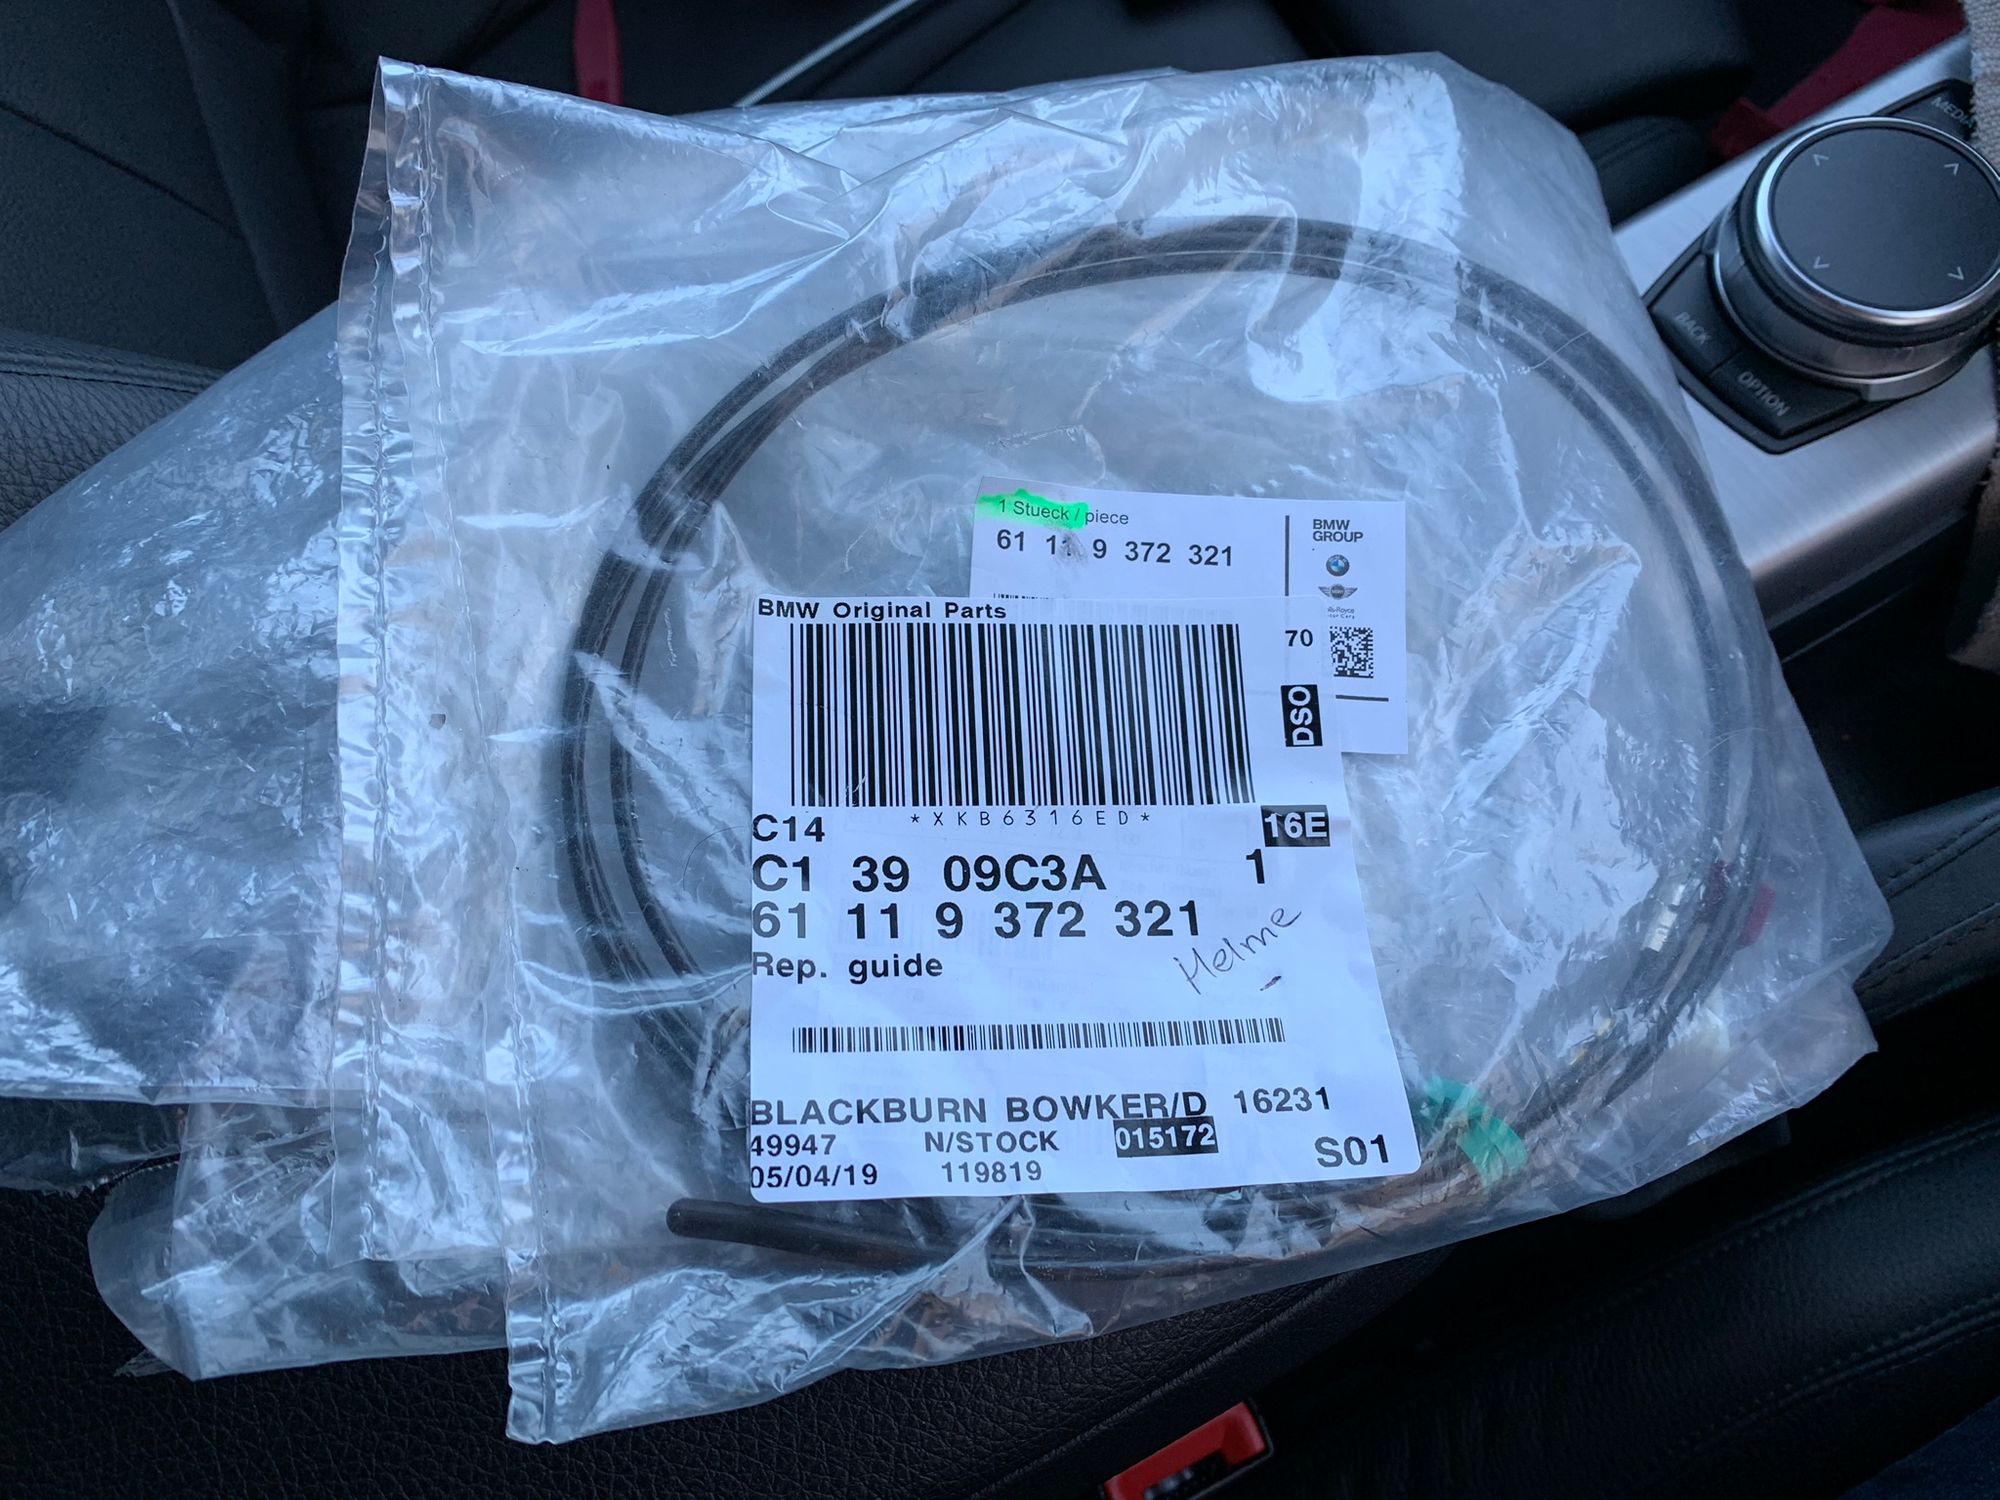
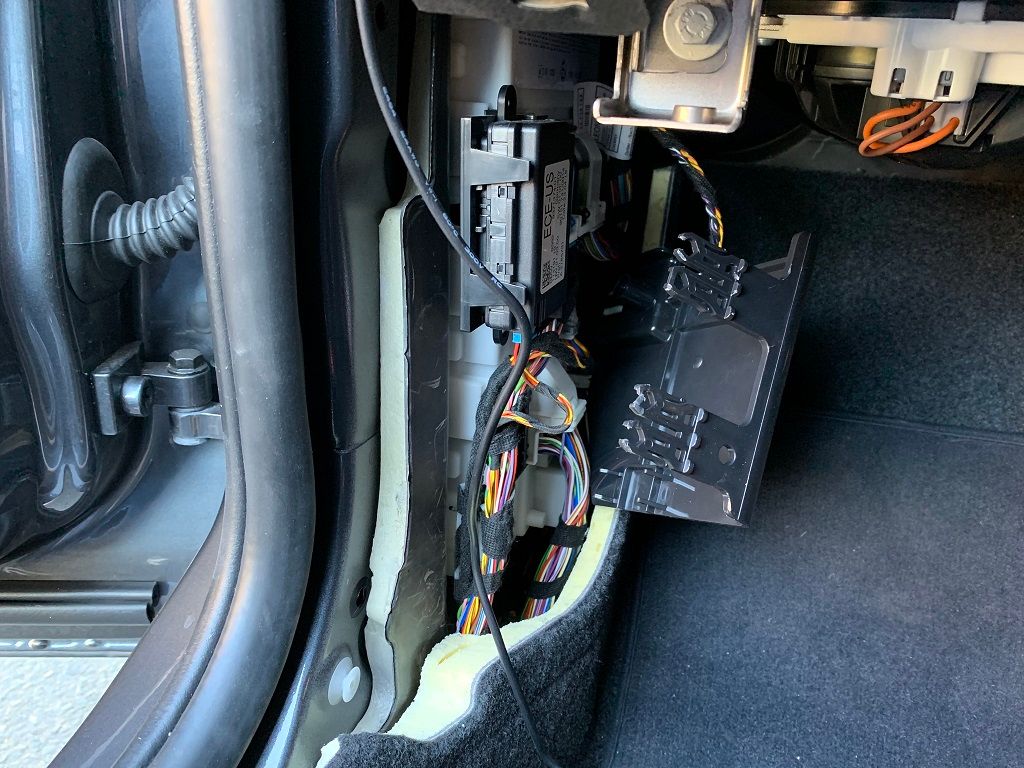
Whilst I was deep inside the dashboard I added another part for a future retrofit too, to save me the trouble of having to come back in here later. My car didn't come with the WiFi antenna from the factory because an option wasn't specified when it was purchased. BMW have no official retrofit kit so they wouldn't install it (computer says no) so I bought the part myself and put it in while I was here. It simply plugs in to the back of the head unit and you feed the wire into the cabin for better signal strength and hide it behind the plastic trim panels. Here's the WiFi antenna.
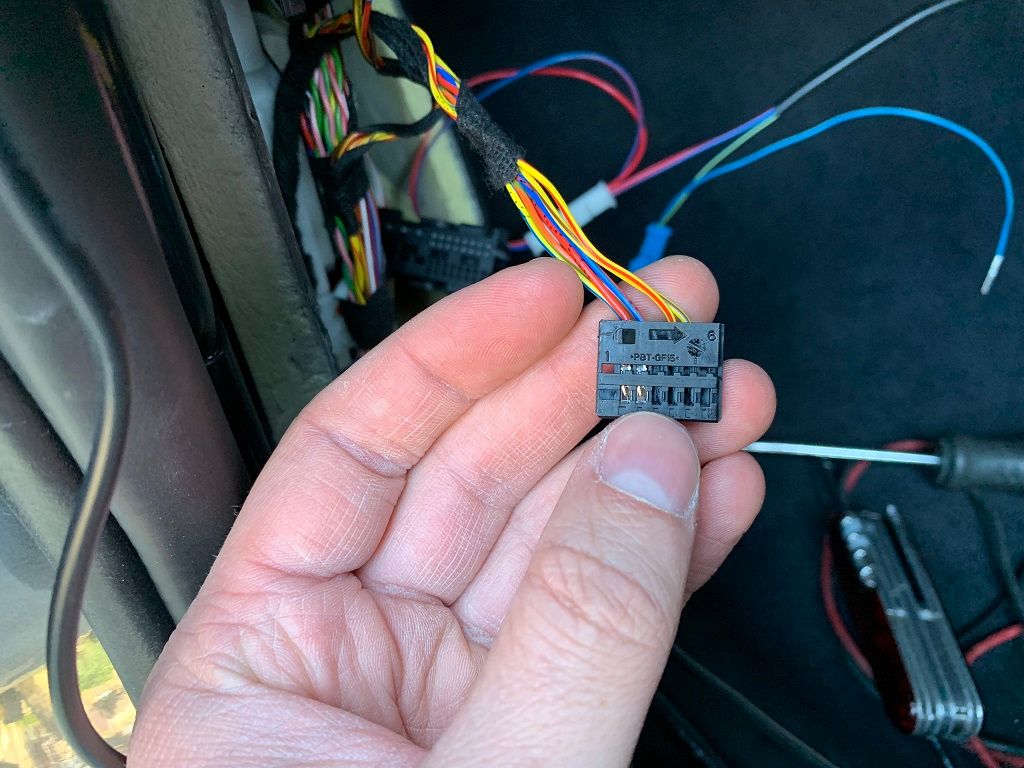
It plugs into this pink connector here that isn't populated at present.
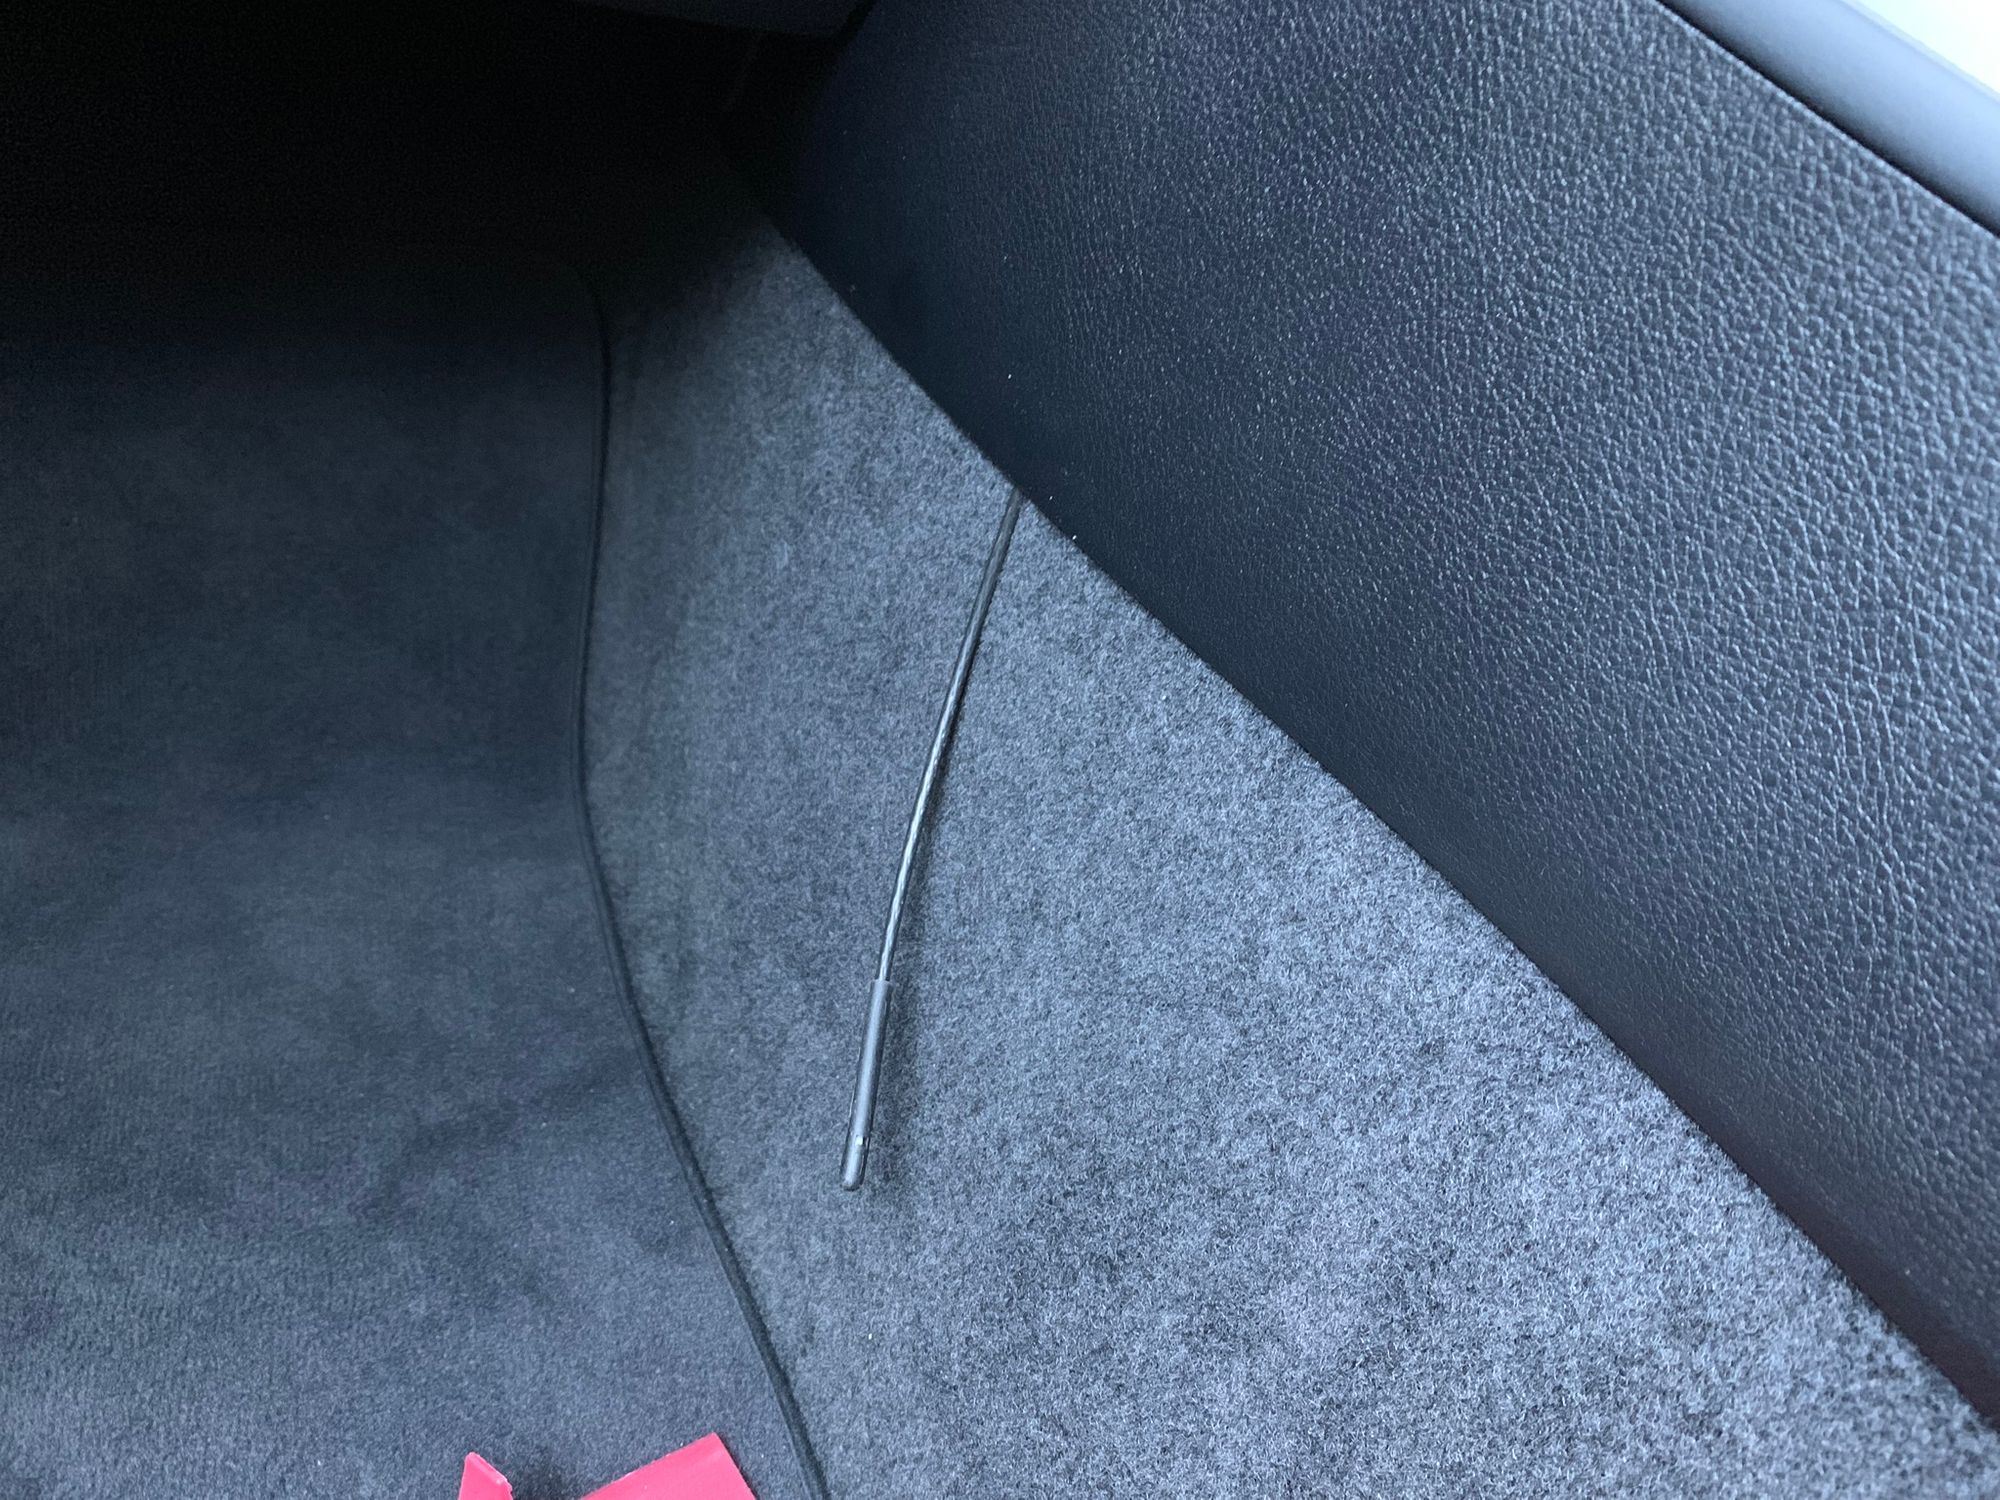
Then it gets fed down the back and into the cabin to be tucked up along this black trim besides the front seats.
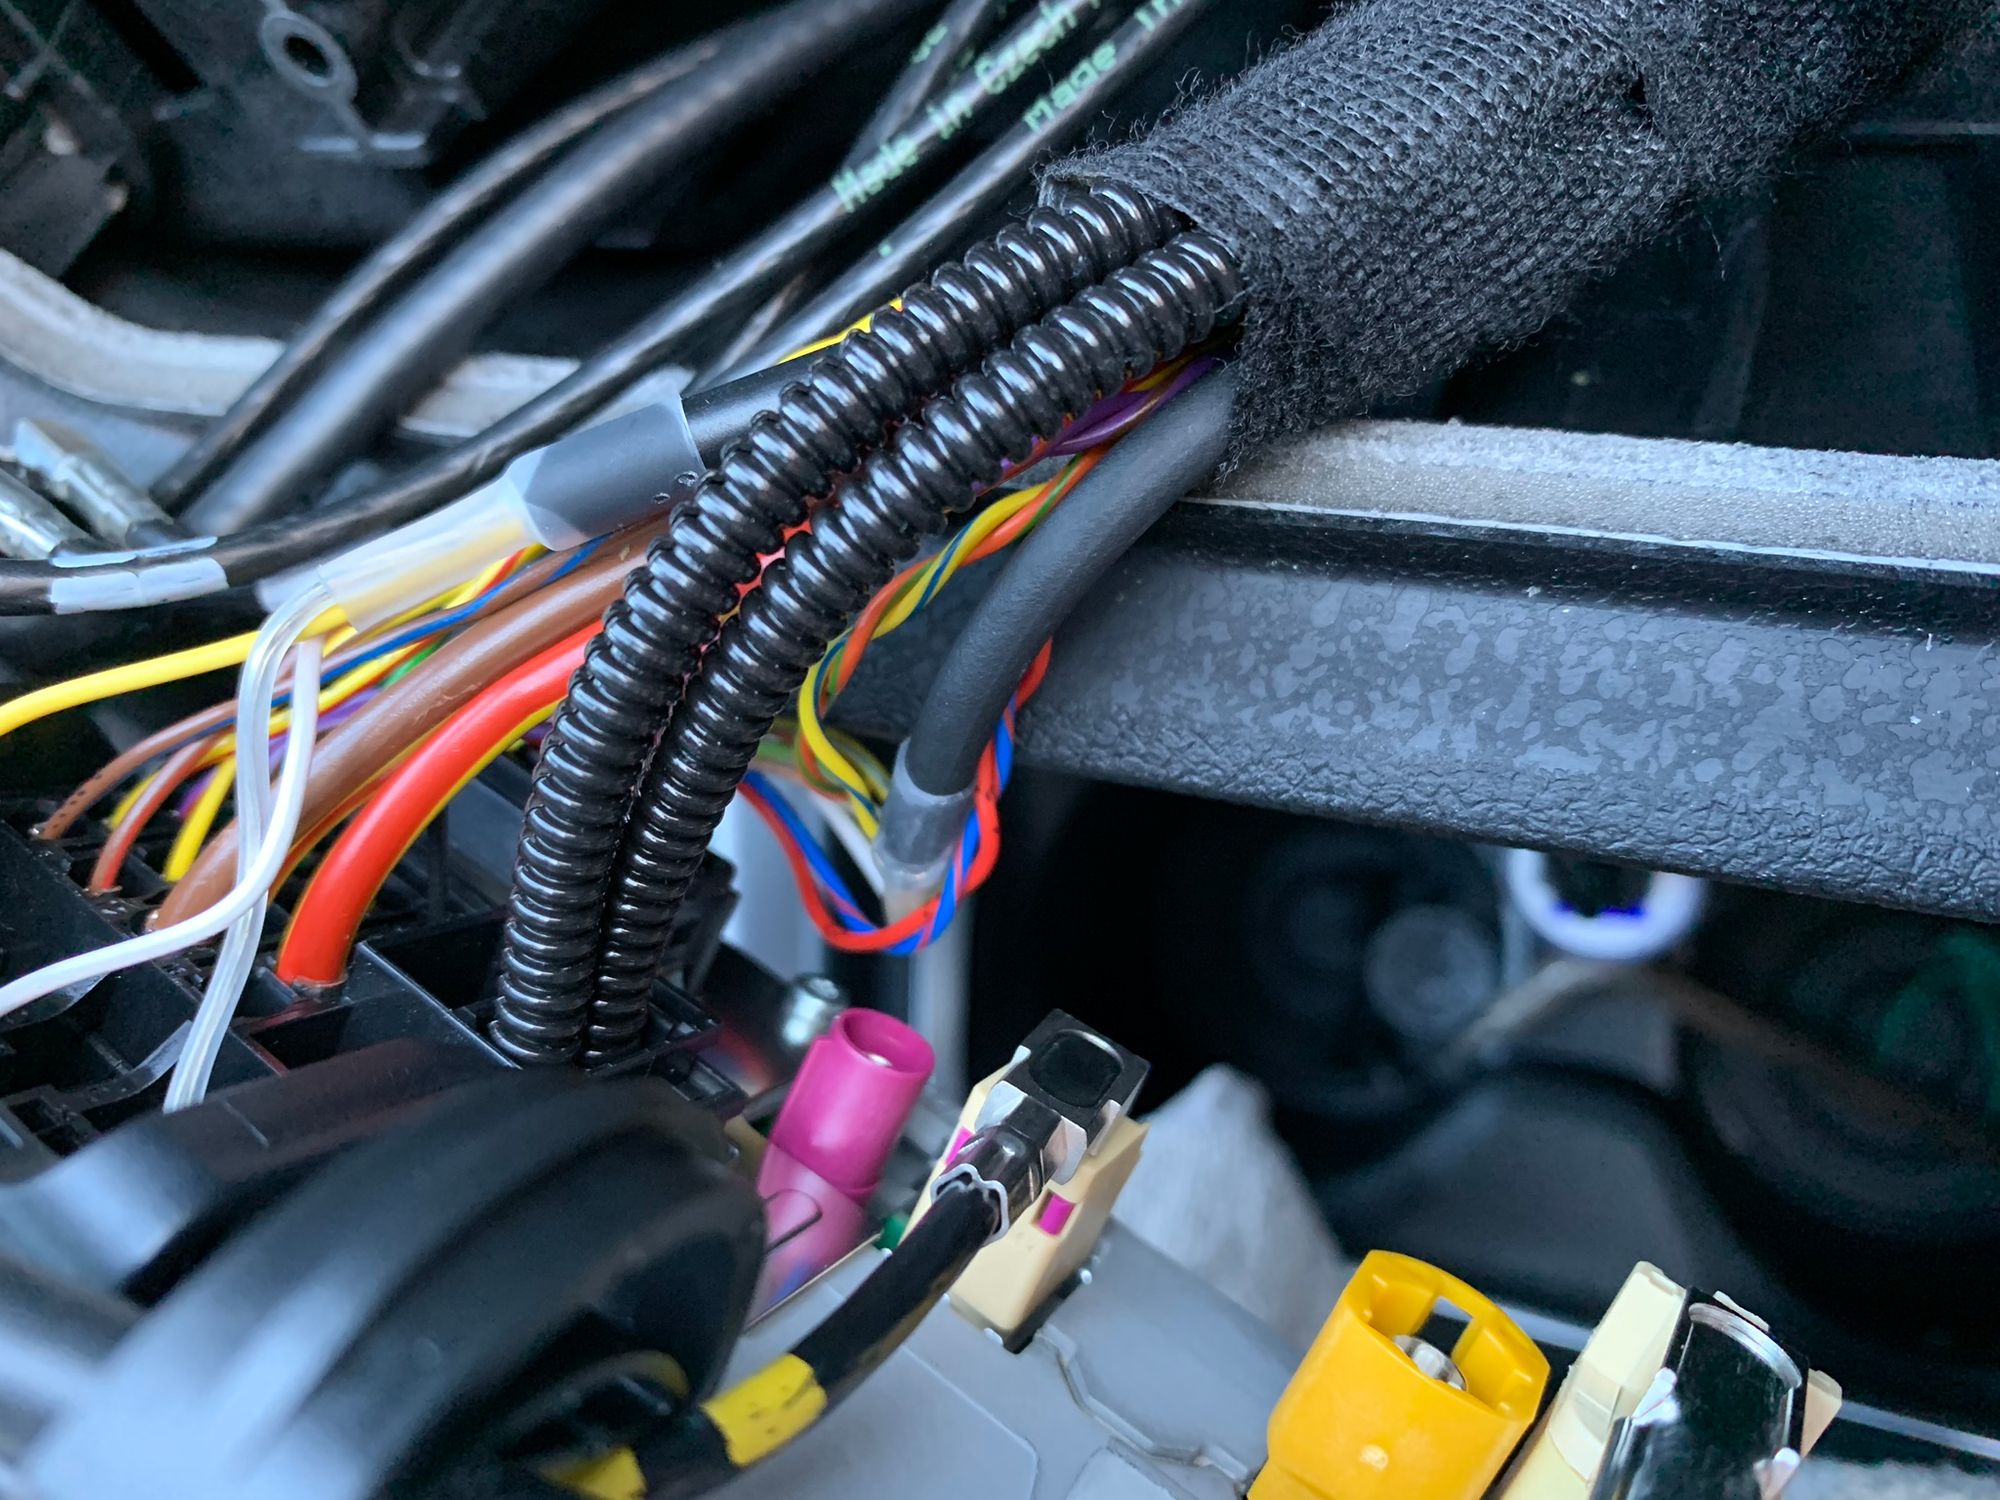
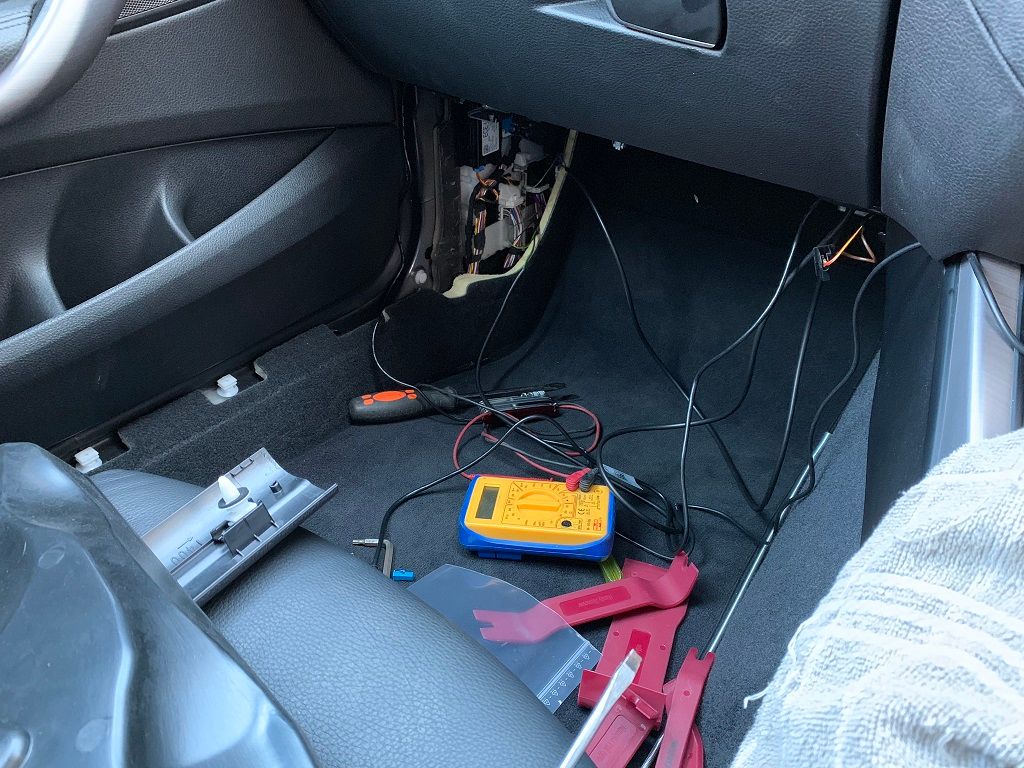
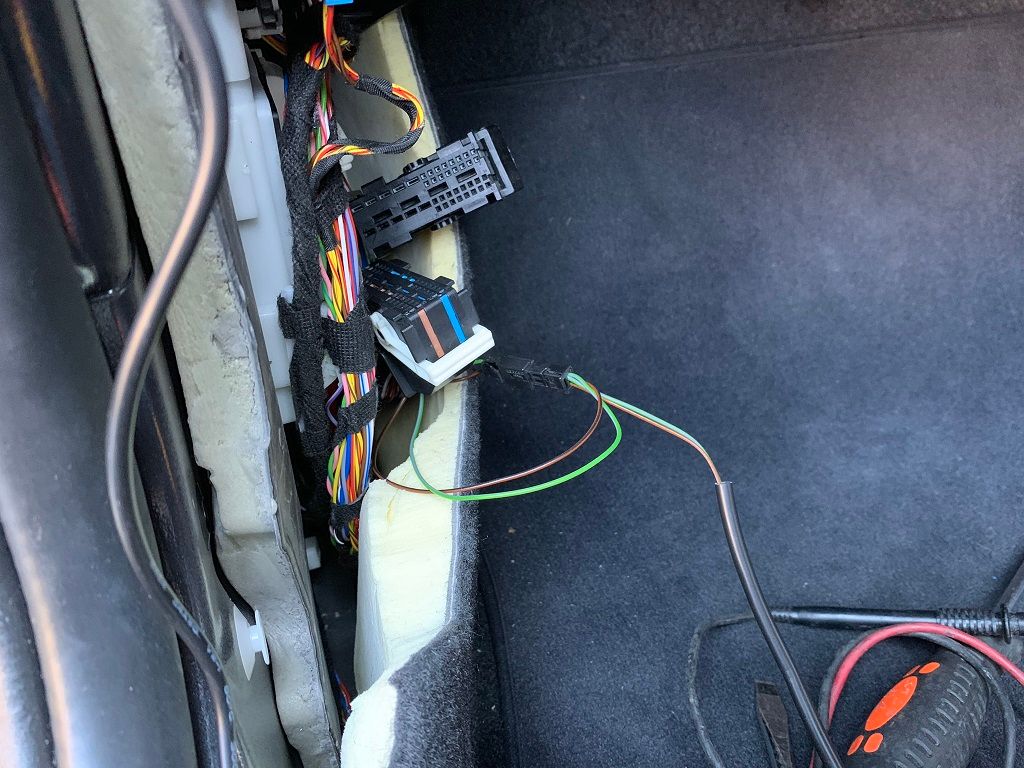
Anyway, back on with the main job and I will tell you what that was for in a later post in the series. The gauge was almost ready to be wired in and as much as this job was a pain, the gauge was a slick piece of kit it's just that the installation is fiddly. There was no cutting or splicing of wires, they all had their own connectors to piggyback off the ones in the car. I opened up the foot well and removed the trim panels to get to the FEM (Front Electronics Module), removed the appropriate connections, installed the piggybacks and then reconnected them all. I love how that can be explained in a single sentence and made to sound easy, but what I was actually dealing with was this...
Still though, the instructions were great and all you had to was identify certain wiring looms, find the necessary connector, pop out the pin, install the piggyback and then put the pin back. Simple!
It's always a really good idea when doing work like this to turn the car on and see if the gauge works before you re-assemble everything. You should also check to make sure that nothing else has stopped working after you've tinkered around with a bunch of electronics. The gauge worked and everything look good on the test so I was happy.
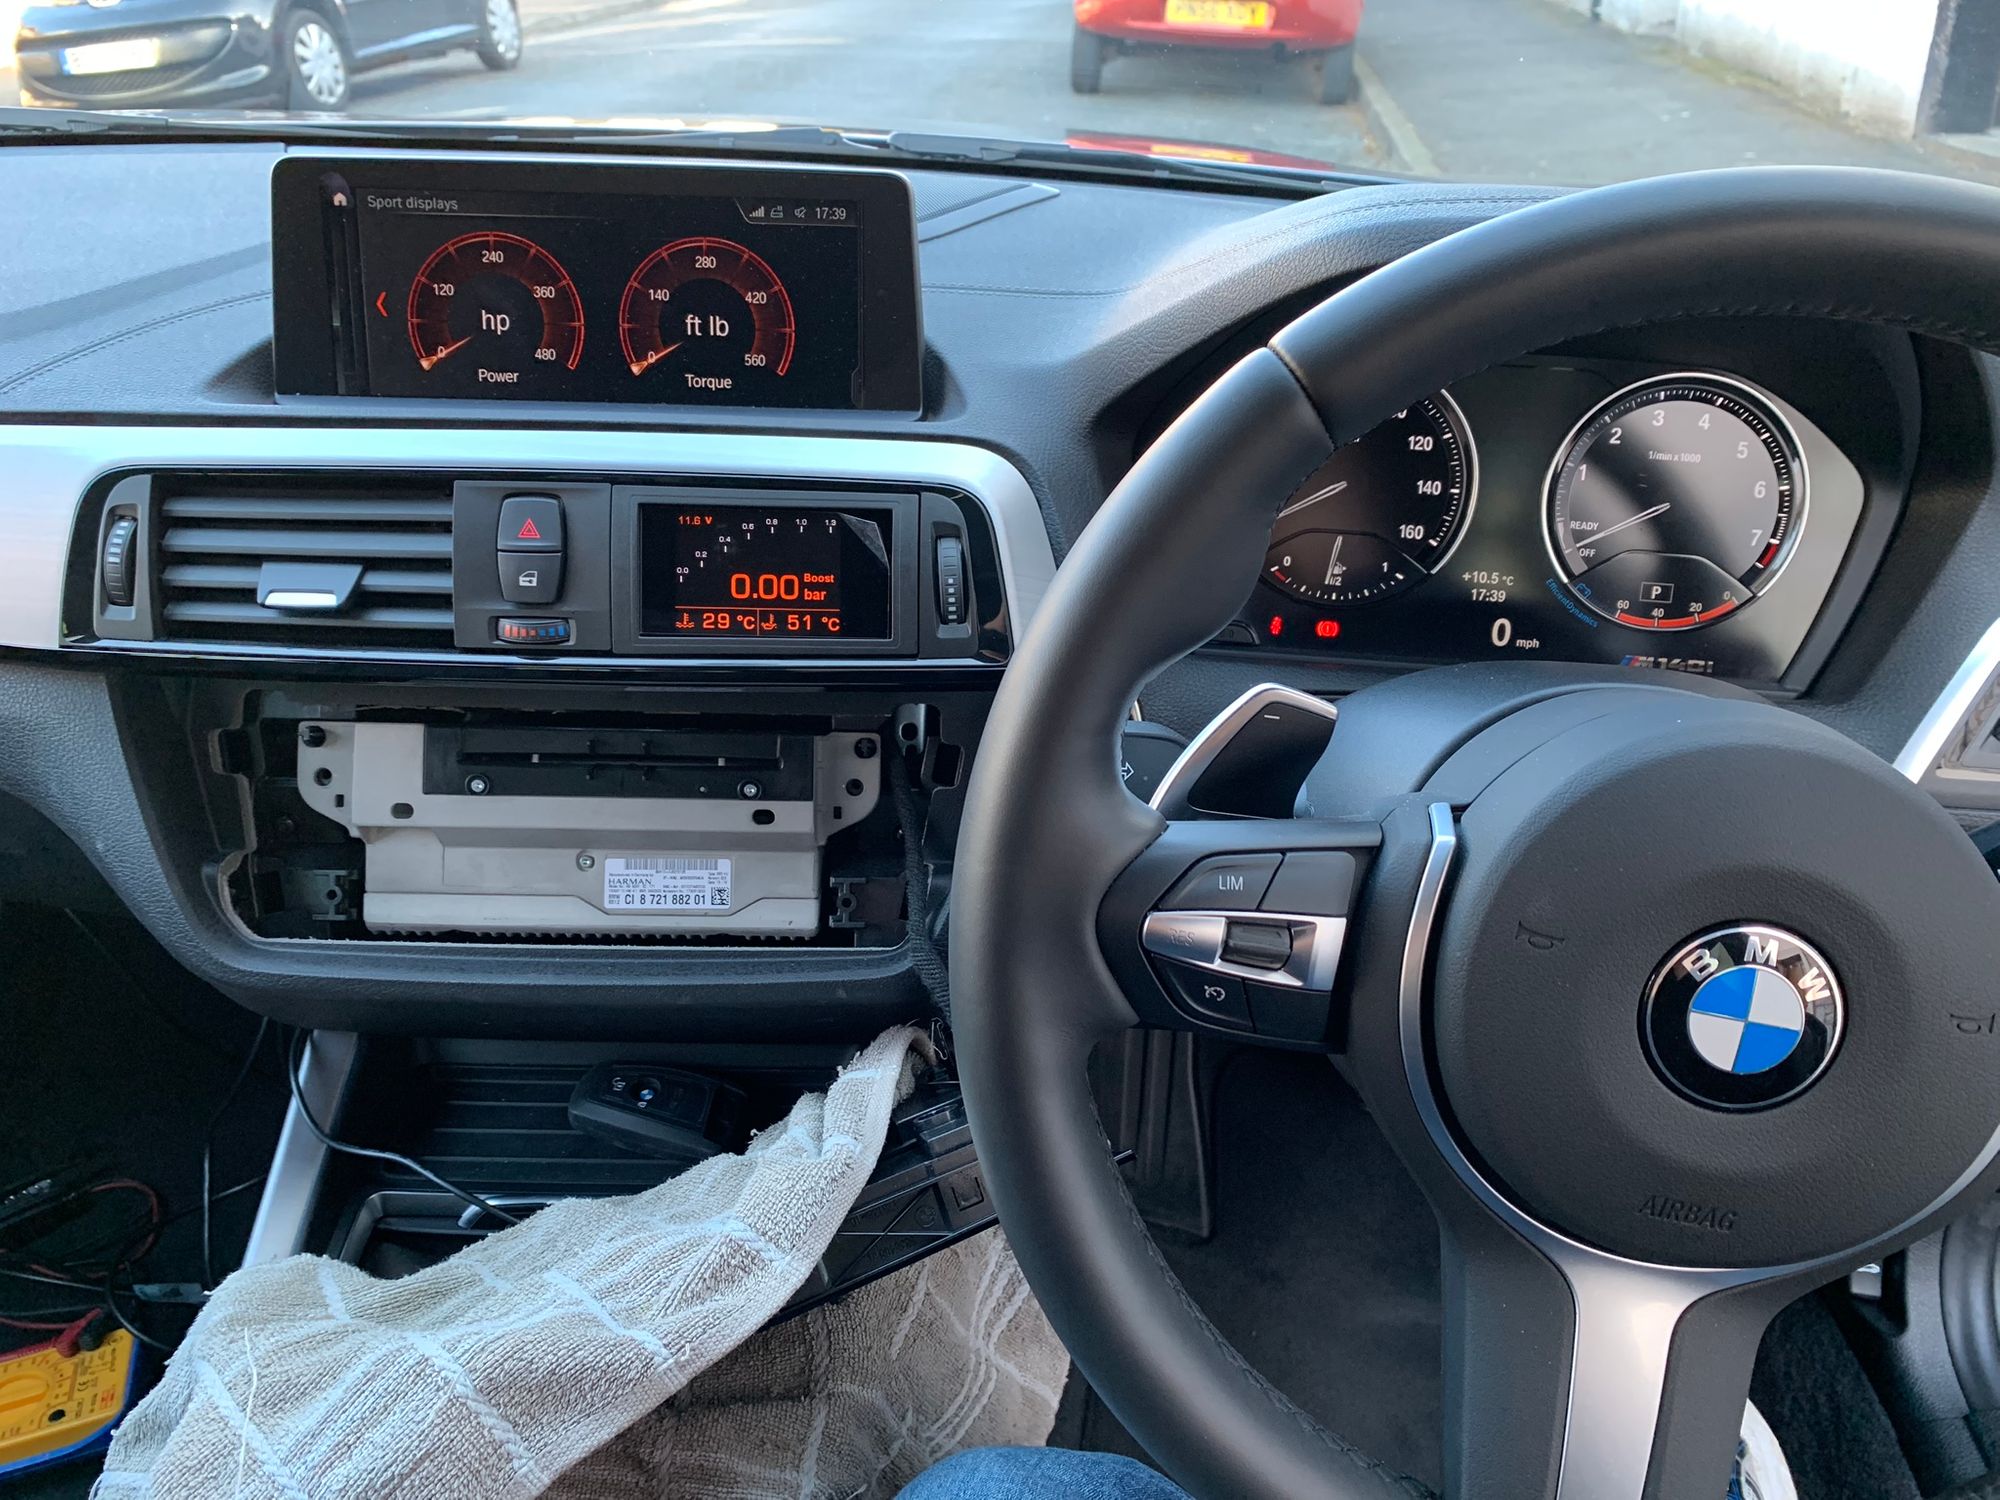
With the gauge wired in to the car and everything put back together, I was super impressed with how it really didn't stand out that much at all. By sitting nicely in one of the vents it really blends and looks almost OEM. Controlling it is pretty cool too because you control it with the cruise control buttons on the steering wheel, it's fully integrated! When the cruise control is off, the buttons control the gauge and when you arm the cruise control the gauge lets go of the buttons and they do normal cruise control functions. This is part of what a lot of the wiring was about, having this effortless integration, and it was worth it. Here is a quick flick through the main features of the gauge.
I can now keep a close eye on critical things like the oil/coolant temps, boost pressure, fuel pressure and more with just a quick glance! This is a great piece of kit and was well worth the money and time to install.
More to come!
Getting the brakes upgraded on the car was definitely a smart idea, especially as I'm going to be chasing even more power in the future. There's no point in going fast if you can't stop fast, that's just a recipe for disaster. The mirrors were cosmetic, yes, but the gauge is going to serve a really useful purpose once the car sees some real action. In the next part I'm going to look at some more interior mods to compliment the gauge and add more functionality, and I will also tell you what that WiFi antenna was for too.
Parts
Here's the list of parts used in Part 5 and where you can get them:
M Performance Big Brake Kit (front)
M Performance Big Brake Kit (rear)
View all of the other blog posts here: The BMW M140i Project Series