
I've been using Ubiquiti networking equipment at home for quite some time now and I've honestly not had a single complaint to make. Recently, Ubiquiti reached out to me and asked if I wanted to try out their latest generation of kit and given how awesome my experience has been with my current setup, how could I refuse?
My Ubiquiti Home Network - V1
It was Dec 2016 when I wrote about My Ubiquiti Home Network, which I'm now going to brand as V1, and what drove me to replace my existing setup with Ubiquiti hardware. It was quite a bit of money to shell out on network kit for my house but I was pissed off with the equipment provided my ISP, bought my own and then got fed up of trying to make stuff work with custom firmware. I bought the whole setup you can see here in my tweet.
Boy is my wife going to be mad at @troyhunt when she gets home... 😂 pic.twitter.com/Xe465BQatn
— Scott Helme (@Scott_Helme) November 28, 2016
That's a UniFi Security Gateway, 2 x UniFi AP AC Pro, 2 x UniFi Switch 8 150W and a UniFi Cloud Key to control it all. If you want all of the details of the setup and just how freaking amazing this kit is to use, check out my blog on the V1 setup. Since owning the kit I've written about:
Setting up HTTPS on the UniFi Cloud Key - which allows for the installation of a Let's Encrypt certificate on the Cloud Key to you don't get HTTPS warnings in the browser.
Securing DNS across all of my devices with Pi-Hole + DNS-over-HTTPS + 1.1.1.1 - which sees me setup a Pi-Hole and secure DNS on my home network.
Catching and dealing with naughty devices on my home network - in which we use the USG to force devices to use local DNS and not ignore DHCP to go out of the network.
Pumping up your internet speeds with the Unifi Security Gateway and 4G/5G - this was a cool upgrade where I use my GigaCube as a 2nd WAN source on the USG.
Securing your home network in preparation for Working From Home - of course Coronavirus hit and everyone was suddenly working from home so some quick security tips for everyone out there.
Stabilising failover detection on the Unifi Security Gateway - after I started using a 2nd WAN connection I noticed some stability issues when going over 4G so I fixed those up.
I guess Ubiquiti noticed that I'd written about their kit a few times because they reached out to me to say thanks for talking about it and helping out other users and asked if I'd like to try their new generation of kit. Now I was super happy with my existing kit so the chance to try out something even better was not something I was going to pass up!
My Ubiquiti Home Network - V2
The Ubiquiti fairy came to visit my house and brought me a few bits of kit to play with. For my setup:
The keen observer may also notice there's a UniFi Dream Machine machine in the mix there and that's for a second project when the lockdown here in the UK is lifted and I can visit family again!
The @ubnt fairy came and I couldn’t be more excited! 😝 pic.twitter.com/KkJ8gElheX
— Scott Helme (@Scott_Helme) April 16, 2020
For now, I have some time to spend tinkering with my own setup and moving over from V1 to V2.
Setting up the rack
I was space restricted where I wanted to install the rack so a 6U unit was the limit on height but more than enough for what I need. The rack is also 600mm deep so not full depth but I'm not planning on installing any servers in there so again, no problem. I went with this SOHORack from RackMatic that I bought at Amazon with quite a few other bits and pieces!
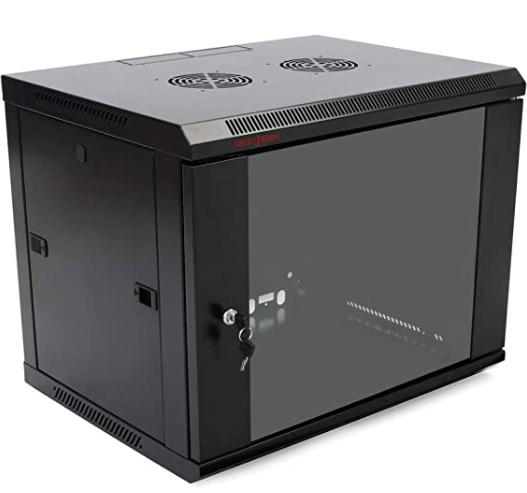
For ease of installation, access, upgrades and just future planning, I decided to add some wheels to the rack to make my life a lot easier both now and in the future. You can pick up a really good set with locking wheels cheap on Amazon.

After that it was a simple case of fitting them so I created a template, centre punched the holes for drilling and drilled them all out. M5 bolts with appropriate nuts and washers are holding it in place and a little thread locker to make sure nothing ever comes loose!
So here we go with the build! First up was the rack, I wanted one with wheels because of where it’s going (space restricted and can’t go on the wall). Couldn’t see one I like with wheels so I gave mine wheels! pic.twitter.com/pSKTlZTg3Q
— Scott Helme (@Scott_Helme) April 17, 2020
Unboxing the greatness
Time to start getting kit out and Ubiquiti seriously know how to package stuff. I mentioned this when I setup my V1 network but all of their stuff is so well packaged it's like opening Apple products. Even the screws have their own fancy packaging in the UDM Pro box!
Next was unboxing and damn Ubiquiti know how to package stuff. It’s like opening Apple products but better. I mean just look at how they package *screws*!! pic.twitter.com/dRghWyR6I5
— Scott Helme (@Scott_Helme) April 17, 2020
There's plenty of space in the rack so I gave everything room and started loading the devices into the rack.
I have loads of space in the rack so gave everything room to breathe. Power down at the bottom so other devices like the modem can sit behind and then the UDM Pro and switch above that. pic.twitter.com/nA3QvnNVyw
— Scott Helme (@Scott_Helme) April 17, 2020
Alongside the UDM Pro and the switch I also have a Power Distribution Unit and a brush panel.
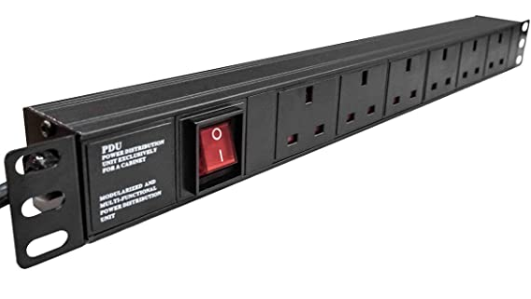
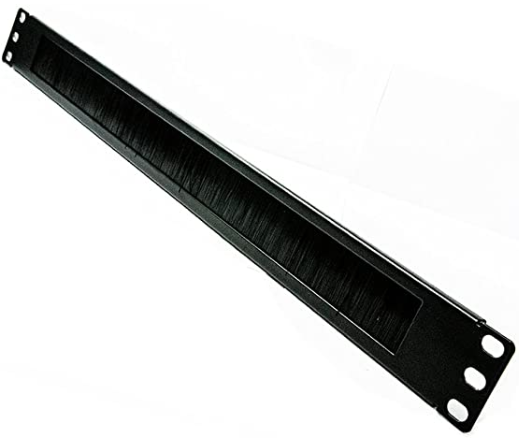
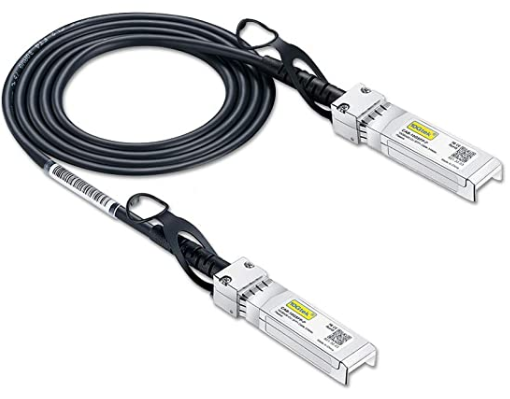
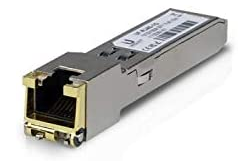
The PDU, obviously for powering everything in the rack, and the brush panel gives a neat way to cover the gap between devices where all the cables will be flowing. This helps with airflow and makes things look a lot tidier too. The last thing at this point was to install the HDD into the UDM Pro and link the UDM Pro to the Switch 24. I got a 2TB Western Digital Red drive because this will be powered up and spinning 24/7/365, a 10Gb/s SFP+ DAC Cable to go from UDM Pro to Switch 24 and a Uf-Rj45-1G Copper 1000 Mbit/S SFP Module to convert the SFP+ WAN 2 connection to RJ45 for my backup 4G Internet connection.
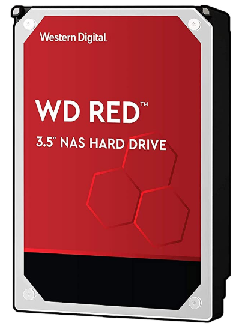
HDD installation was a breeze, just pop the door, clip in the drive and slide the tray back in. pic.twitter.com/gPekx24yIL
— Scott Helme (@Scott_Helme) April 17, 2020
You can also see the SFP+ DAC cable and the SFP+/RJ45 adapter closer up here.
I did get an SFP+ DAC cable to hook the UDM Pro up to the Switch 24 too. Frees up ports and gives me another cool cable! 😉 pic.twitter.com/g3gIgHkZWs
— Scott Helme (@Scott_Helme) April 17, 2020
Cooling and lighting
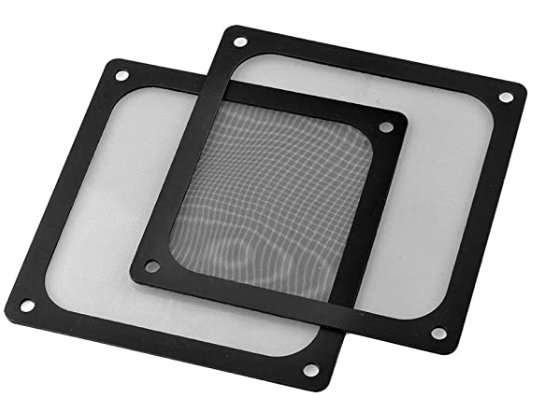
Looking cool and being cool are two very important things for a rack full of sweet networking equipment. The rack I bought did come with 2 x 120mm fan vents on top so it was ready for cooling fans to drop right in. I did make a decision that may seem controversial but there is method in the madness. My guess is that the fan ports at the top were intended to be exhaust ports, you know because heat rises and whatnot. However, I decided to have them as intake ports because I could install the fans with filters and then they'd be pumping filtered air into the rack rather than sucking in dusty air from the outside. To do that I got a couple of these mesh filters that would sit between the fan and the rack to filter out anything trying to find its way into the rack itself. I also got some silent, 120mm fans to do the task of pulling in some clean air and not making a lot of noise in the process. Of course, they had to have some cool, blue LEDs!

The last touch was to add some more blue LEDs and these light strips are super cheap to come by so I grabbed two of them to run one down each side of the rack.
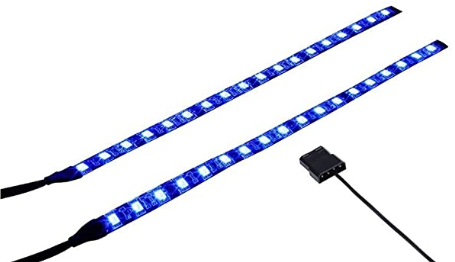
The LED light strips and fans all need power so I decided to splice into a spare molex connector in my server that was going to be sitting on top of the rack and drop a power feed down into the rack for all of the molex connectors to get power from.
But the build was almost ready for installation, just wiring up the lights and fans to the PSU in my server which was also moving in above the rack and out of my office. pic.twitter.com/KwRm3KQ9wI
— Scott Helme (@Scott_Helme) April 17, 2020
The cupboard of shame...
Ok, so I have to admit something. My V1 home network is installed under the stairs in the house that we moved in to recently and, well, I've not had a lot of time to sort it out or fix it up in there. Please bear that in mind when you see the photos...
Now, the part I’ve been avoiding and why I’m doing this. My current... setup? I’m not sure I can call it a setup, more like a cupboard with crap shoved in it... Here we go! 🙈🙈🙈 pic.twitter.com/1OtsbJTKzH
— Scott Helme (@Scott_Helme) April 17, 2020
You can see the space restrictions I’m working with but yes, my current rack is a ... cardboard box... 🤦♂️
— Scott Helme (@Scott_Helme) April 17, 2020
I’m also dealing with existing wiring in the house for all the patch points too which come into a small switch here. pic.twitter.com/KNSAg6QzhU
Now the existing wiring and patch leads I take no responsibility for! But the cardboard box 'table' with my kit on... yeah I have to hold my hand up there... This is another reason I was really happy to do an upgrade because I could sort out something that had been bothering me for a while and I'd never managed to find time to fix. The replacement for this mess was going to be beautiful.
Here’s the first test fit of the cabinet in place! 💪 pic.twitter.com/ps8MqIXBbP
— Scott Helme (@Scott_Helme) April 17, 2020
First boot and setup
Powering this thing up for the first time was epic. I know it's such a geek thing and people will tell me completely overkill, but you will never convince me. Having a setup like this is so freakin' cool and really exciting. I had the choice to try and migrate from my USG to the UDM Pro but I have a small network really so I decided to do everything fresh, I wanted a clean start. First up was to get the UDM Pro connected to my Internet connection and I hit a snag because I was using the wrong username for my PPPoE connection but once I'd realised that, everything was a breeze.
Getting items booted up and I had a problem connecting my PPPoE connection but that was my fault 😇 pic.twitter.com/yhqNOY670y
— Scott Helme (@Scott_Helme) April 17, 2020
The Switch 24 and the UDM Pro both have little LCD touch screens on them that were surprisingly handy and seriously cool too. They can show you a heap of information at a glance and allow you to scroll through loads of options, but more on those in my blog about the software side of things.
The little screens on the devices are awesome and give you info at a glance. You can scroll through a bunch of info screens. pic.twitter.com/2oF6N2i87u
— Scott Helme (@Scott_Helme) April 17, 2020
Alright, ready to see this sucker fired up and in the dark with all those LEDs?!
Blinky LEDs!!!11!1!1 pic.twitter.com/dSr3cNmspN
— Scott Helme (@Scott_Helme) April 17, 2020
Just for the ultimate finish, here's the final setup!
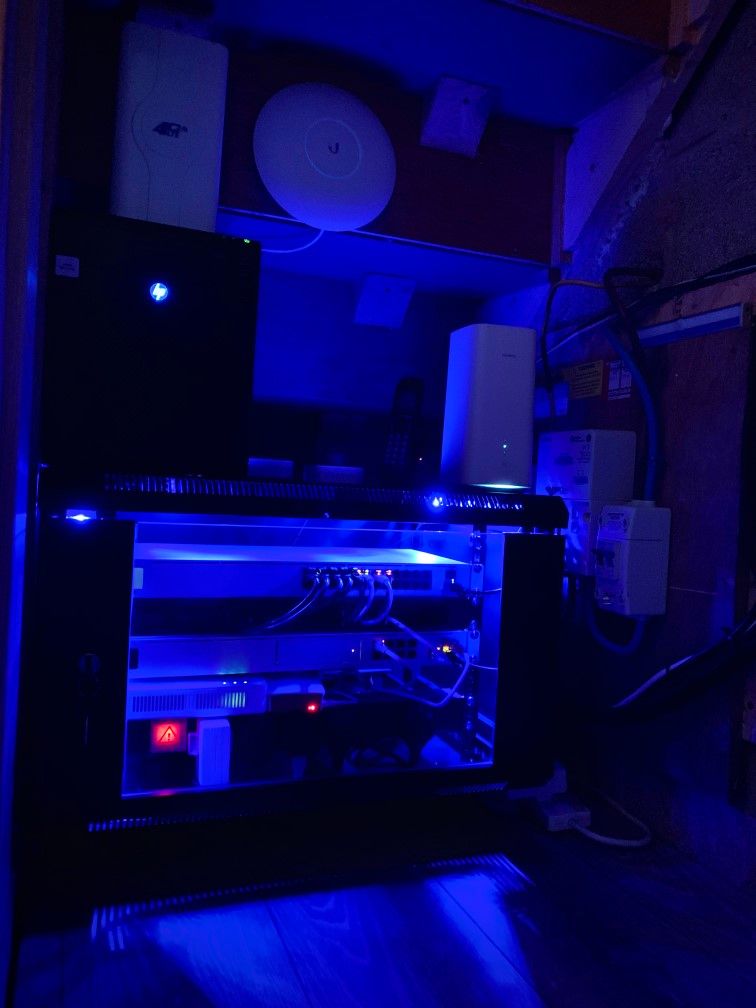
Going through that pic you can see the rack with the UDM Pro, Switch 24, PDU and brush panel. Near the bottom is PPPoE modem and the Pi-Hole too. On top we have my server on the left (a heavily upgrade HP ProLiant G7) with my 4G antenna on top, the UniFi AP AC Pro in the top centre shot and on the right hand side my GigaCube which is using the 4G antenna for backup Internet connectivity. Just to the back of shot if you can make them out are my Philips Hue Bridge and Samsung SmartThings Hub sat next to our home phone base station.
Setup
Anyone familiar with using the Cloud Key or UniFi Controller in any other setting will be right at home here and know how much of a breeze this will be.
As I said above, I decided not to migrate my previous setup but wanted to start fresh so I knew I had a clean slate and wasn't bringing any problems with me. I plugged the old network cables patched through the house into my new Switch 24 and began the process of adopting them. You have 2 options here, either factory reset and adopt them as new devices or if you know the previous credentials to login you can give them to the UDM Pro and it will take over the device. Of course, I knew the previous creds so I typed them in and within a matter of minutes I'd adopted all of my old devices onto my new network.
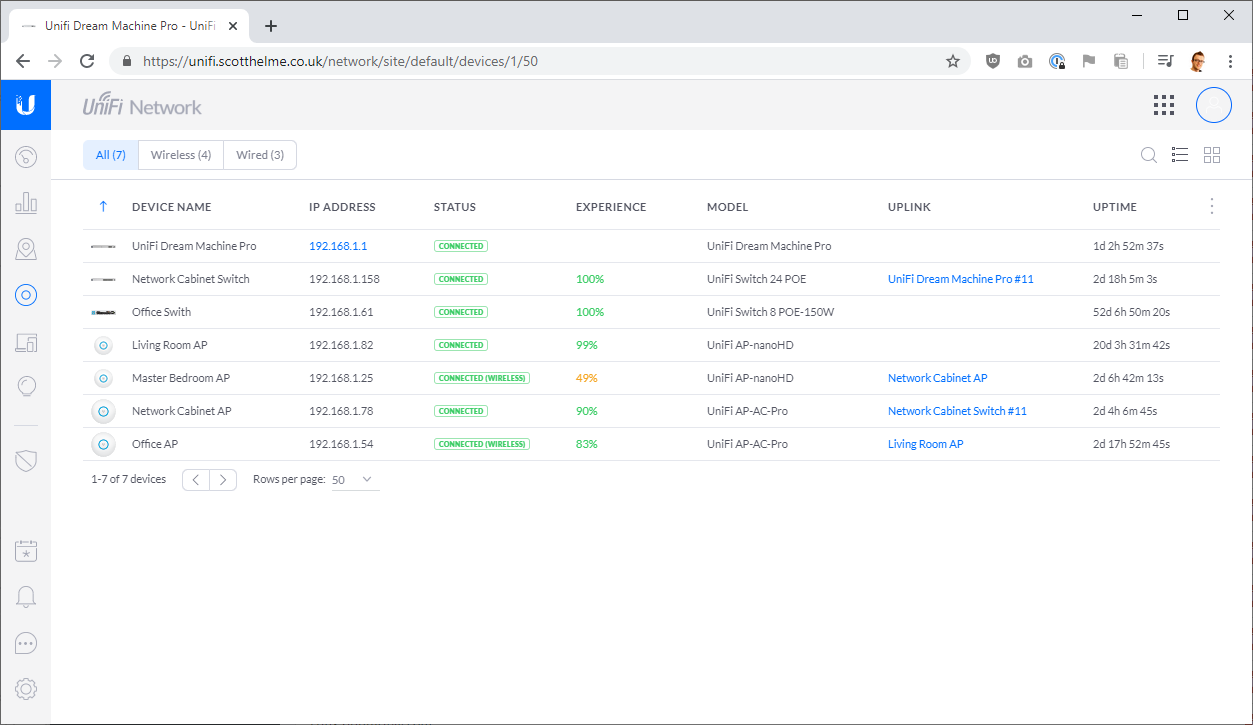
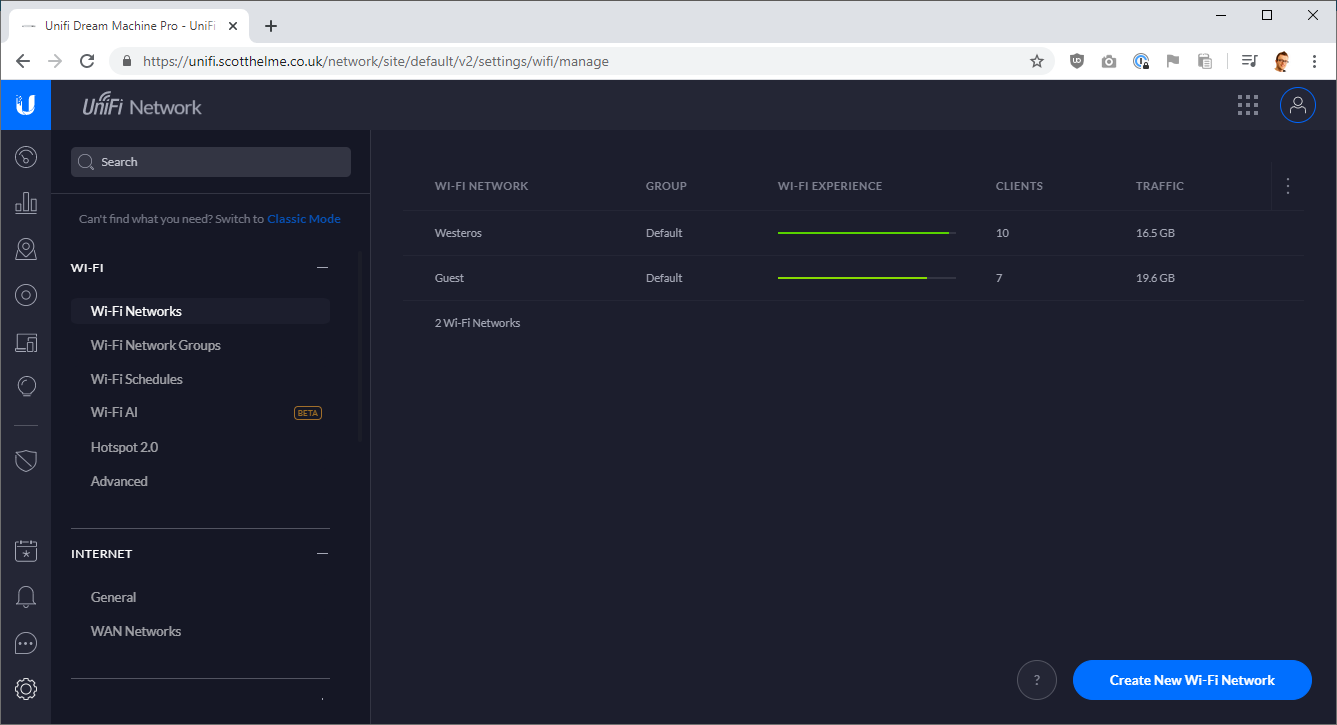
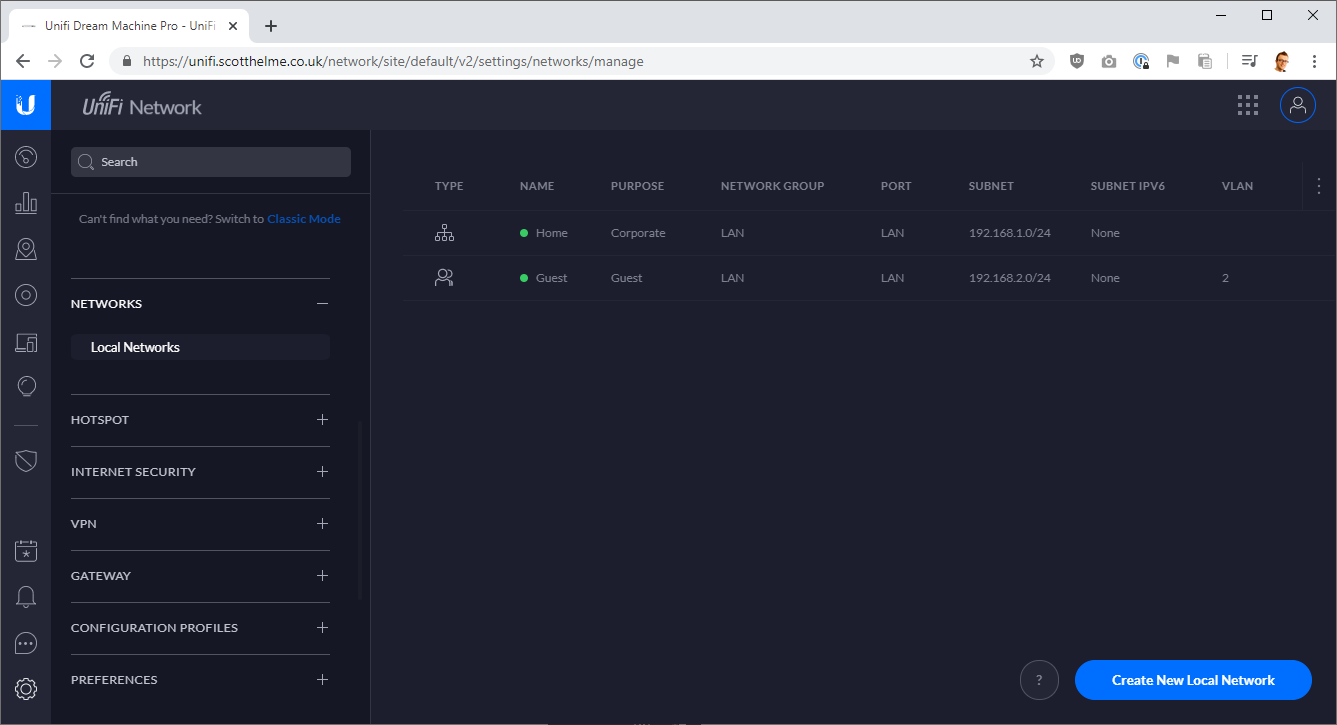
That... was kind of it... This was seriously easier than I thought it was going to be. I've never done this before so I also didn't know what to expect, but still, it was pleasantly surprising. I set up my WiFi networks with the same SSID/password as before and all of the devices in my house started to connect back to those with no problems either. Last up was to recreate my VLAN and guest network policies and assign those to the guest wifi and various network ports with IoT devices on them.
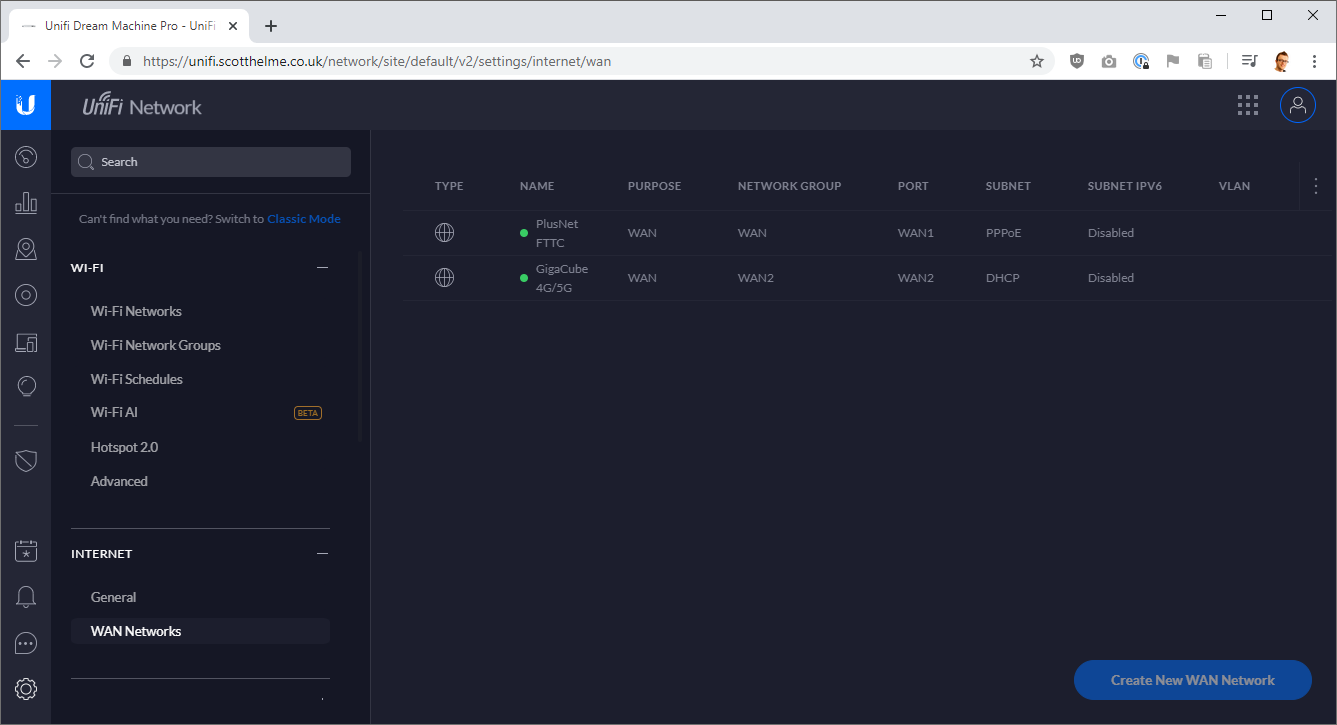
The last step was to hook up my GigaCube that gives me 4G backup Internet connectivity and set that up which took just a few seconds like the last time.
More to come
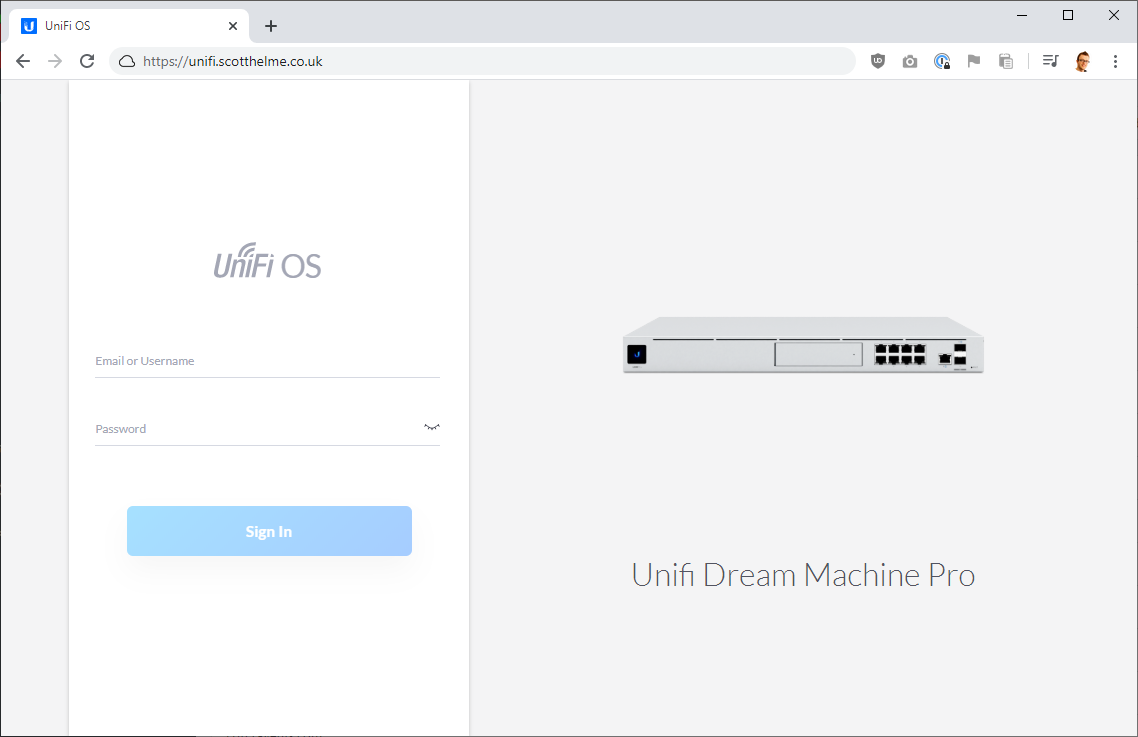
There are a heap of new features on the UDM Pro that I plan to spend a lot of time playing with so while I explore them and understand them, I will give it some time before I blog and write about whatever cool things I find. I've also setup HTTPS on the UDM Pro with a Let's Encrypt certificate, as you can see in the images above, no HTTPS warnings, so I will write that up to just like I did before for the Cloud Key. For now though, I think I've thoroughly covered V2 of my home network and I honestly couldn't be happier with it 😎