After the great success of the WiFi Pineapple Mark IV, the Mark V has been highly anticipated. Packing a whopping list of new or improved features it's certainly worth the upgrade from its predecessor. Just to give you an idea, the Mark V comes with dual radio on board (AR9331 and RTL8187), they've doubled up on the RAM and ROM, added microSD support and external DIP switches for customisable boot modes. All your WiFi belongs to me!

Introduction
Matching the price of it's predecessor the WiFi Pineapple Mark V hardware is available for a very attractive $99.99 over on HakShop right now. During the launch event (part 1 part 2) Darren said they were going to introduce it at a special price so if you are thinking of grabbing one I'd head over there and pick one up. I don't know if they will stay at that price indefinitely. The WiFi Pineapple is a hackers best friend and a great tool in the arsenal of any penetration tester. It can act as a WiFi hotspot, honey pot, MiTM platform and much, much more. Not to mention it's small, discrete and capable of running off USB or battery power if you don't happen to have a mains supply nearby. As Darren said during the launch "there is nothing out there that serves this really unique need for the hacker and the pentester" and I have to agree. The roaring success of the WiFi Pineapple and the thriving community behind it are a testament to the efforts of everyone on the team. I mean hey, we even get some glitzy retail packaging now!
Setup
I don't think the Mark V really needs much more of an introduction but if you want to know all about the WiFi Pineapple's capabilities check out my previous blog about the Mark IV here. A lot of the information will transfer right over.Out of the box the Mark V hardware is very similar in size to the Mark IV but has some notable improvements. Here is the Mark IV hardware in the foreground and the Mark V with its dual radio behind.
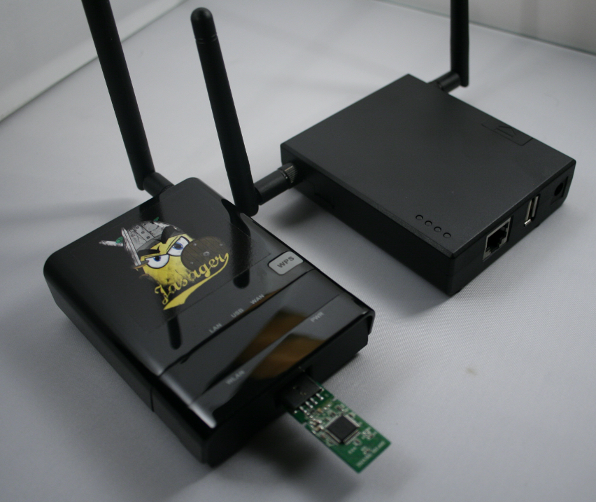
With microSD support the Mark V no longer has the need to have a USB drive to expand the on board storage. This makes the device much easier to handle and far less likely to end up getting caught as you can see from the image above. The included 2Gb microSD card comes attached to the card containing details about the device firmware.
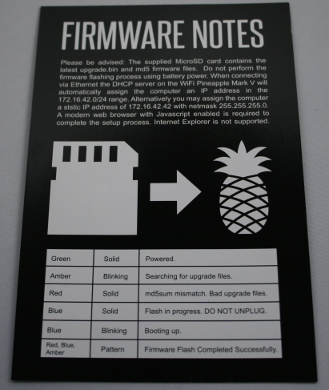
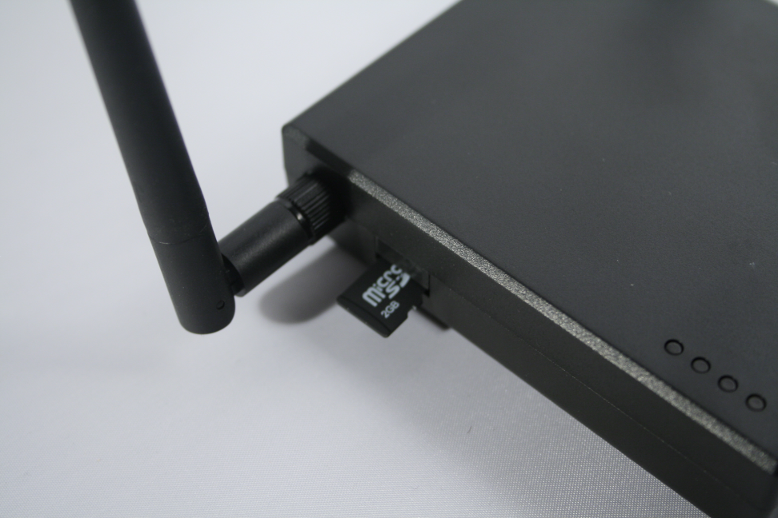
Carefully detach the microSD card from the information card and insert it into the slot on the left side of the Mark V. This contains the latest firmware file that you will need to flash to the Pineapple before using it.
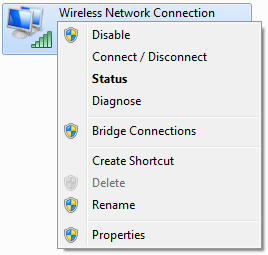
Attach the supplied network cable to your Pineapple and then to your computer, prepare the supplied power plug with the appropriate adapter for your location and get ready to plug it in. But, before you do, please read the warning on the back of the card that had your microSD card attached. The first time you boot the device it can take up to 5 minutes to flash the new firmware. During this time you must not switch it off or be running on battery power. The card details the light sequence the LEDs will go through during the flash process, if you wish to keep track of it. Once you're ready, go ahead and connect the power. Whilst that's flashing, so you're not tempted to tinker during the process, we will get the network adapter setup and ready. Right click and select properties on the adapter that is connected to the Internet, not the LAN adapter going to the Pineapple.
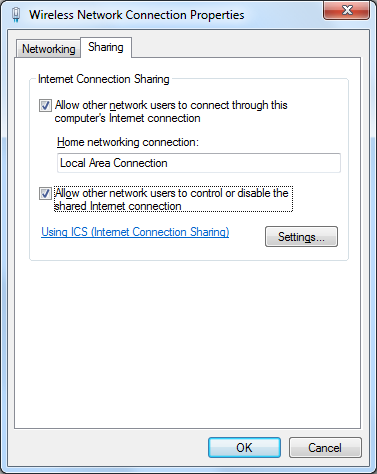
In the Properties screen change to the Sharing tab, tick the “Allow other network users to connect through this computer’s Internet connection” checkbox, select your LAN adapter in the “Home networking connection” field and then click OK.
Once you have the Internet connection shared with the adapter that will connect to your Pineapple, you need to configure it with the following settings.
IP Address: 172.16.42.42
Subnet Mask: 255.255.255.0
Preferred DNS Sever: 8.8.8.8
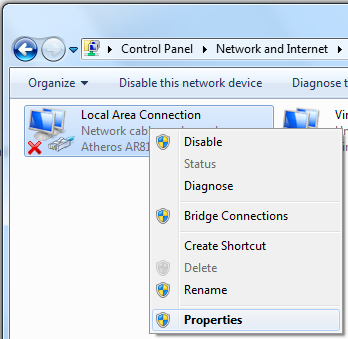
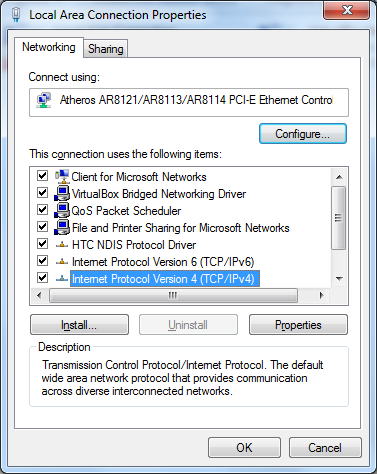
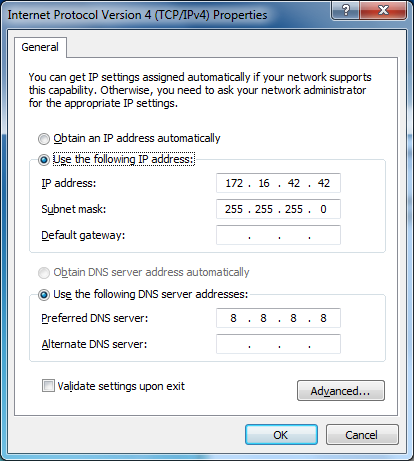
Once you have everything configured you can check if the firmware upgrade process has completed. Open a browser and try to navigate to the IP address for the WiFi Pineapple, 172.16.42.1:1471

If you aren't presented with the following prompt check the LED status indicators on the device to see where it's up to but most importantly just keep waiting if you're unsure!
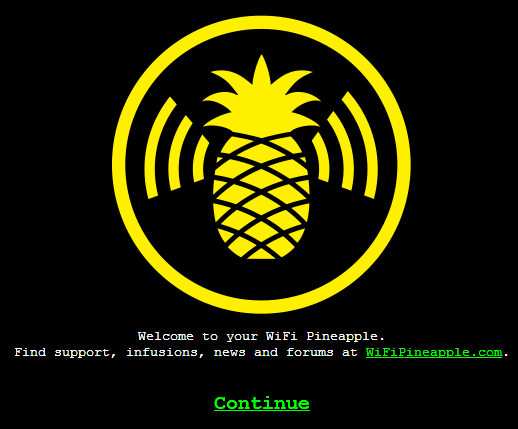
After clicking Continue you will be prompted to change your password. On the Mark IV Pineapple this step was not part of the mandatory setup process and as a result many Pineapples ended up keeping the standard password out of the box.

Insert your new password, agree to the check boxes and click Set Password. Once done the Pineapple will go through some final setup, let you know that the password has been changed and prompt you to click Continue to reboot the device.
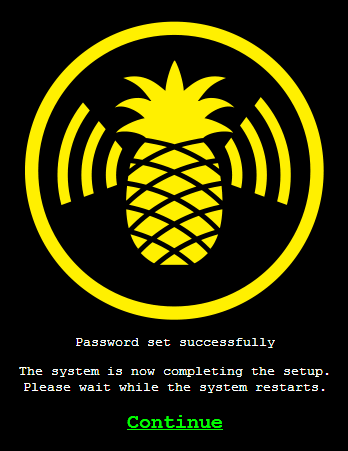
After that, we are now all setup to login to the new Mark V!

The main screen will look very similar to those migrating from the Mark IV hardware and you should be able to get yourself up and running very quickly from here!
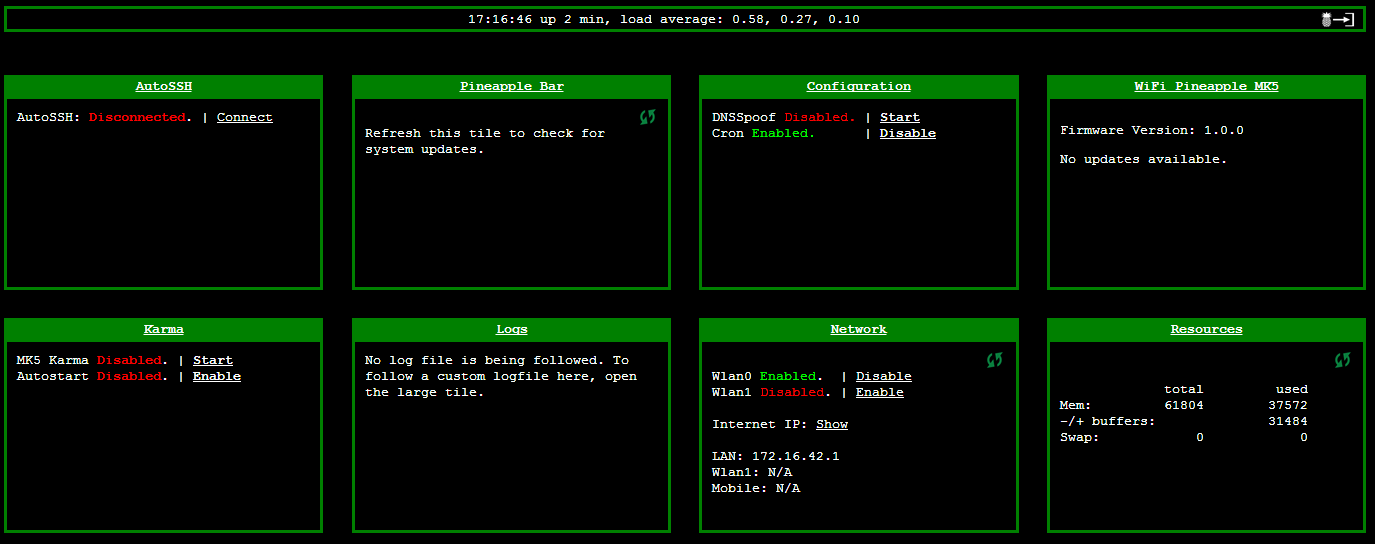
Flick the safety on!
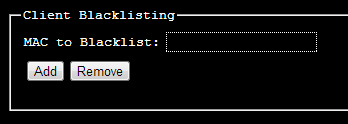
One thing that you probably don't want to do is 'Pineapple' yourself. Your 'L337 H@x0r' skills aren't going to look all too great when your friendly devices all find themselves being pulled in by Karma. You need to add your own devices MAC addresses to the client blacklist so it won't target you and your devices. Head over to the Karma settings by clicking 'Karma', go to the Karma Configuration tab and insert your MAC address in the Client Blacklisting section and click Add. Now you can rest assured you won't ever fall victim to your traps!

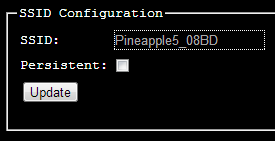
Whilst you're here you can also change the default SSID of the device if you wish. Having Pineapple in there somewhere could be a bit of a give away to some, how about 'Free WiFi' or 'Free Internet'?
