
After another short break from writing about the car project it's time to hit it again with Part 9 and quite a few items that you don't need to be an experienced car mechanic to complete. Despite the lack of oily tools required, many of the changes in this post contribute significantly to the aesthetics and functionality of the car!
The Series
In the last part of the series I covered the Stage 2 tune on the car to unleash a lot more power and the wheels/tyres upgrade to allow the car to put down a lot more of that new power. In this part we're going to look at some more cosmetic tweaks and a couple of nice convenience features.
Apple CarPlay
Plenty of new cars come with Apple CarPlay now and if you've used it you will know how slick the experience is of having your iPhone automatically connect up to the car and having your entire phone available through the in-car screen. BMW do offer CarPlay as an option when you purchase the vehicle but when my car was originally built, it wasn't selected as an option. No problem I thought, I'd just go to BMW and pay some nominal fee to have it activated on my car. But, it turns out, no, you can't simply do that. The problem is that my car was actually missing the hardware required for CarPlay which isn't fitted if the vehicle isn't specified with CarPlay when it's built. This seems like a missed opportunity by BMW to be able to activate and sell this option to subsequent owners if they wanted it so I was curious if the hardware required was prohibitively expensive. The answer is that it's not expensive, not expensive at all. It's just a simple, cheap cable:
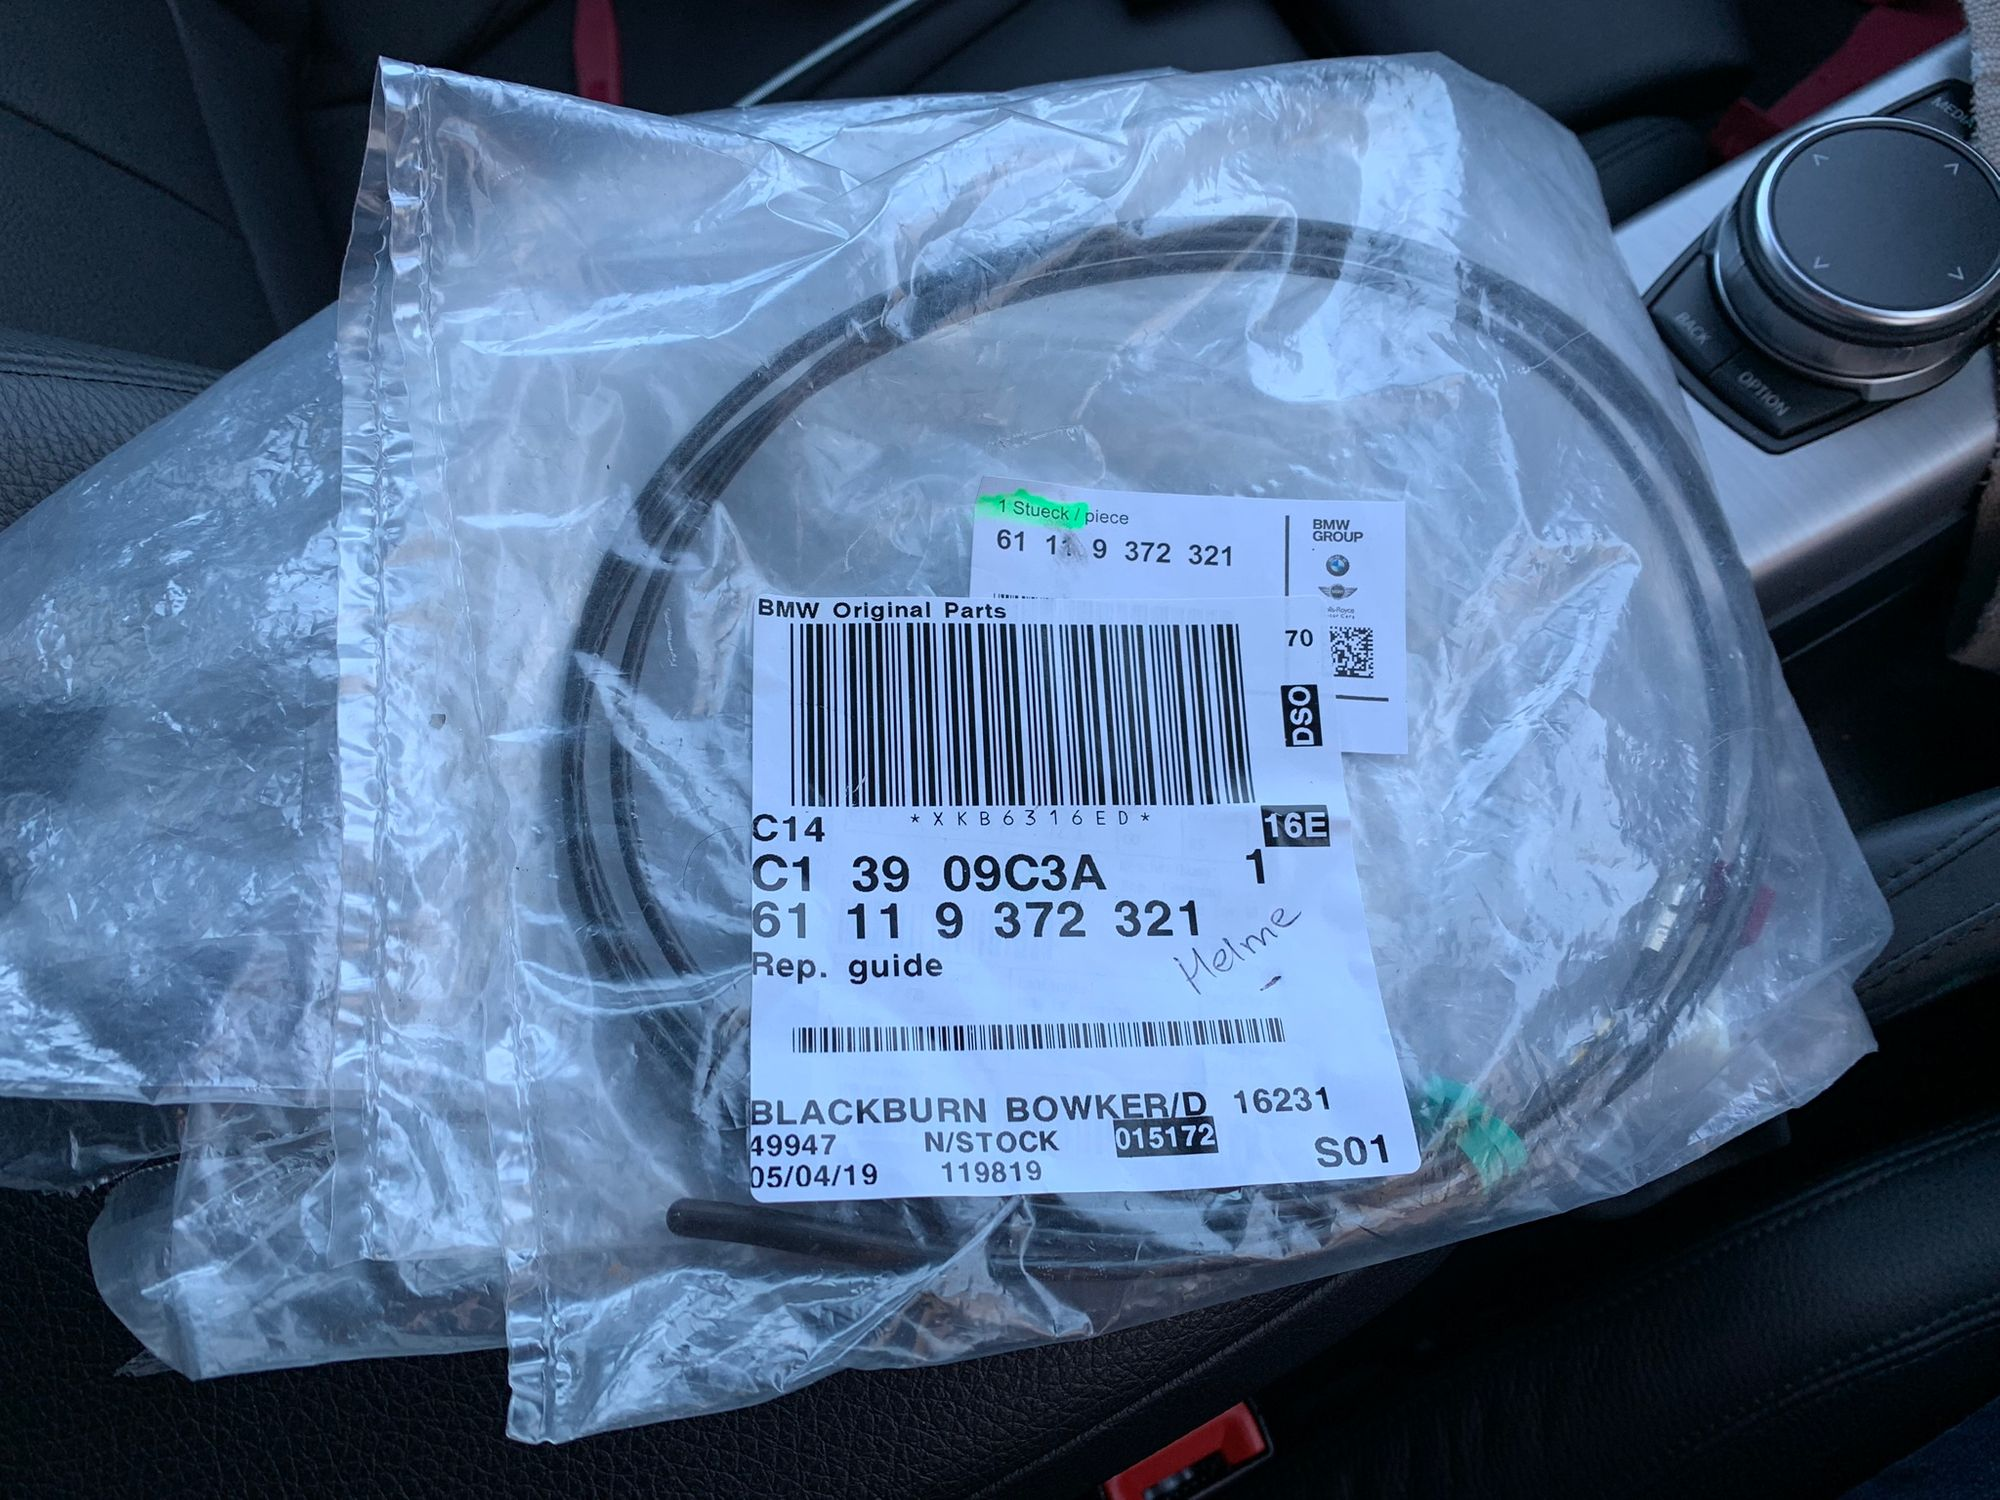
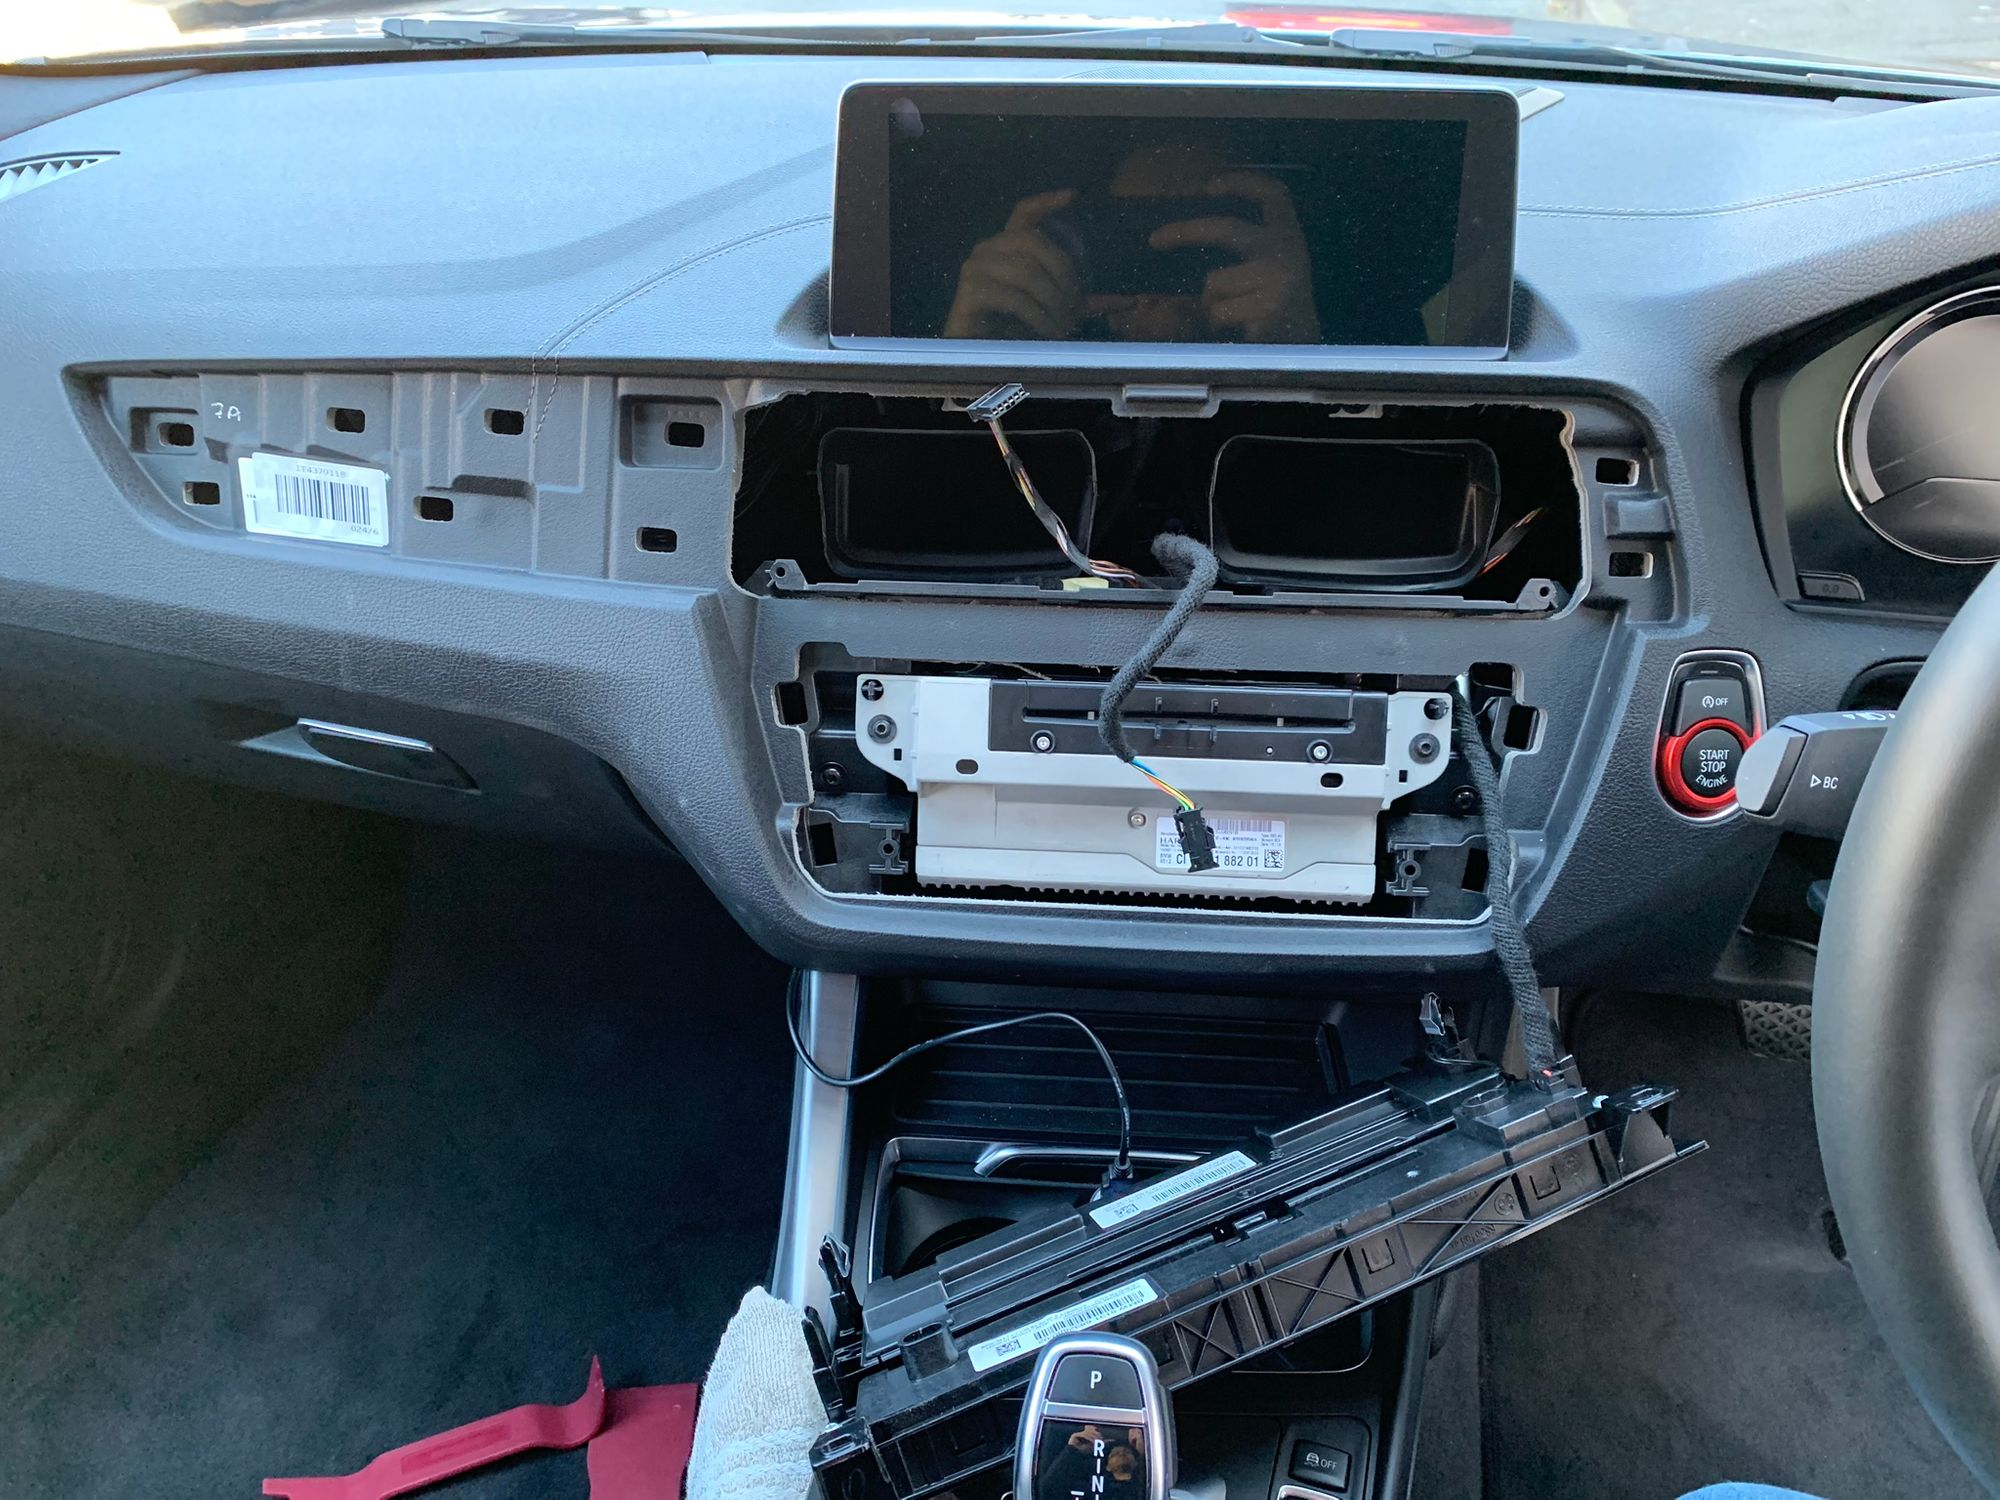
That's a WiFi antenna that connects up to the head unit (stereo) in the car and allows the connection to an iPhone via WiFi. That image is back from Part 5 when I was doing other work that required me to remove the head unit and several other items in the dash and I fitted the antenna back then to save on doubling up on work. Here's the fascia of the head unit removed and the pink connector on the rear of the head unit where the WiFi antenna connects to.
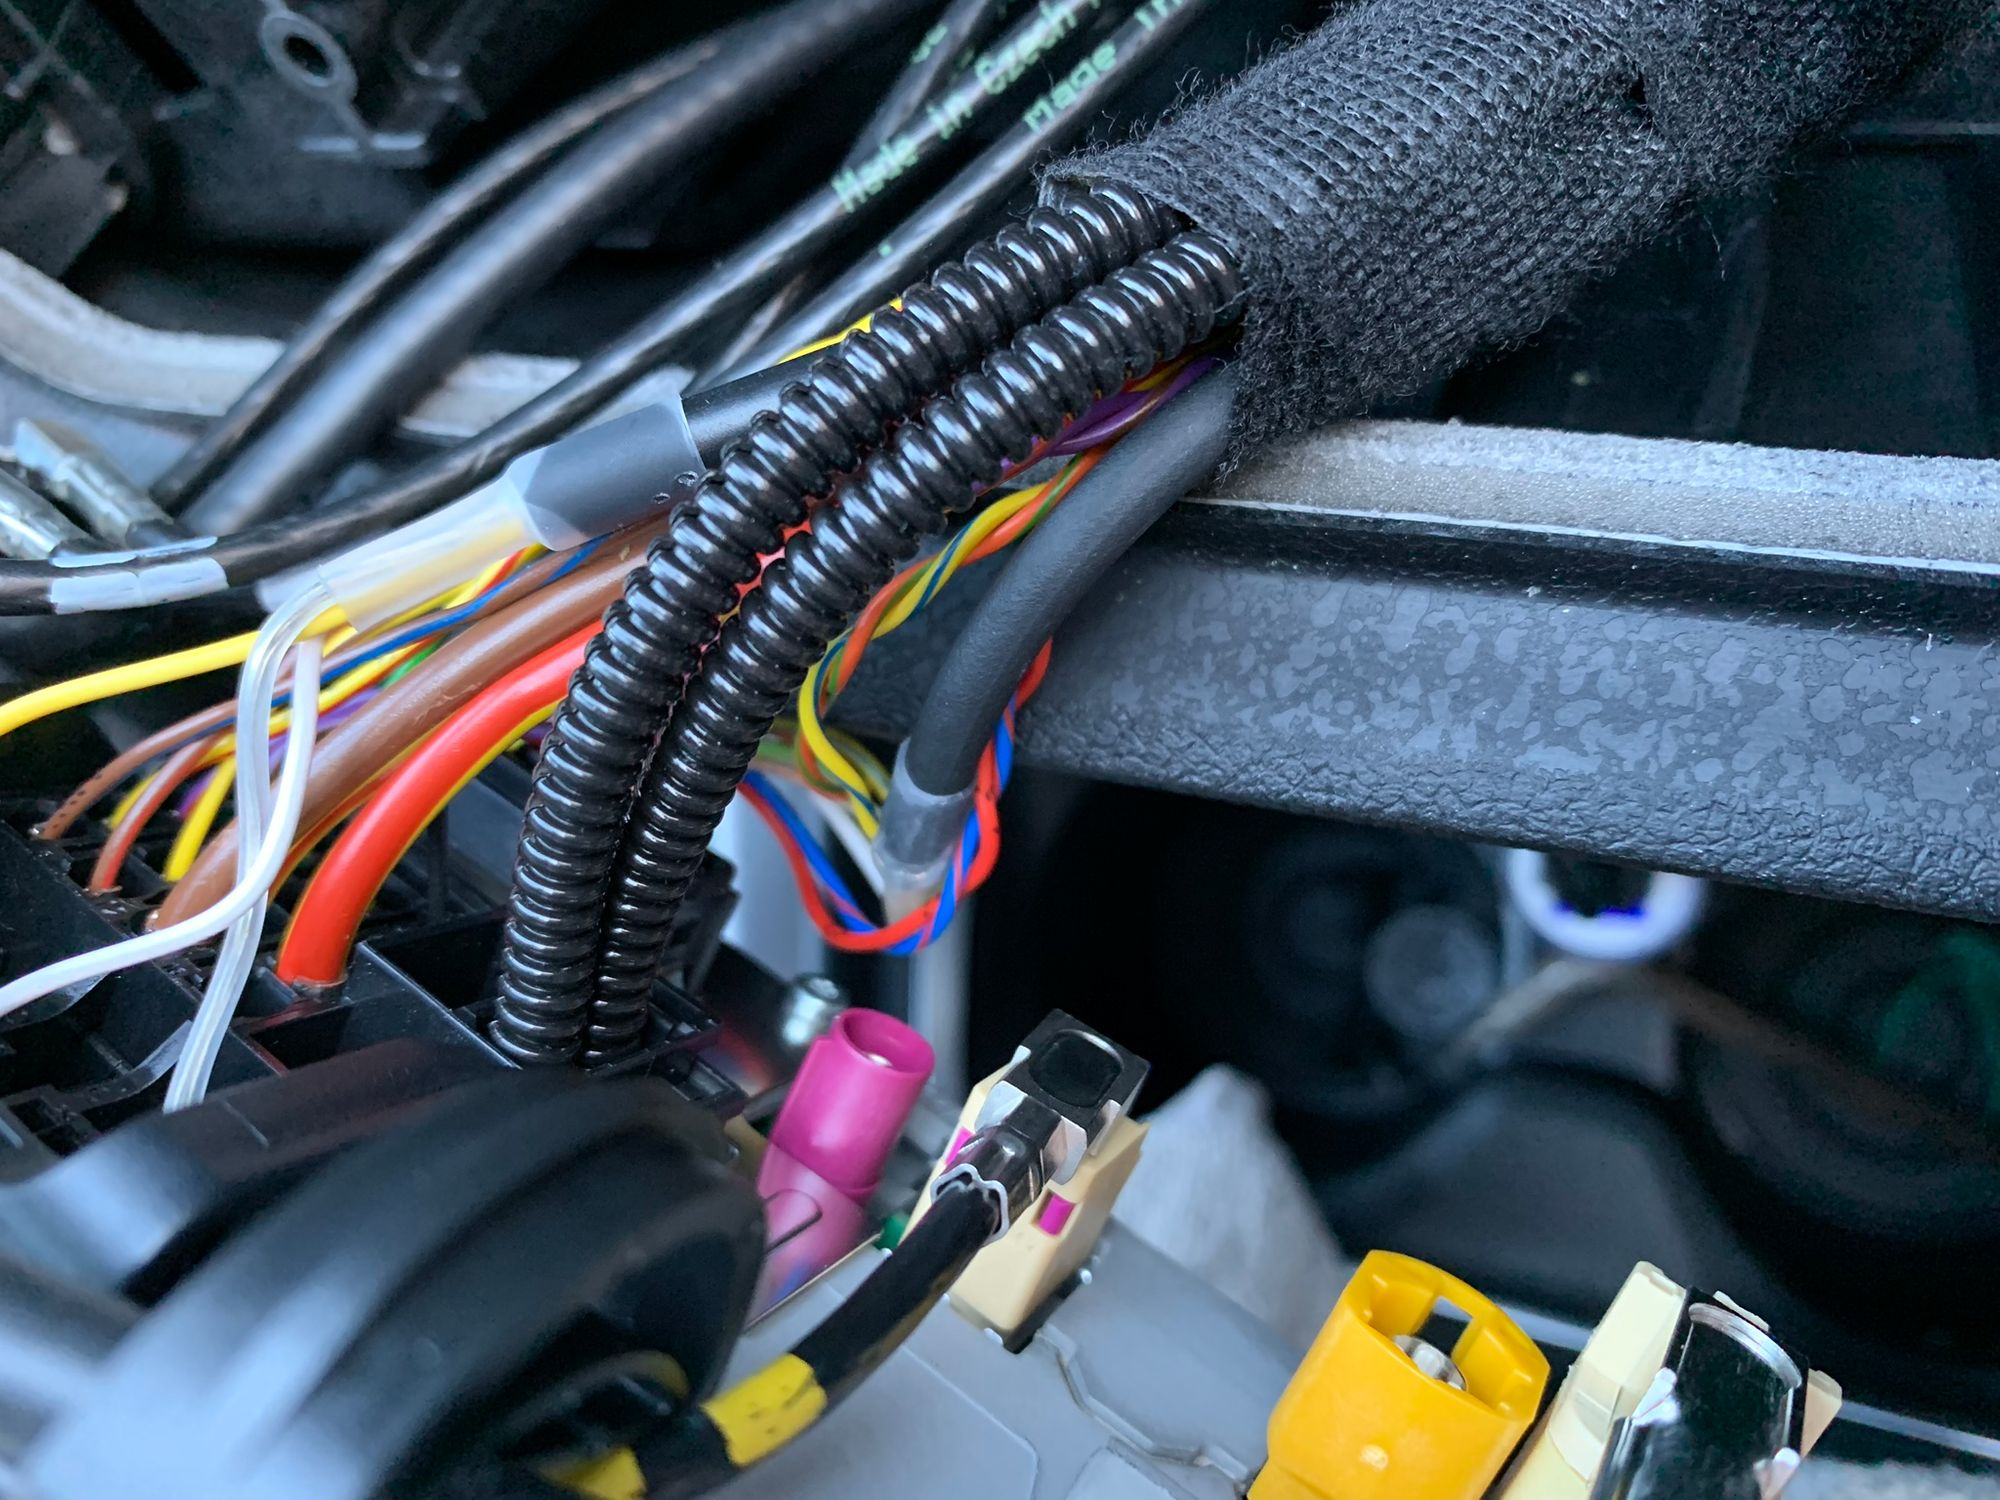
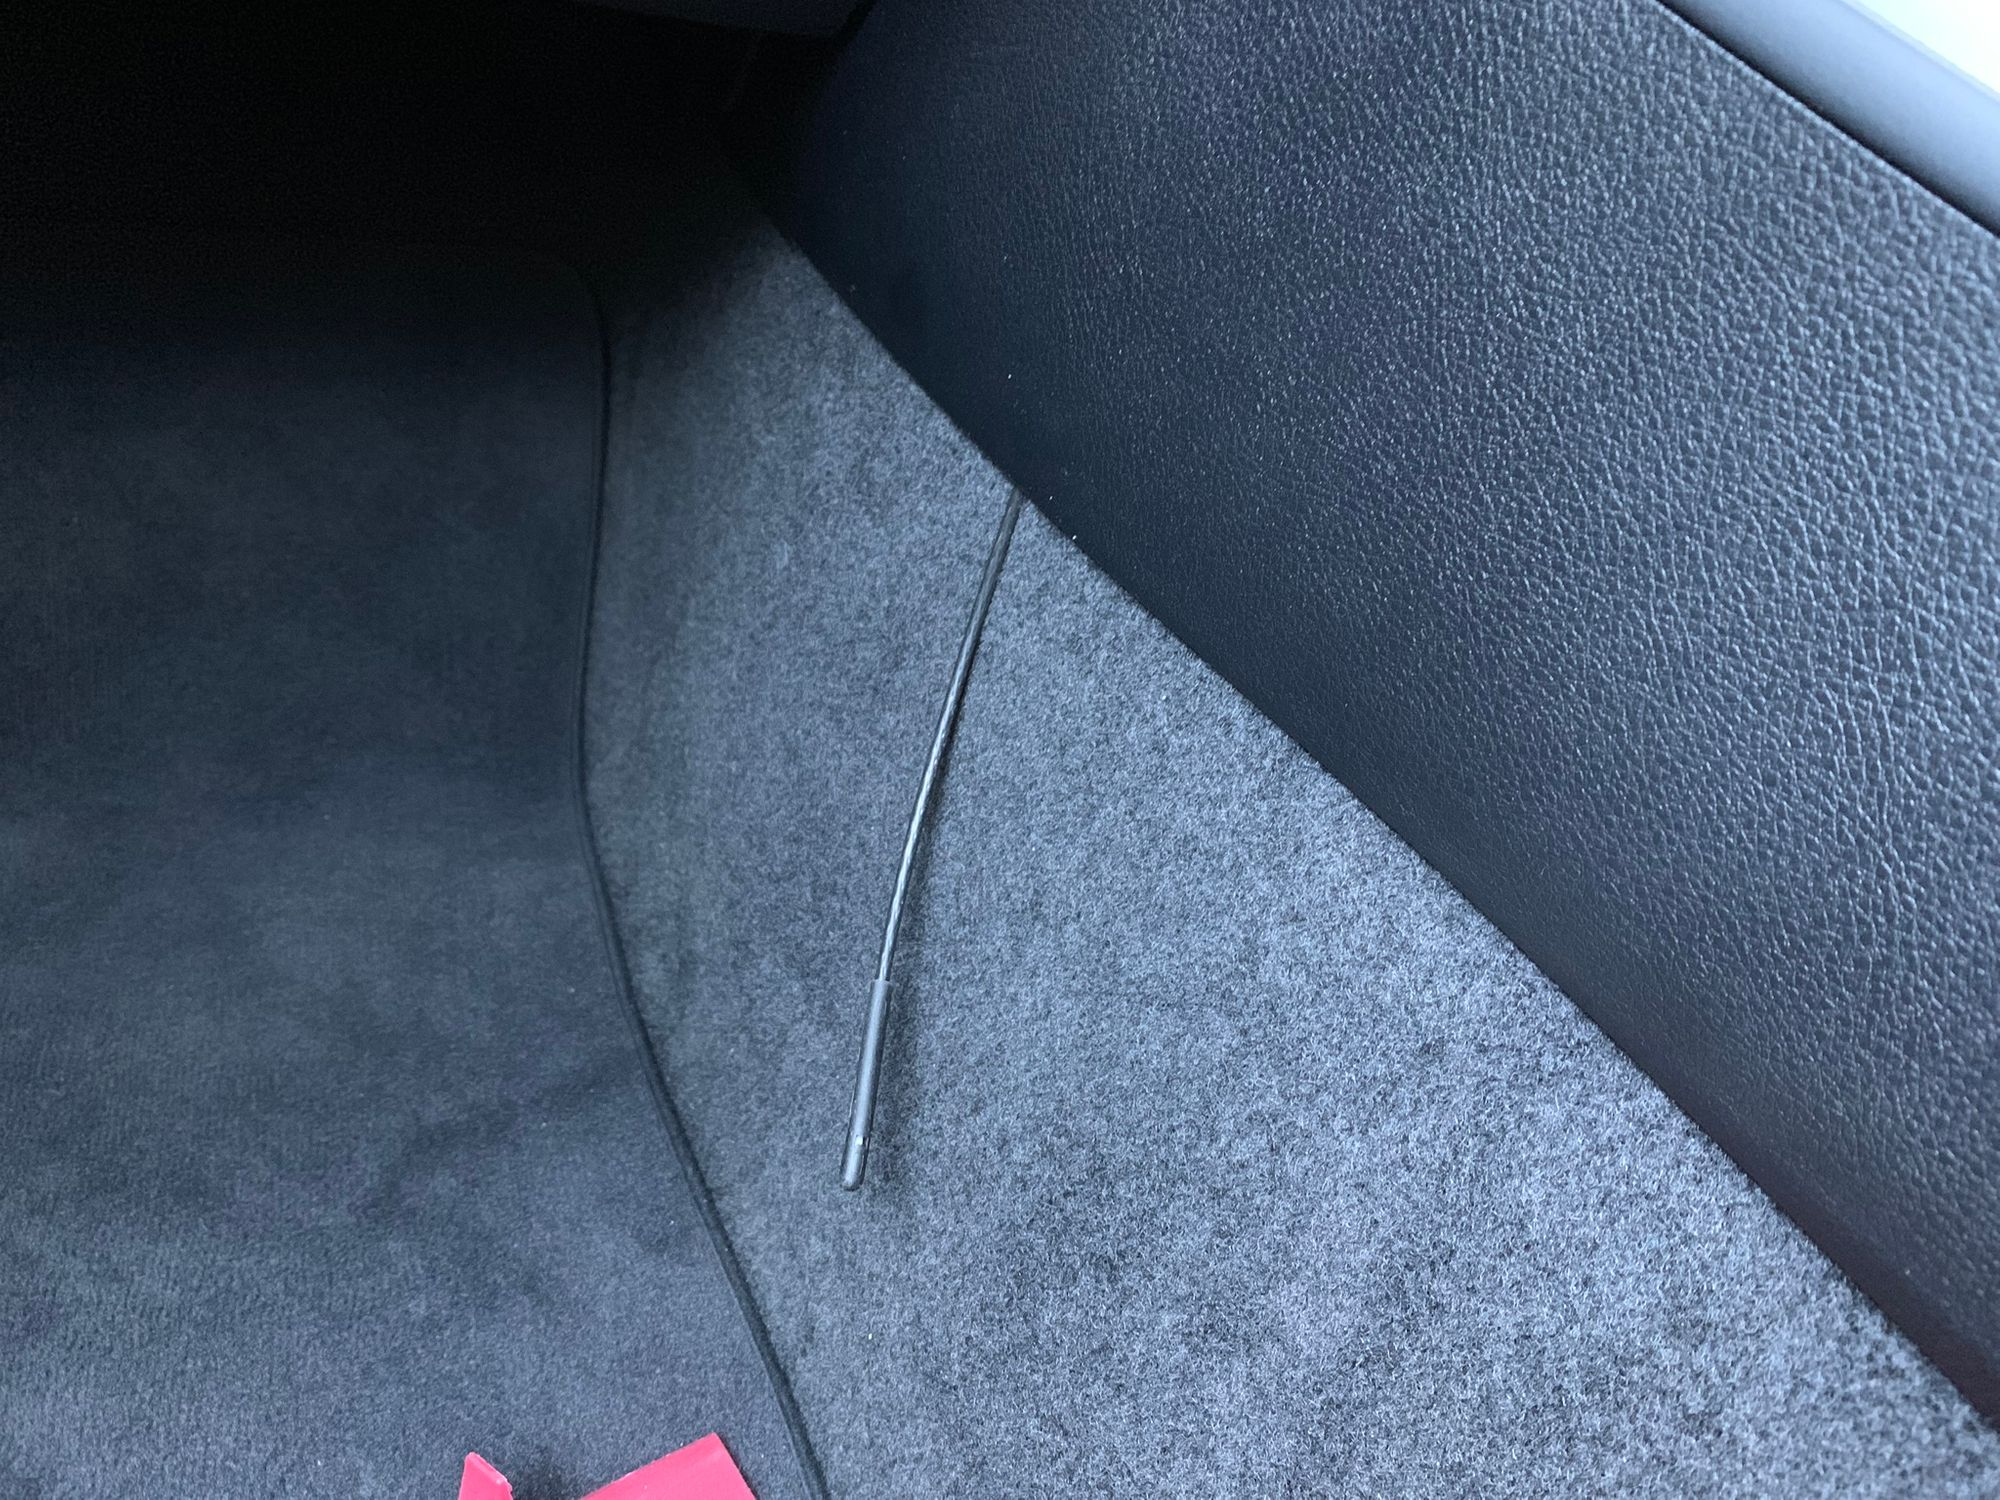
Once it was connected I fed it through the centre console of the car so it'd have good signal strength in the cabin and not have to pass through all of the electronics to reach my phone. Tucked up behind this piece of trim was the perfect spot.
At this point I tried to give BMW another shot at activating CarPlay but, and I'm not kidding, their "Computer Says No". My car did not show as having the hardware installed at the factory so there was no option for the technician to install the required update, despite the fact that I did now actually have the required hardware installed. I'm not going to go into my feelings on a "car technician" not being able to do the simplest of things because a computer told them no, but I'm sure you can guess. Anyway, I gave them their shot, now it's my turn!
I've coded features to my car as shown in previous parts of this series but this one was a little more complex so I brought someone else in to do it. There are loads of services out there now that can remotely connect to your car and activate features that were not specified on your car from the factory and there are a bunch of good providers to do CarPlay. I read reviews on the forums and got several good recommendations for the same guy so I paid up and had him connect to the car.
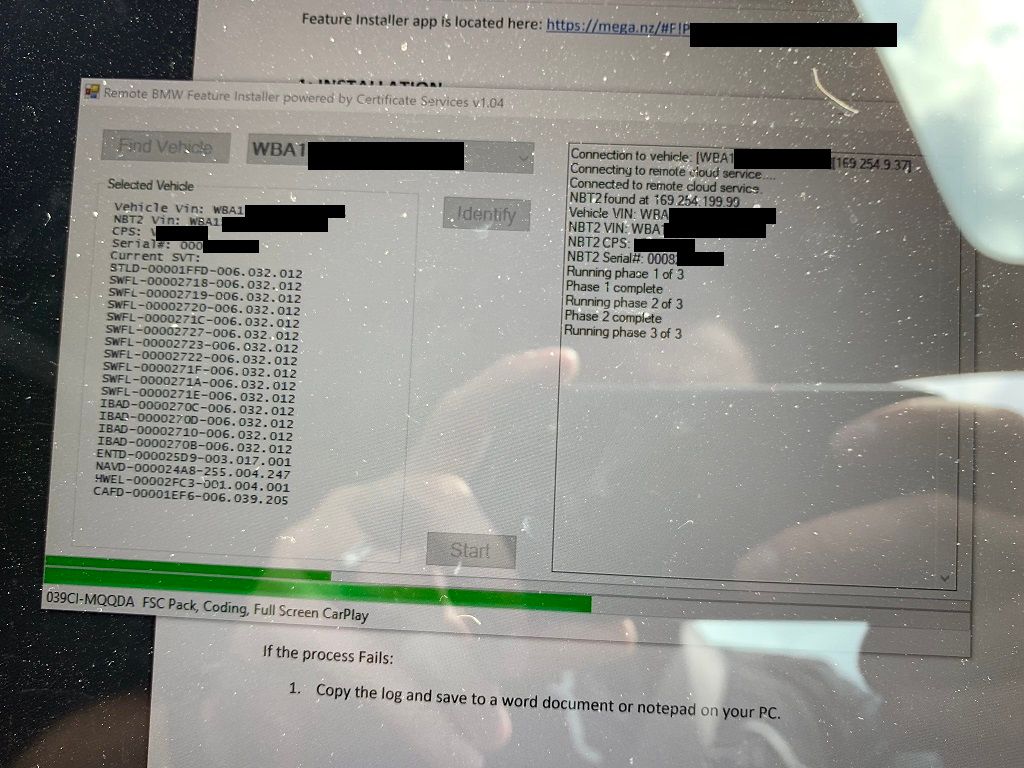
The process does take about 20 minutes, largely because the update files are enormous for some reason, and there can be the odd hiccup along the way too. The first time around, my car couldn't get the resolution for the screen right and it thought I had the smaller screen and not the 10" 'ProNav' screen.
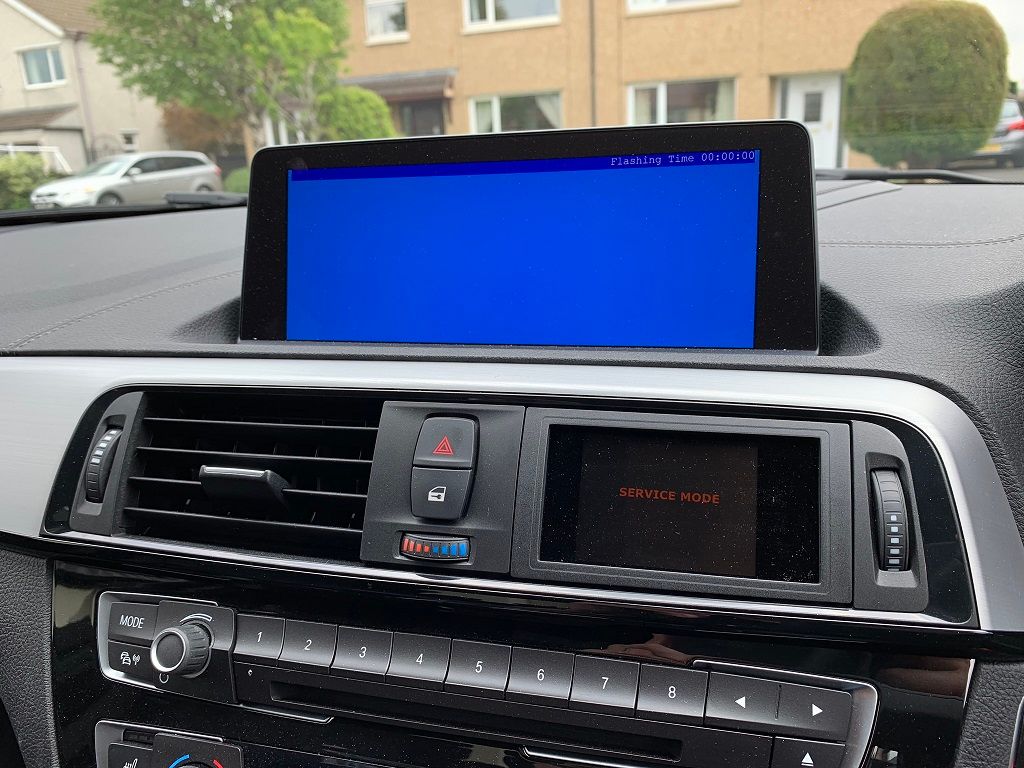
Of course BMW doesn't want to miss out on being cool so they have their own BSOD too!
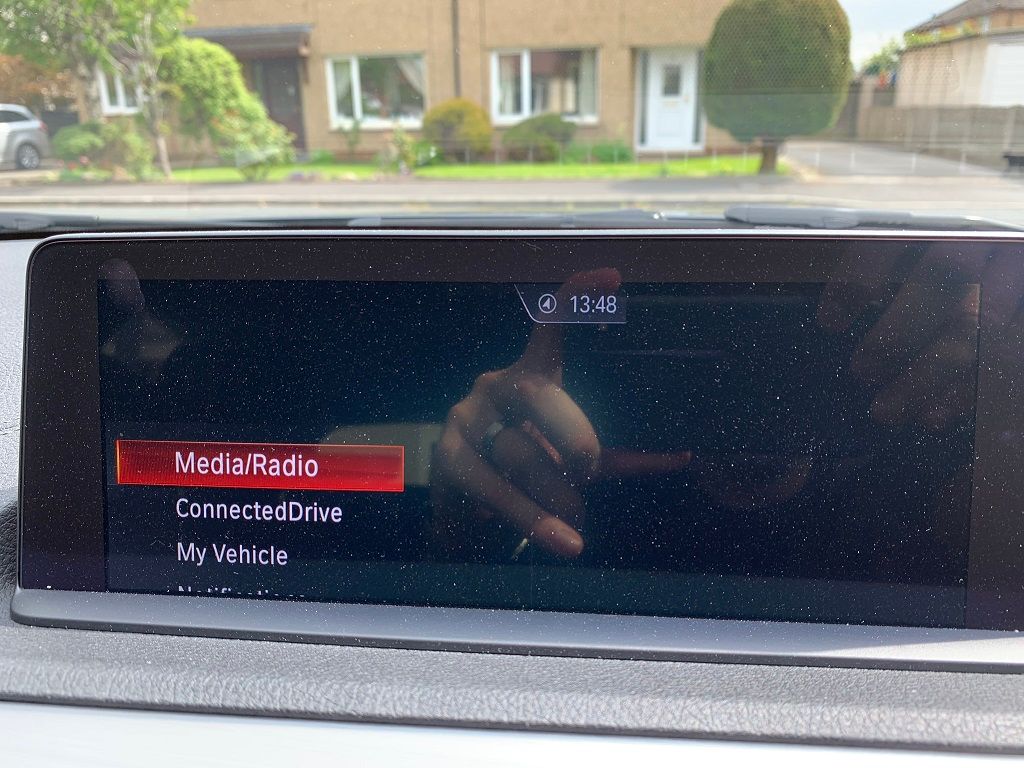
But, after clearing some settings and flashing it again, we had the standard interface back up and running with the new feature coded.
All that was left to do was setup CarPlay in the menu and voila!
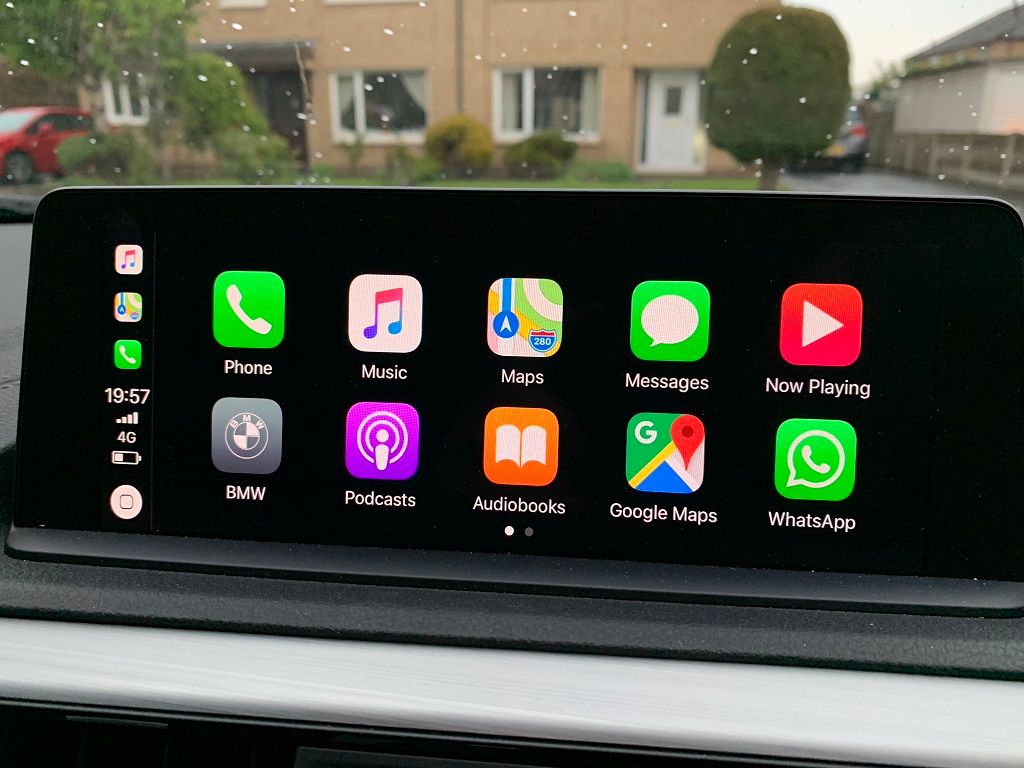
Having CarPlay is seriously cool and adds so much convenience it was well worth it. The 3rd party coding was cheaper than what BMW would have charged and I did try to go to them first to keep things official wherever possible. That said, they had their chance and failed so whilst this might not be officially sanctioned, I'm happy with how everything went.
Self Opening Boot
Another feature than you can get on many high-end cars these days but not something you can have on the lowly BMW 1 Series is a boot (trunk) that opens itself with the remote. Here's what happens when I press the button to open the boot on my car.
The button on the remote simply releases the catch and you still have to lift the boot lid yourself. This will simply not do! My wife's Range Rover does have a powered boot and pressing the button opens it all the way but that involves electronics, motors and a bunch of other stuff too. Seems like a lot to try and retrofit, if it were even possible, so I tried something simpler. Something a lot simpler.
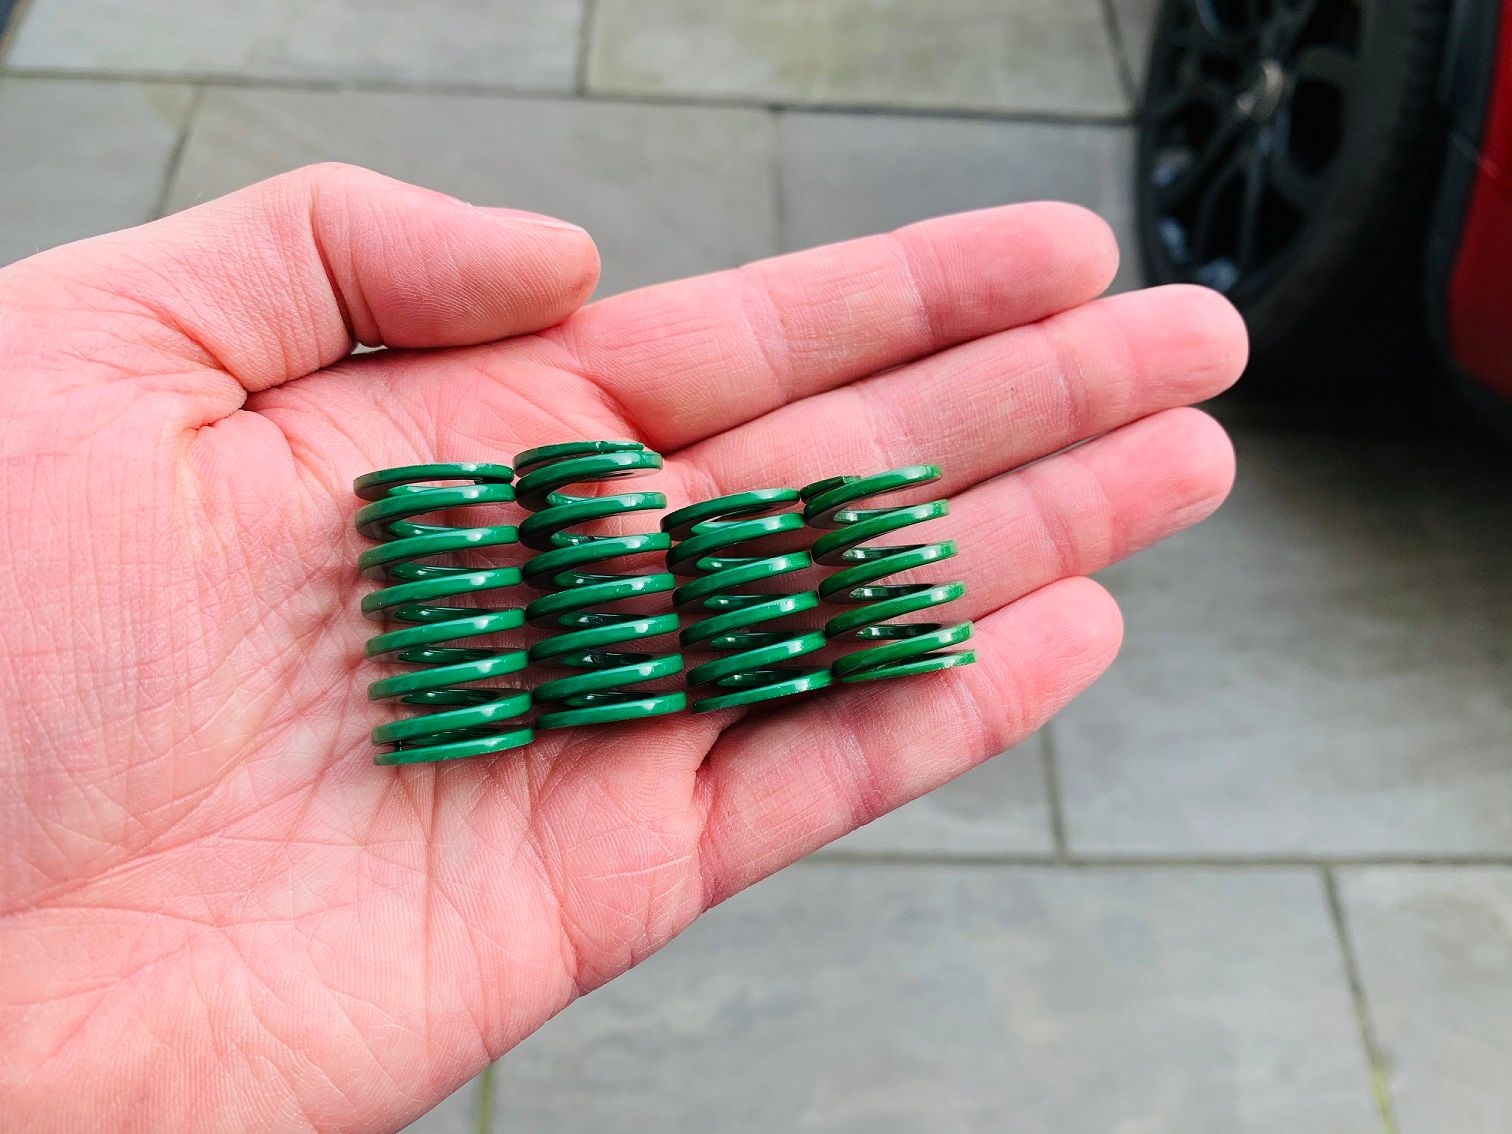
Here I have 2 different pairs of springs with slightly different lengths and the idea was to test these to give me a self-opening boot lid. All cars come with gas struts on the boot lid to assist you when opening them. Almost anyone can lift a boot lid with one hand, or even just a few fingers, yet they weigh an enormous amount as they're a giant piece of metal with other stuff attached. The gas struts do most of the lifting and require minimal effort from the user, so what if we could add that 'minimal effort' from somewhere else and require no input from the user? I had to prop the boot lid open to remove the gas struts, unscrew the end of the strut and slide the spring over and then reassemble them. I taped up the plastic end caps so my tools didn't scratch them and the whole job took maybe 10 minutes at most.
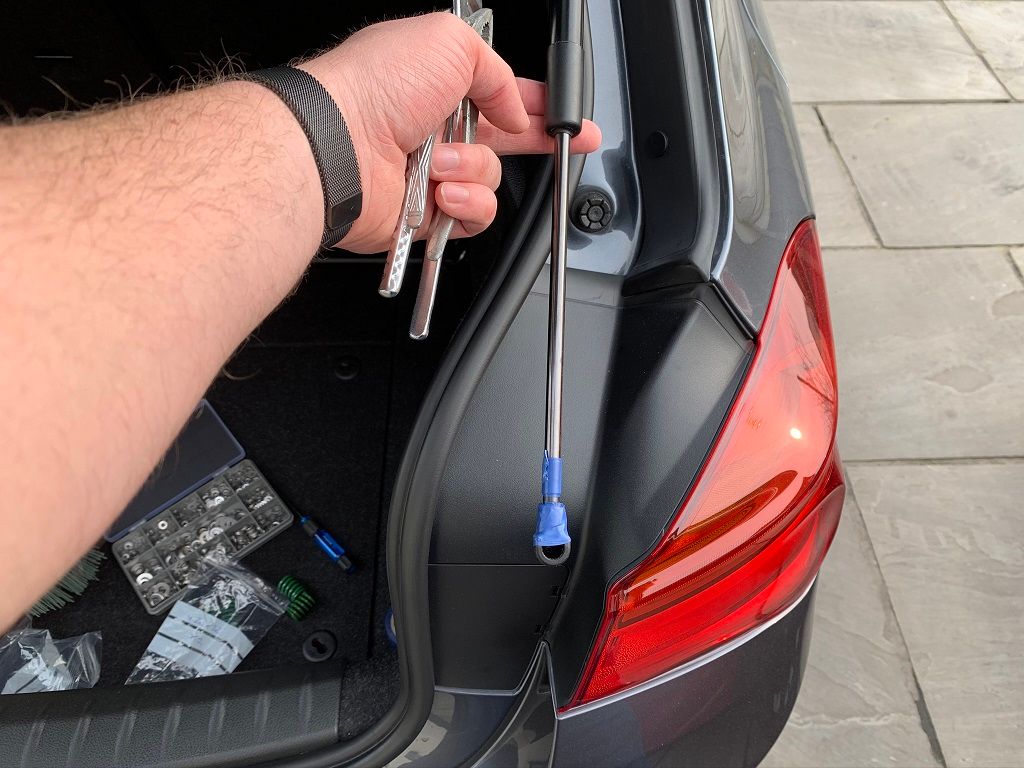
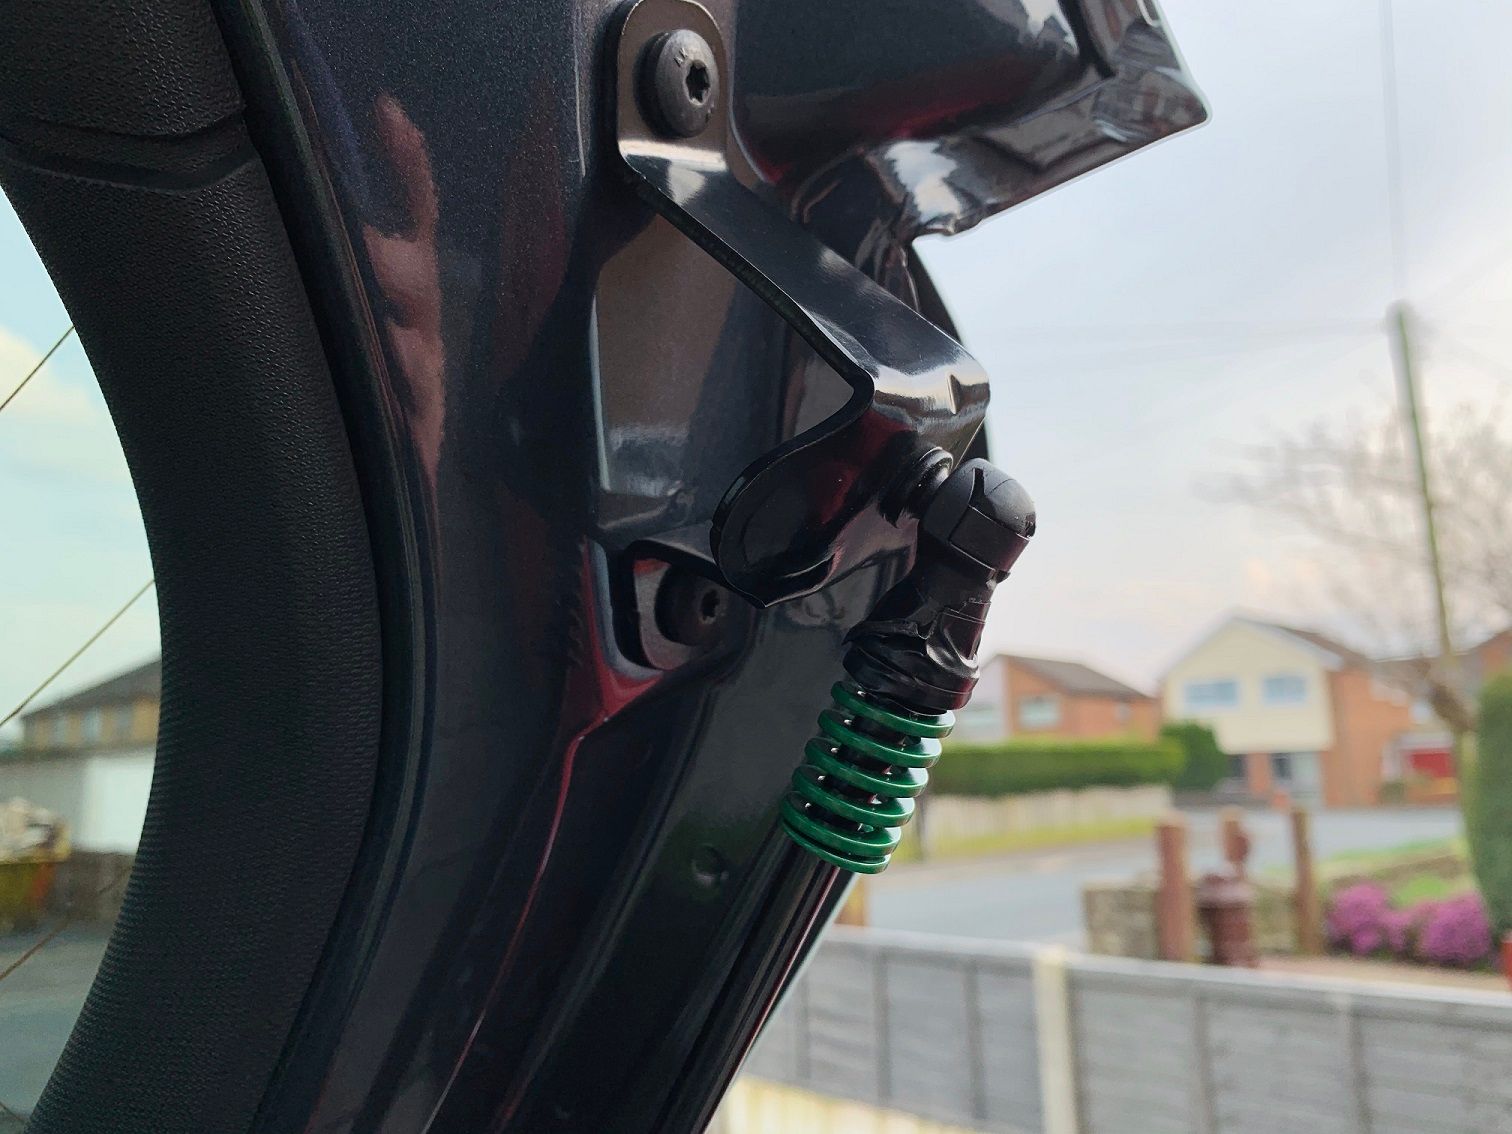
Once complete, the metal rods that go into the strut unit have the spring on them and when fully closed we just want a little pressure on the spring to give us a boost when we release the boot catch.
That actually worked pretty well! This is the smaller of the springs and as you can see it gives enough of a boost to just lift it but not quite enough for the gas struts to take over and lift it all the way. All that was needed here was a gentle nudge with a single finger and it'd open the rest of the way. Time to swap out the smaller springs for the larger ones and see how that goes.
Nice! With a single click of the button the boot now opens the whole way and I can put all of the car parts food shopping I'm carrying straight into the boot without a problem! Now that everything works I've ordered the correct springs in black and some small rubber washers to hold the spring in place so it doesn't need to be taped up there. Cheaper and easier alternatives to this involve keeping a child in your boot, check local laws before attempting.
More Carbon Fibre
I've said it before but how can anyone not love carbon fibre? I'm not talking about the fake stuff you can vinyl wrap onto things, but real, awesome carbon fibre! I bought myself a few more goodies from AutoID to replace on the car and here they all are!
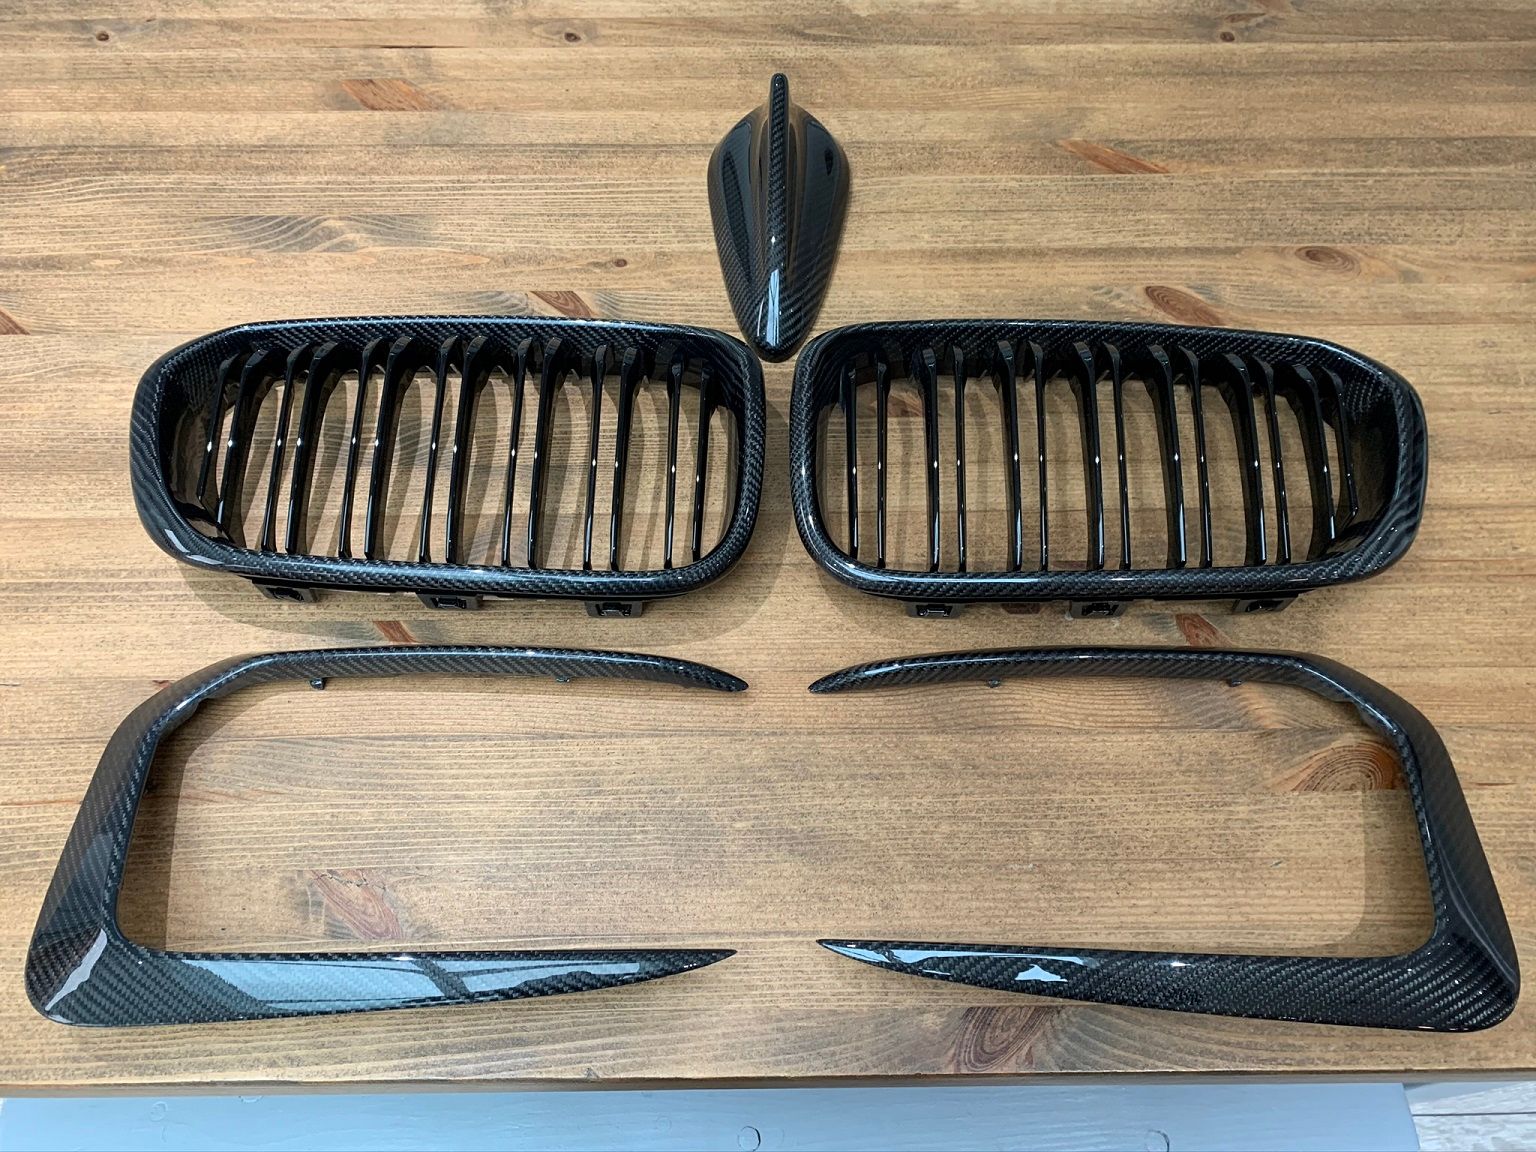
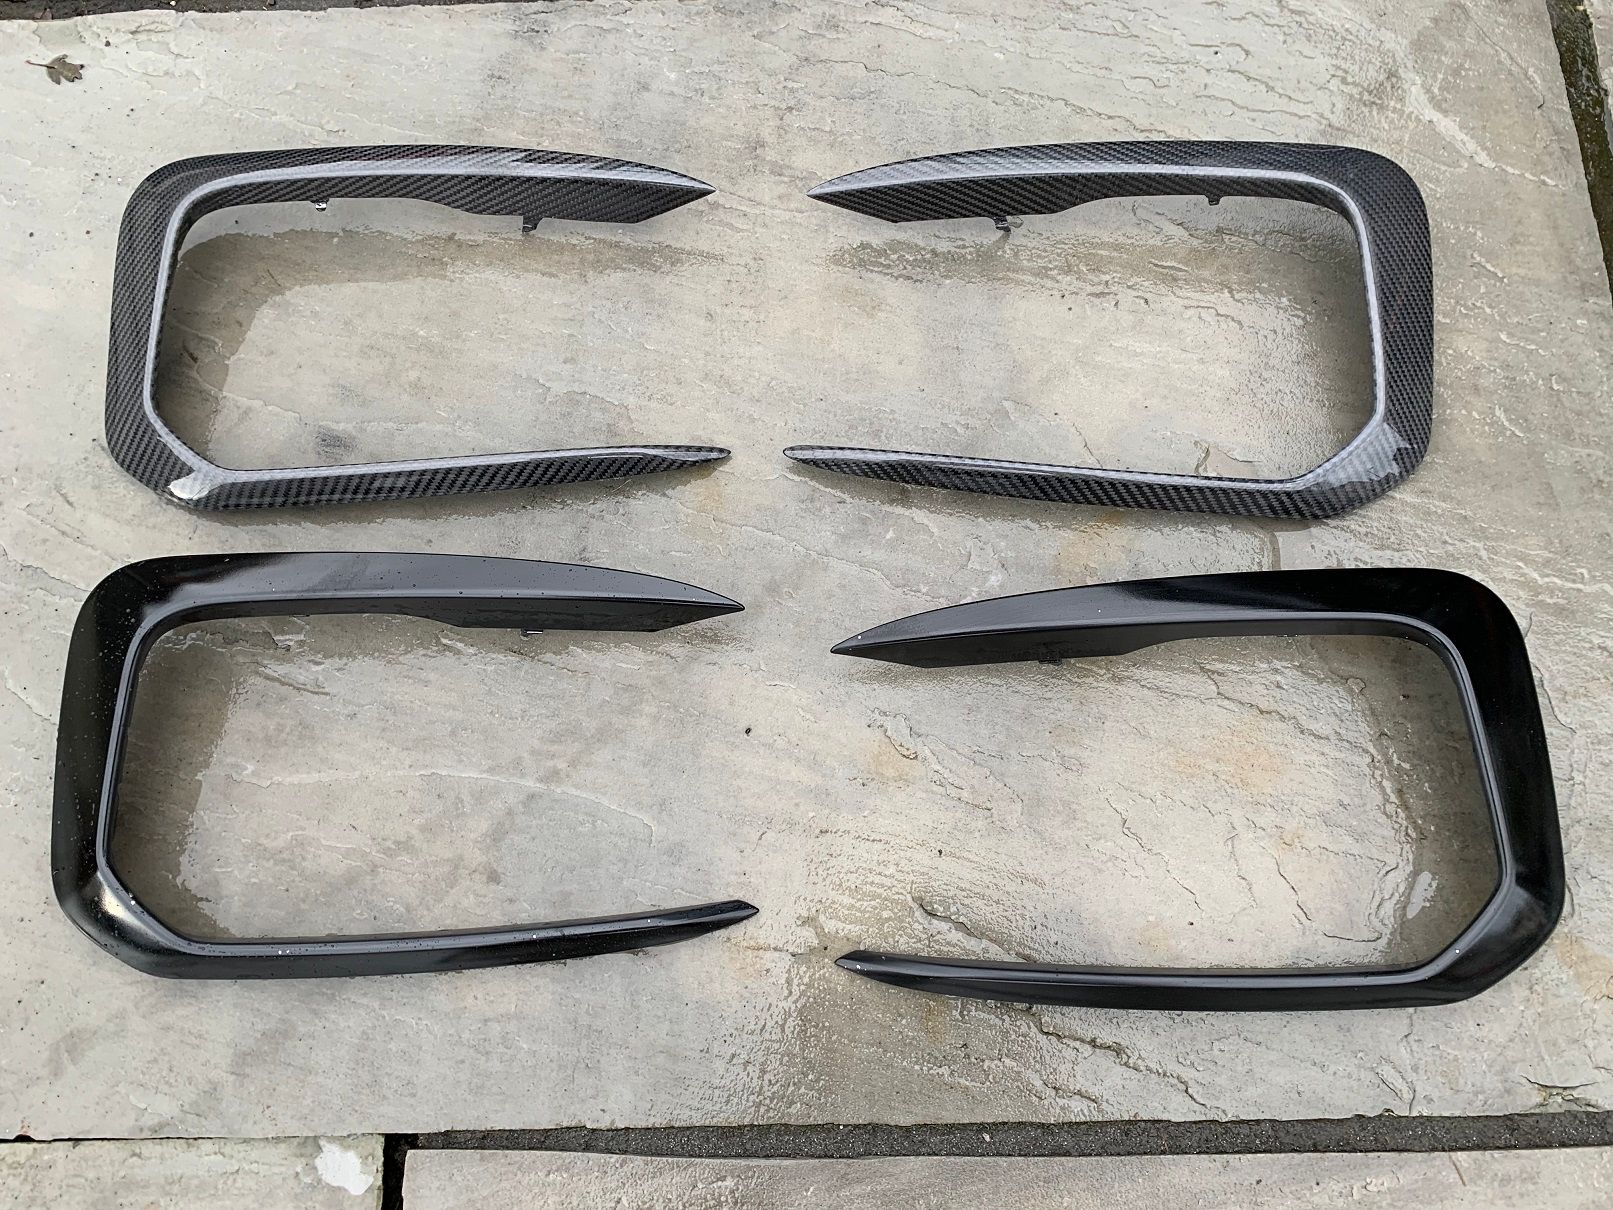
That's a cover for the shark fin antenna, replacement kidney grilles and replacement canards. All of these are simple to swap out and make a huge difference to the looks of the car. Here's an old vs. new for the kidney grilles and the canards.

Then there's the shark fin.
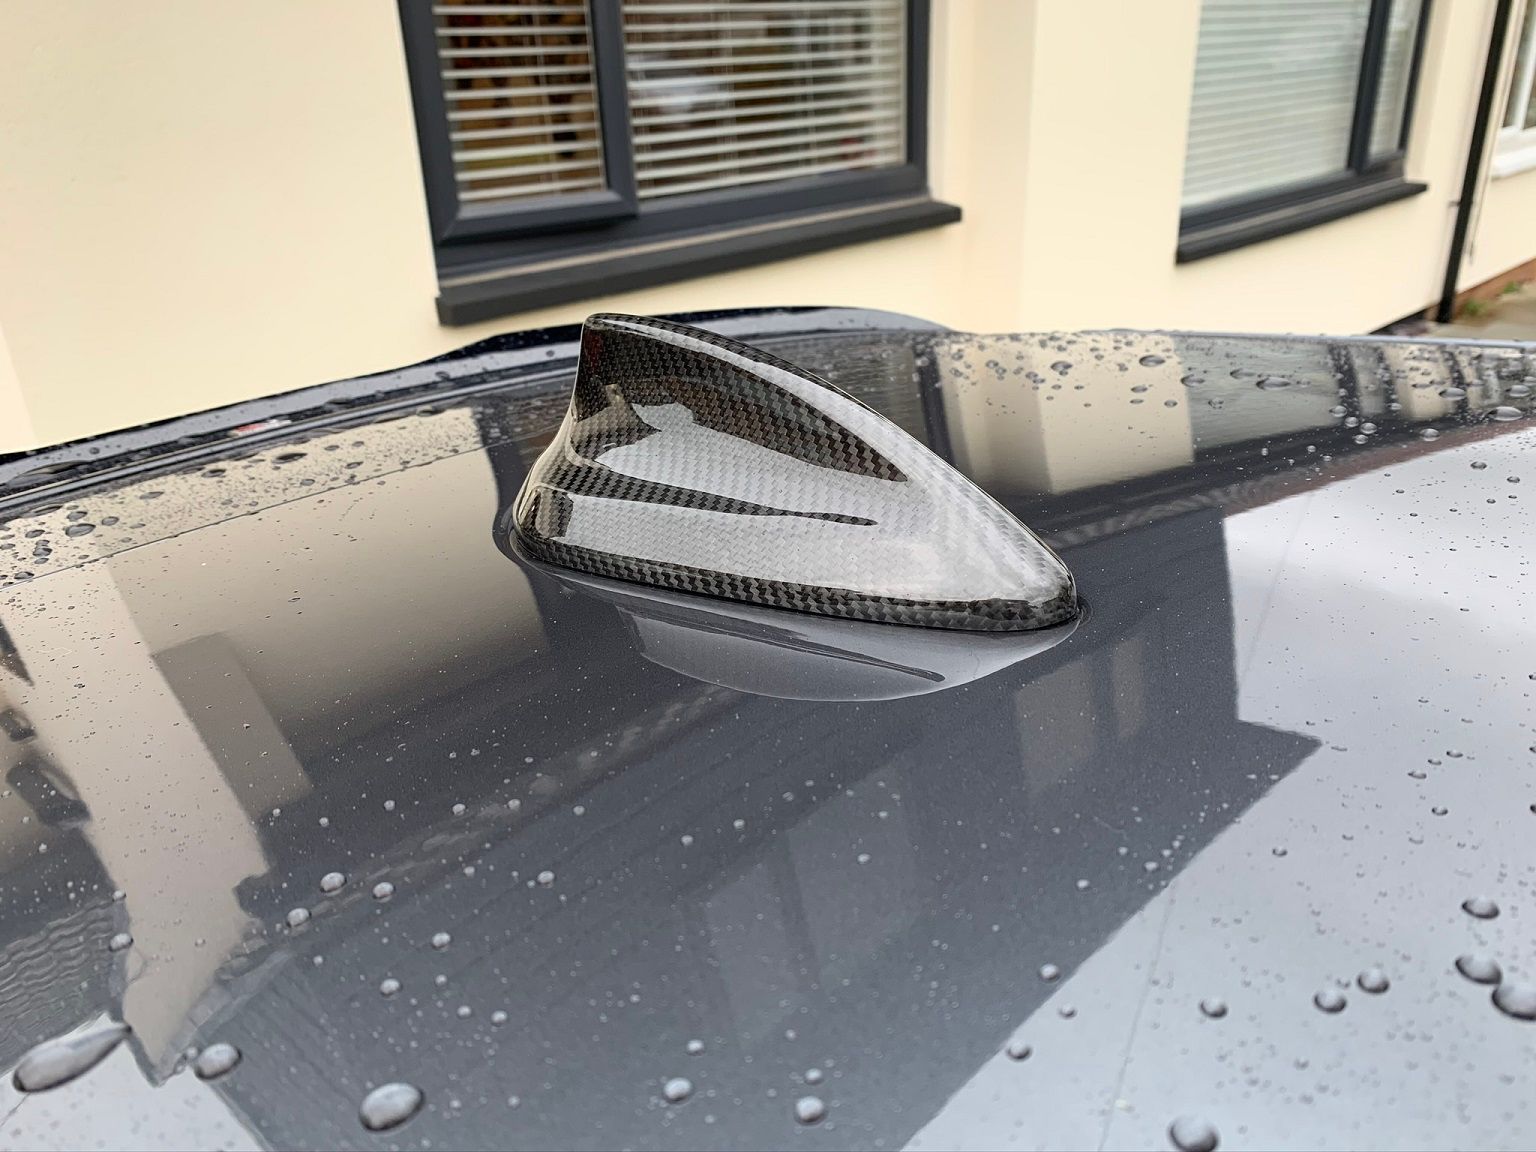
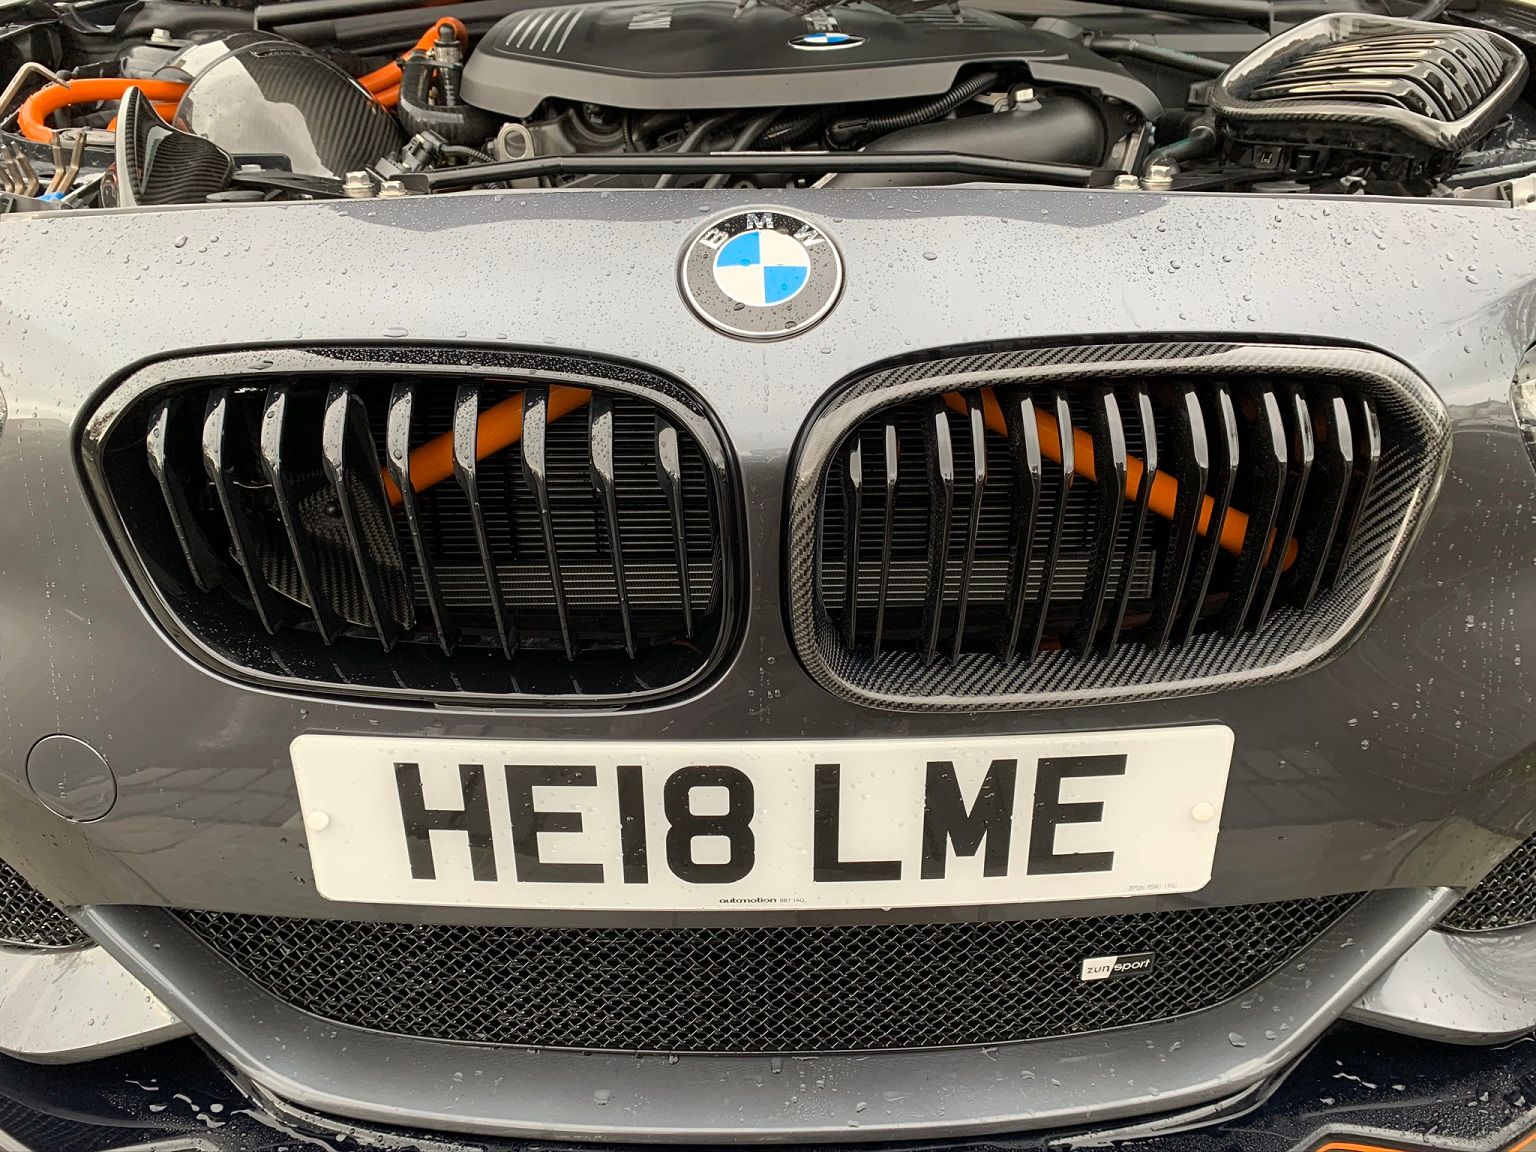
Then the finished product!
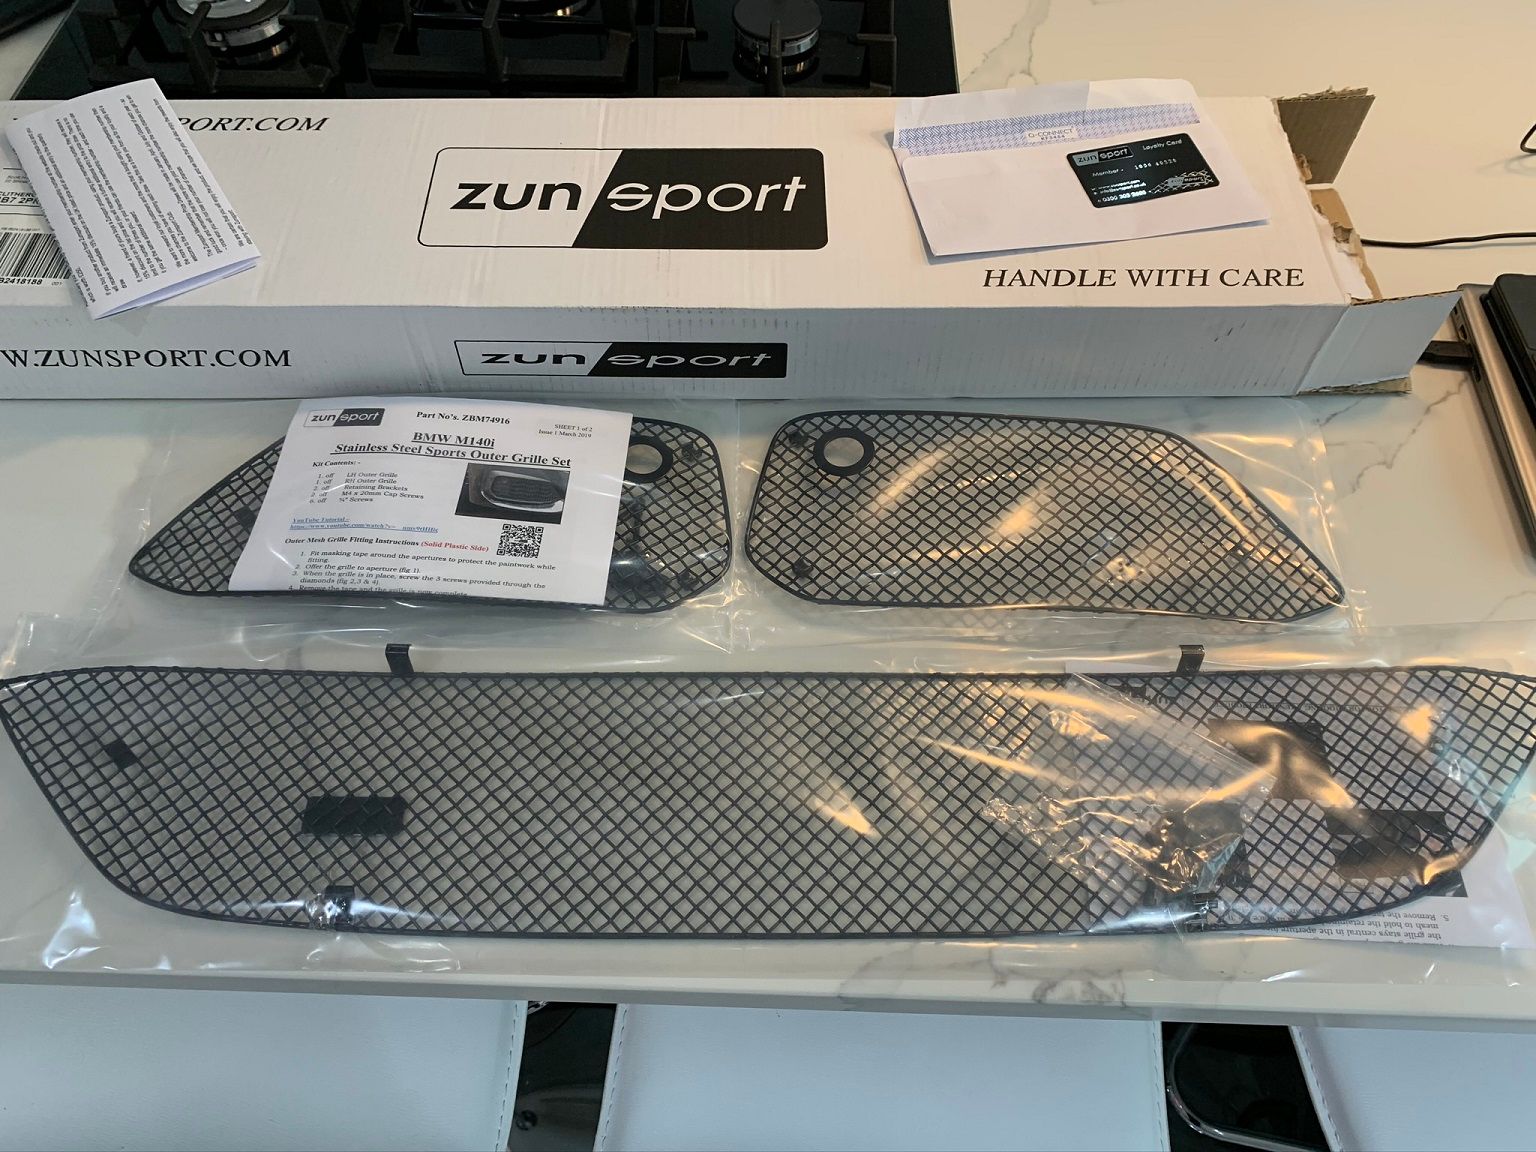
Zunsport Grilles
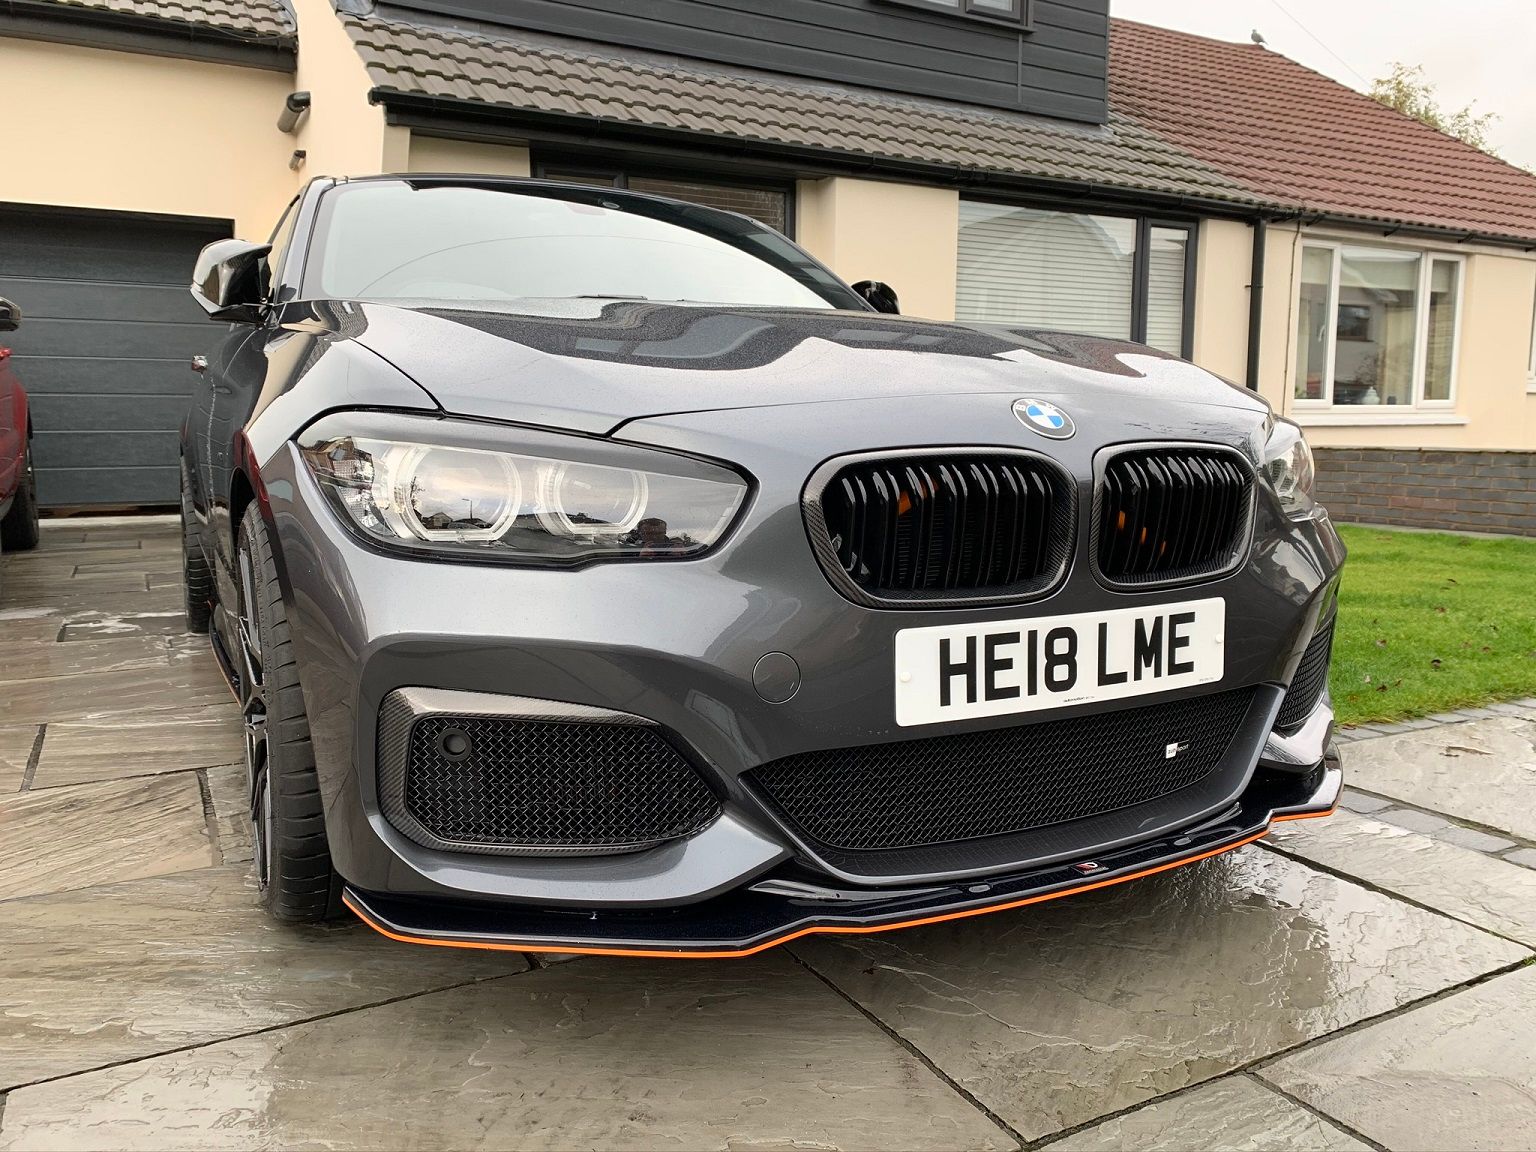
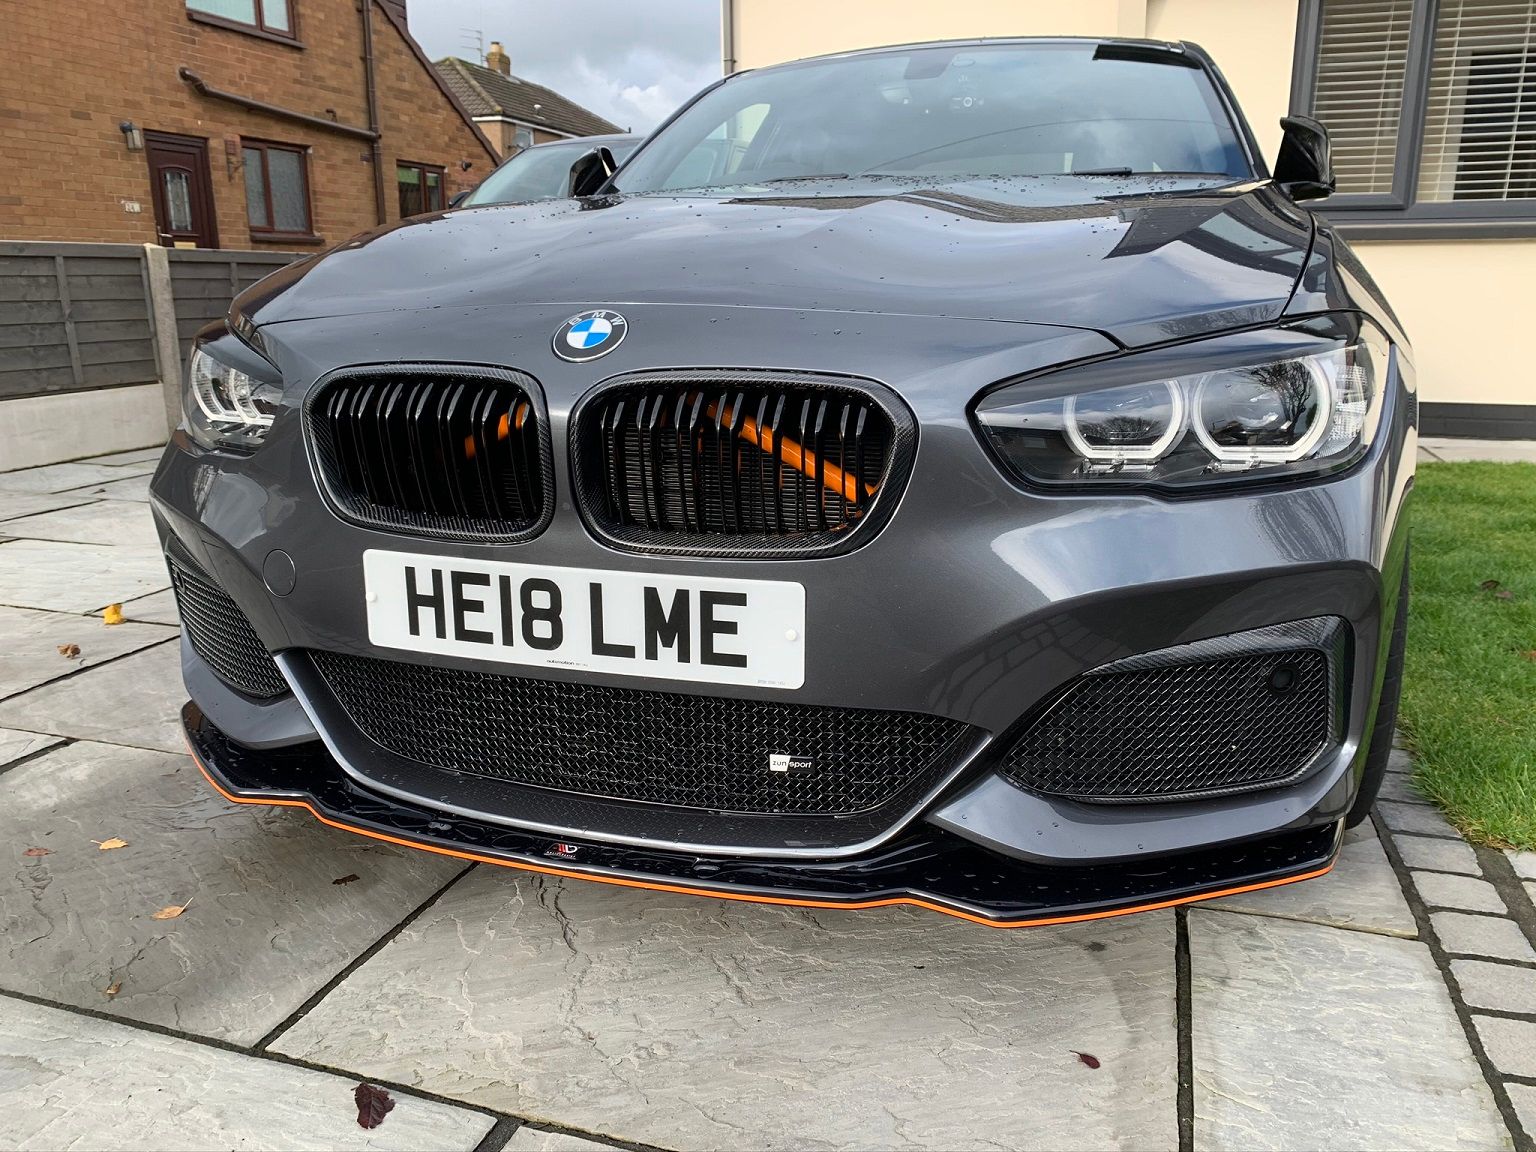
Another change you may have noticed in the images above is the different grilles in the front bumper. I bought a full set of Zunsport Grilles and fitted those at the same time.
For me these grilles were mainly cosmetic but there are some advantages to having them beyond looks. Behind those grilles at the bottom of the front bumper there are 4 different radiators depending on your exact model. There's the main coolant radiator for the engine, the radiator for the water-to-air intercooler, an oil cooler radiator and the AC condenser radiator! Blasting down the track at 100mph+ a small piece of debris entering the very large holes in the standard grille can quite easily wreck a radiator or two and isn't unheard of in the owners forums. These grilles have a much finer mesh and stop all but the smallest pieces of debris from passing through, reducing the chances of major damage. This problem was even recognised by BMW so there must have been at least some frequency to this issue as in late 2018 all new cars had an additional small mesh behind the centre grille opening from the factory. Also cast your mind back to Part 3 when I had to replace a piece of the front grille on the left side after a piece of debris struck that and broke through. Fortunately there are no radiators behind the left side grille but it just shows that it does happen and these grilles could indeed save an expensive repair!
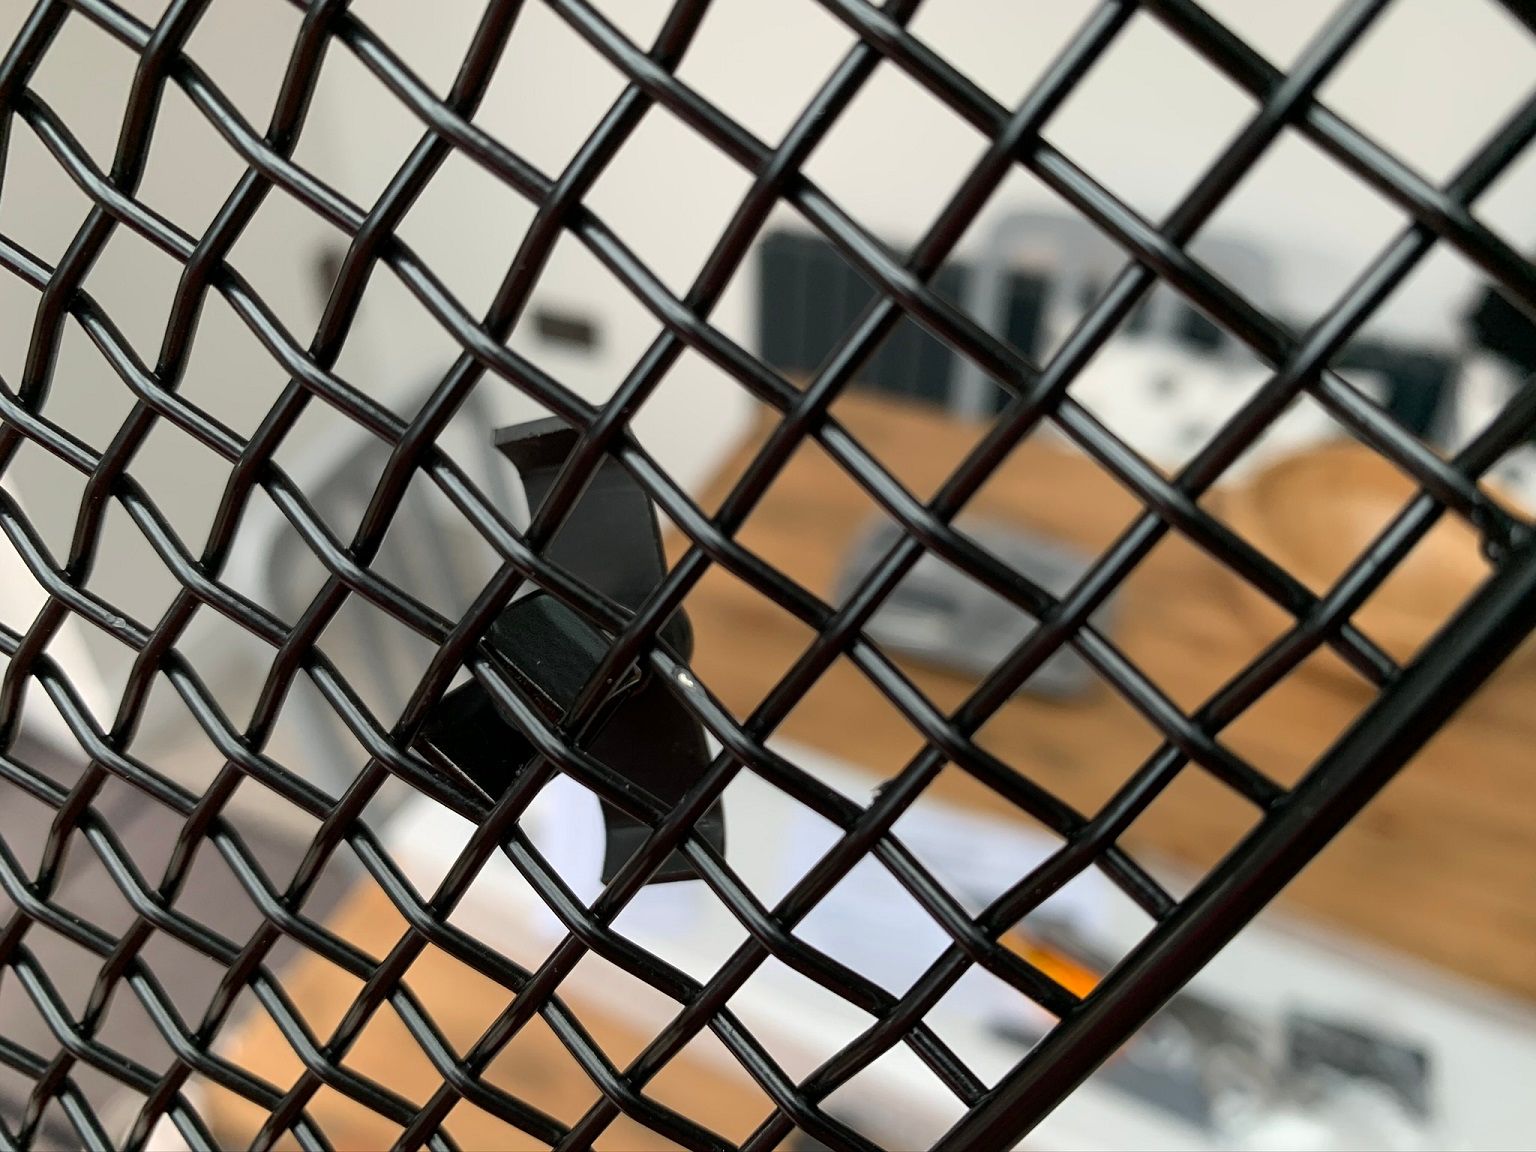
Fitting is easy with the new grilles simply being placed against the existing grilles and these small 'wings' pass through the gap in the original grille, rotate 90 degrees and then as the screw is tightened they pull against the original grille, locking the new grille in place. Here's a before shot where you can see right through the original grille and see the radiators behind them. The gaps in the grille are massive!
With the new grilles in place you can see how much more protection they offer and honestly, how much better they look too!

Painted Hubs
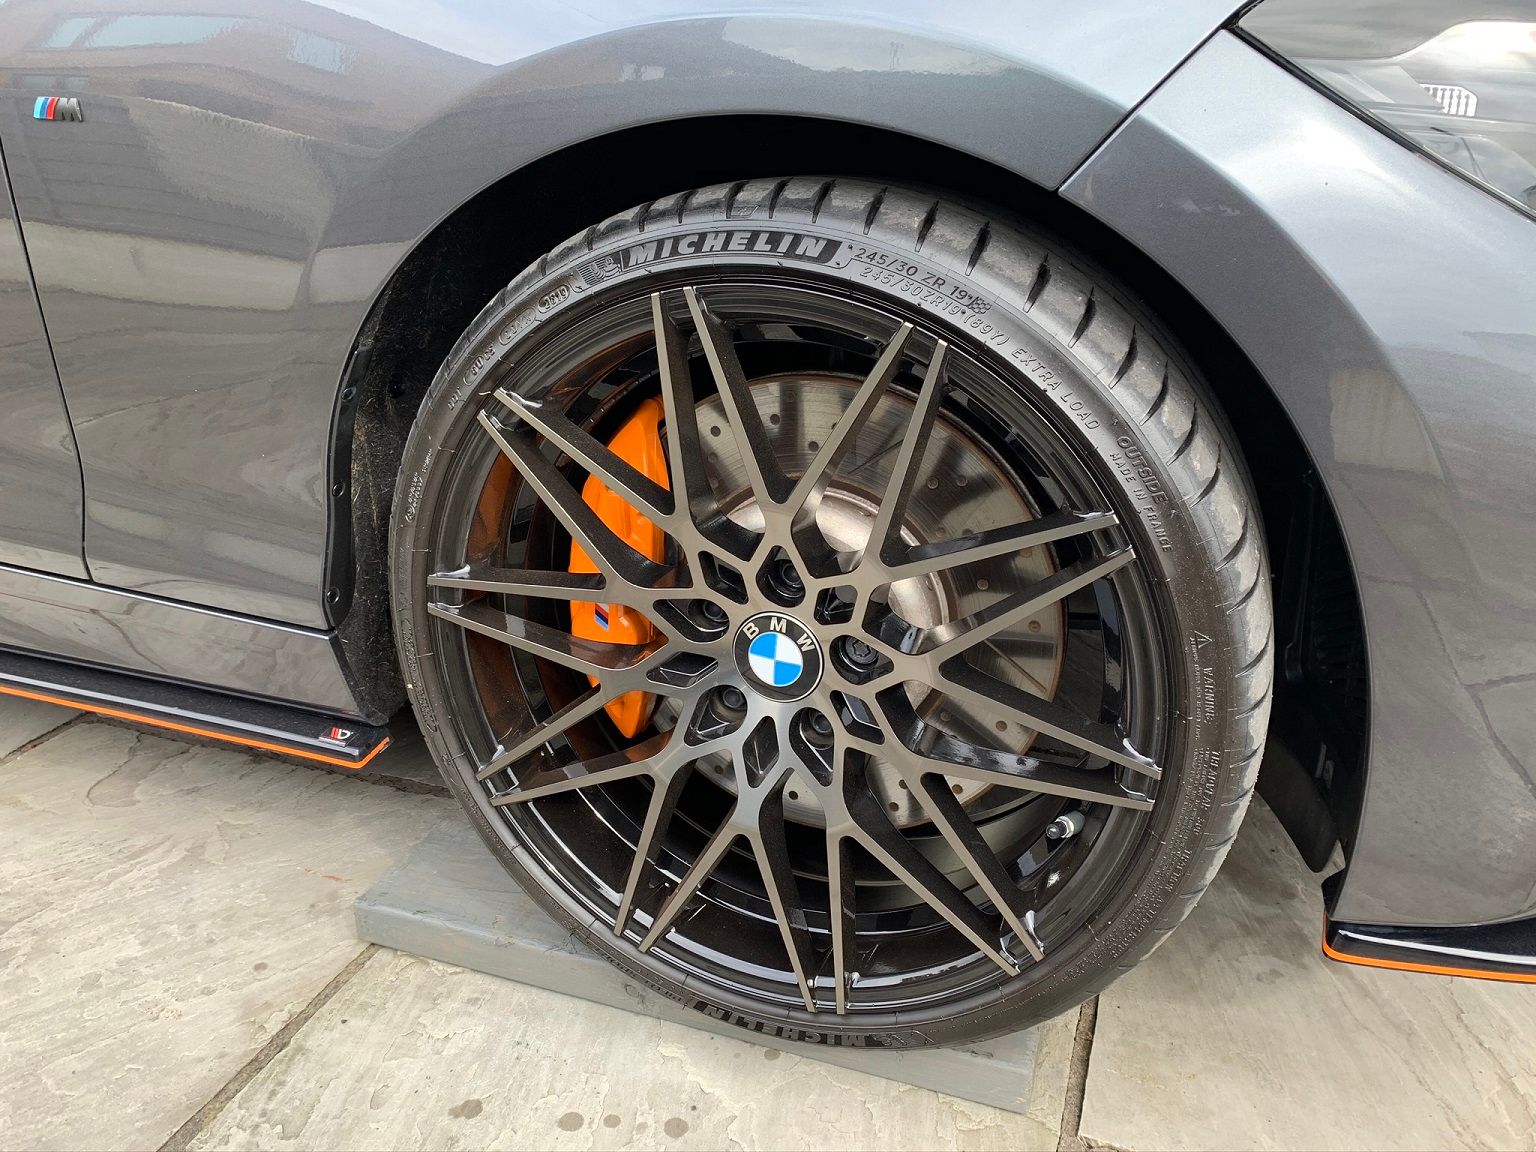
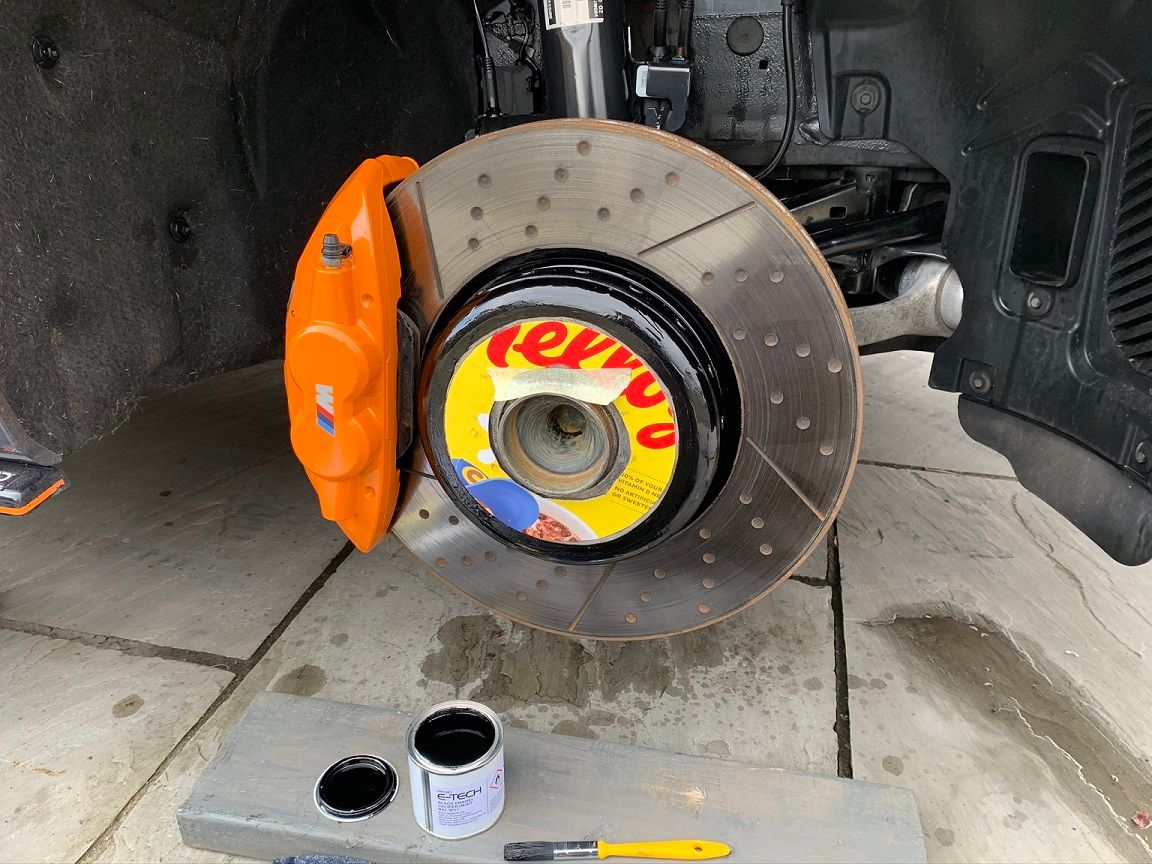
Last but certainly not least for this part of the series is another small but really meaningful mod which was painting the wheel hubs. Here's a picture before I'd done the work and just behind where the wheel bolts are, behind the face of the wheel spokes, you can see the silver hub and the brake disc (rotor).
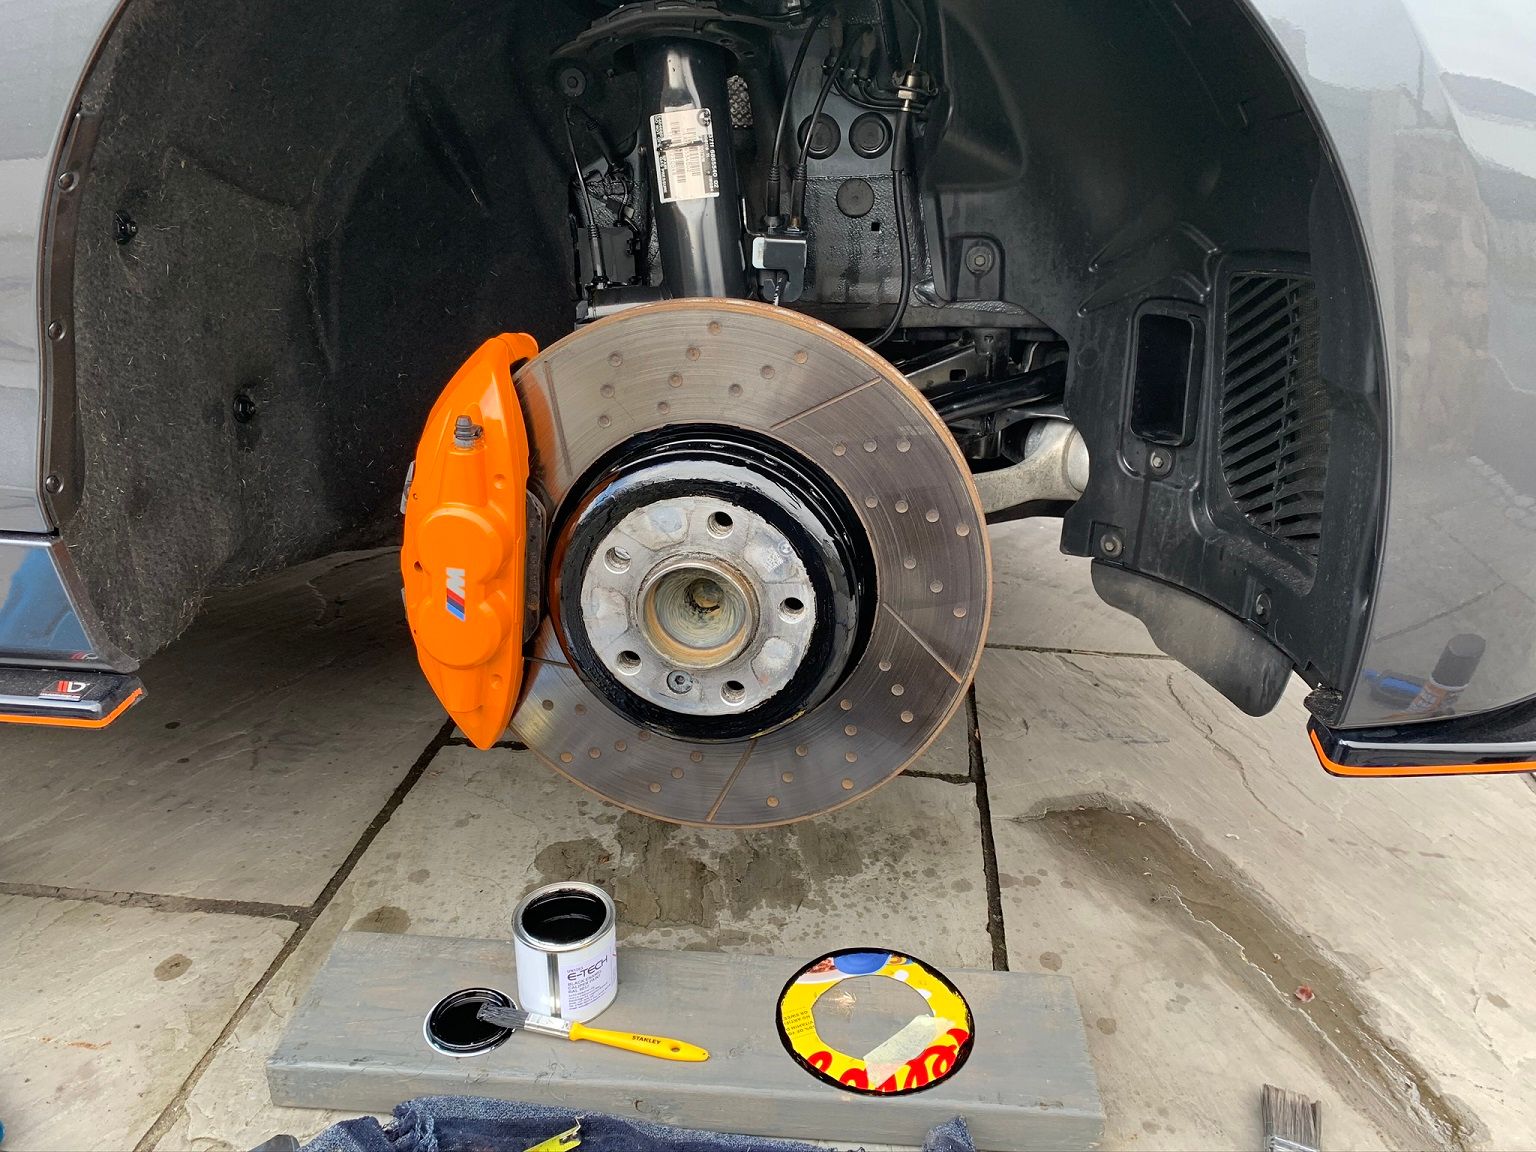
My car is a 'Shadow Edition' and comes with many things in a nice gloss black or just darker than general to give it a more aggressive and menacing look. These giant silver hubs in the background kind of spoil the wheels, once they get a bit dirty or dull they don't look great and eventually they rust and corrode. Not on my car! Here's me with the car lifted and the wheel off ready to get started.
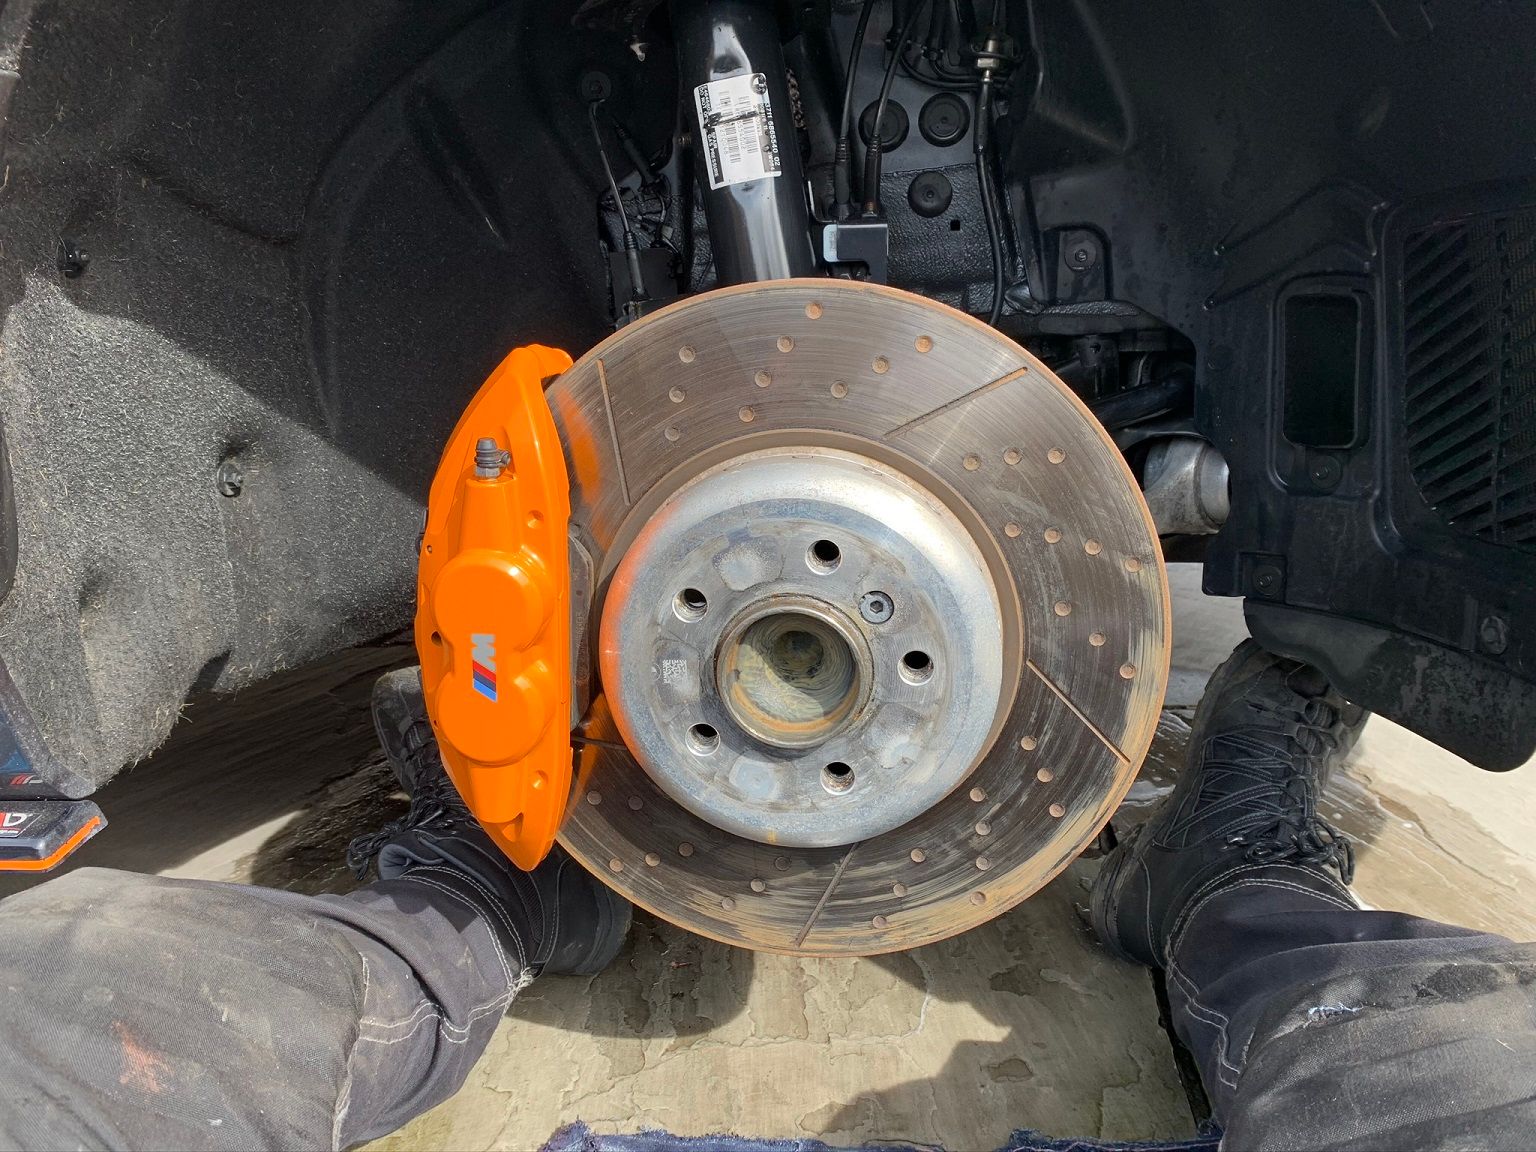
The tools required for the job are pretty simple as all you really need is high temperature paint and a paint brush. You have to make sure the paint is suitable for use on braking components as this part of the car could easily hit a couple hundred degrees and you may need a bit of sandpaper or a wire wheel to scrub any rust/corrosion off the hub if it's already started. Mine are pretty new so they required minimal cleaning and then painting.
There are two really important things to note here and they are the locations where you must not put any paint! The first is on the brake disc surface itself, as you can see I've stopped right up against the edge of that, and the second is on the mating surface where the wheel mounts to the hub. I made a template out of a cereal box by measuring the diameter of the mounting face on the back of the wheel so I could ensure no paint went on that area of the hub.
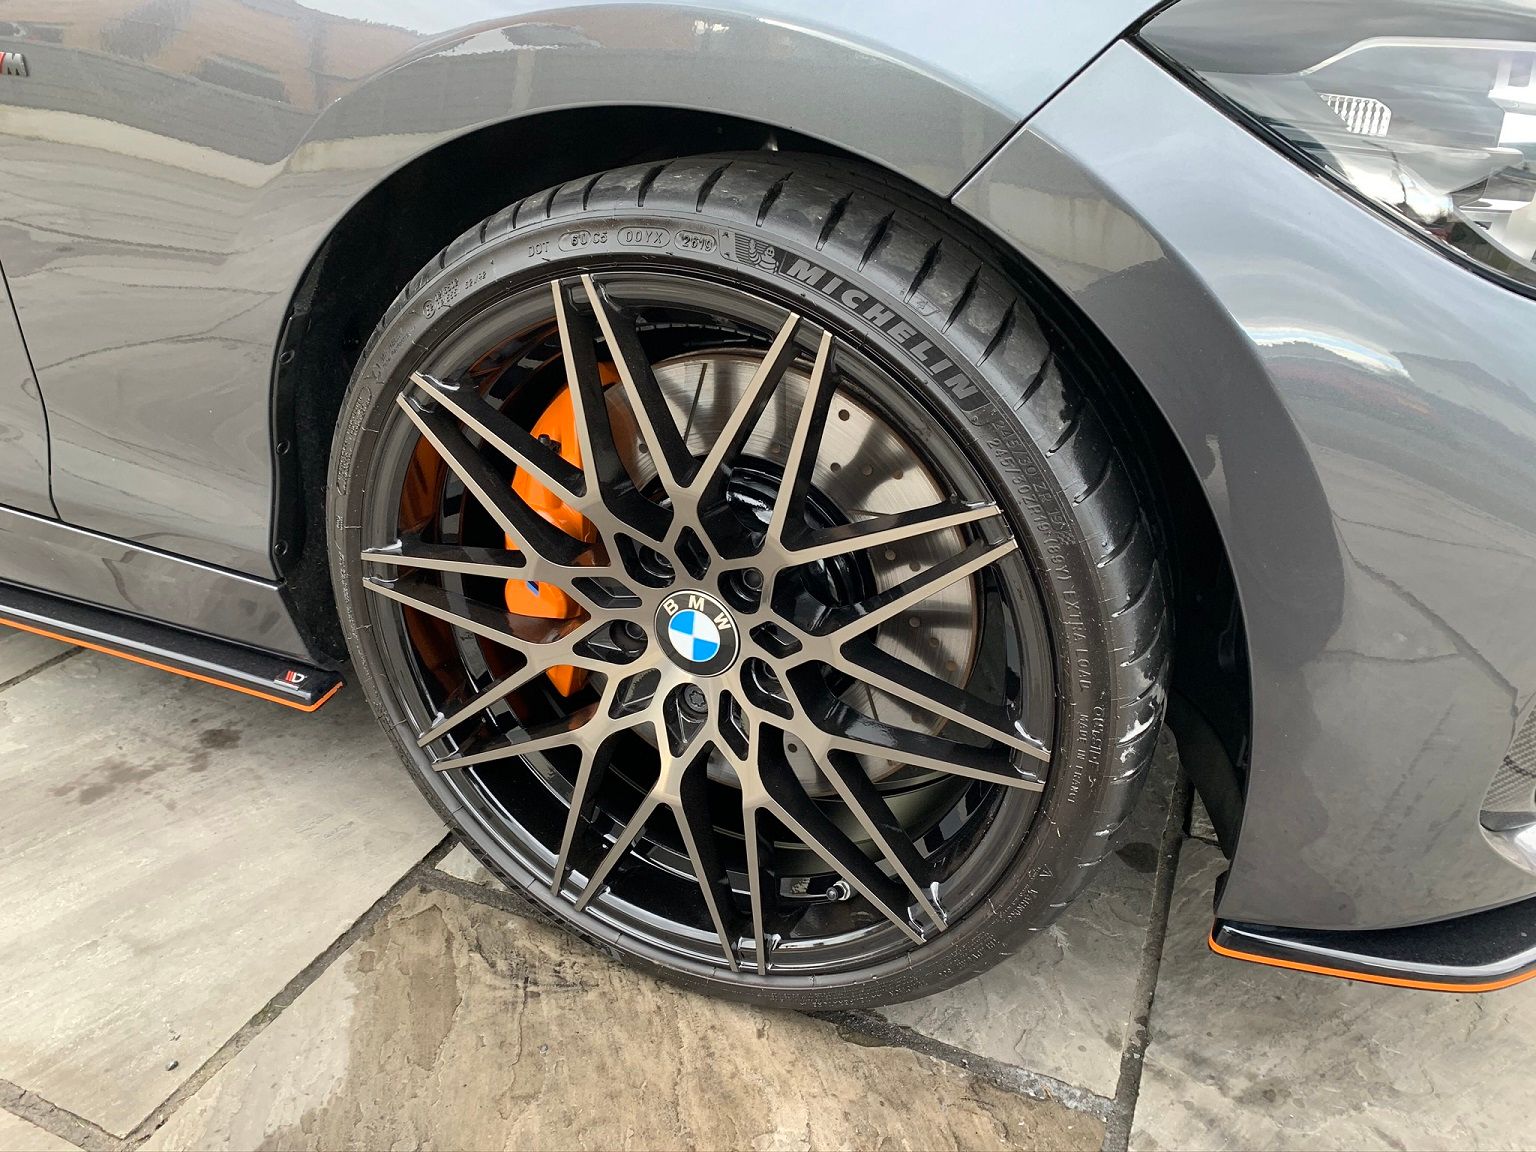
With that template it was easy to avoid painting the mating surface and some careful brush strokes were required against the edge of the braking surface to ensure no paint got on that and then it's all done, repeated for each corner. I left the car to sit for the remainder of the day so the paint could dry as you don't want any brake dust or other road dirt sticking to the wet paint and now not only do they look much better but it will help keep rust and corrosion at bay for years to come. Here's the before and after:
Parts
Here's the list of parts used in Part 9 and where you can get them:
WiFi Antenna, Part# 61119372321
Short Springs V20x25 Light Load Die Spring
Long Springs V20x32 Light Load Die Spring
AutoID Carbon Fibre Kidney Grilles
View all of the other blog posts here: The BMW M140i Project Series