
This is going to be a big one and I'm super excited! In this post I'm only going to be talking about one thing but it's pretty significant in a few different ways. My car is getting Water Methanol Injection!
The Series
In Part 11 I'm going to be talking about something that many people perhaps haven't heard of and even those familiar with cars may think this sounds a little odd. Using Water Methanol Injection (WMI) has many advantages and no disadvantages and it's not too hard to do, so here we go.
Water Methanol Injection
I guess we should start with the what and the why before we get onto the how. Water Methanol Injection is by no means anything new and the idea has been around for decades in one form or another. You take a liquid mixture of water and methanol, usually a 50:50 ratio, and inject it as a fine mist into the intake tract of your engine. The combination of water and methanol provide some pretty big benefits:
1) The water is being injected into an air stream which is usually going to be quite warm or even hot, especially on forced induction engines. This will cause the water to go through a phase transition and evaporating water consumes a significant amount of energy in the form of heat. This reduces the temperature of the air (or charge on FI engines) and with a lower temperature comes a higher density which means more fuel can be injected which means, more power! The lower temperature on the intake also means there is a reduced chance of pre-ignition (detonation/knock) so you can run more advanced timing which means, more power!
2) The methanol will undergo the same phase transition as the water, further cooling the air, but methanol is also combustible. Due to the denser air requiring more fuel, the fuel injection system on the car may not be able to meet the demand and the methanol fills the gap as a supplementary fuel for, more power! Another added advantage of methanol is that it has a much higher octane rating than petrol/gas which makes it a lot more resistant to detonation. With a lower risk of detonation you can run more advanced timing and make, more power!
So, to summarise: more power, more power, more power and more power! This is basically the goal of a WMI system, to make more power, but a WMI system allows you to do it in quite a safe way. By keeping temps down and running a higher octane fuel you can make a lot more power using timing rather than boost on a car like mine and maybe you have to take my word for it, but that's a very good thing. The B58 engine found in my car, and many others, is particularly 'timing happy' and you can gain a lot of extra power with timing advance whilst I'm already at the limits of the stock turbo pushing 20-21PSI of boost.
Who does this?
It's in use on very few production vehicles, I actually don't know of a production vehicle that user Water Methanol Injection, but I do know of one that uses Water Injection; The BMW M4 GTS:
That's another Engineering Explained video (because they're awesome) but yeah, there's a little water tank in the boot (trunk) that you need to keep topped up in order for the car to inject water under high load scenarios for the benefits of water injection mentioned above. If BMW are doing it on their wildly powerful M4 GTS, what do we need to get started on our own car?
Required Hardware
A WMI kit is quite simple when you break it down, there isn't much complexity in the hardware required:
1) Tank - you need somewhere to store the water/meth mixture.
2) Pump - to draw from the tank and inject into the intake.
3) Lines - to transport the water/meth from the tank to the intake.
4) Nozzle - to inject the mist into the intake tract.
5) Controller - to make it all work.
Here is the kit I went for, a Coolingmist Stage 2 Kit with a progressive controller.
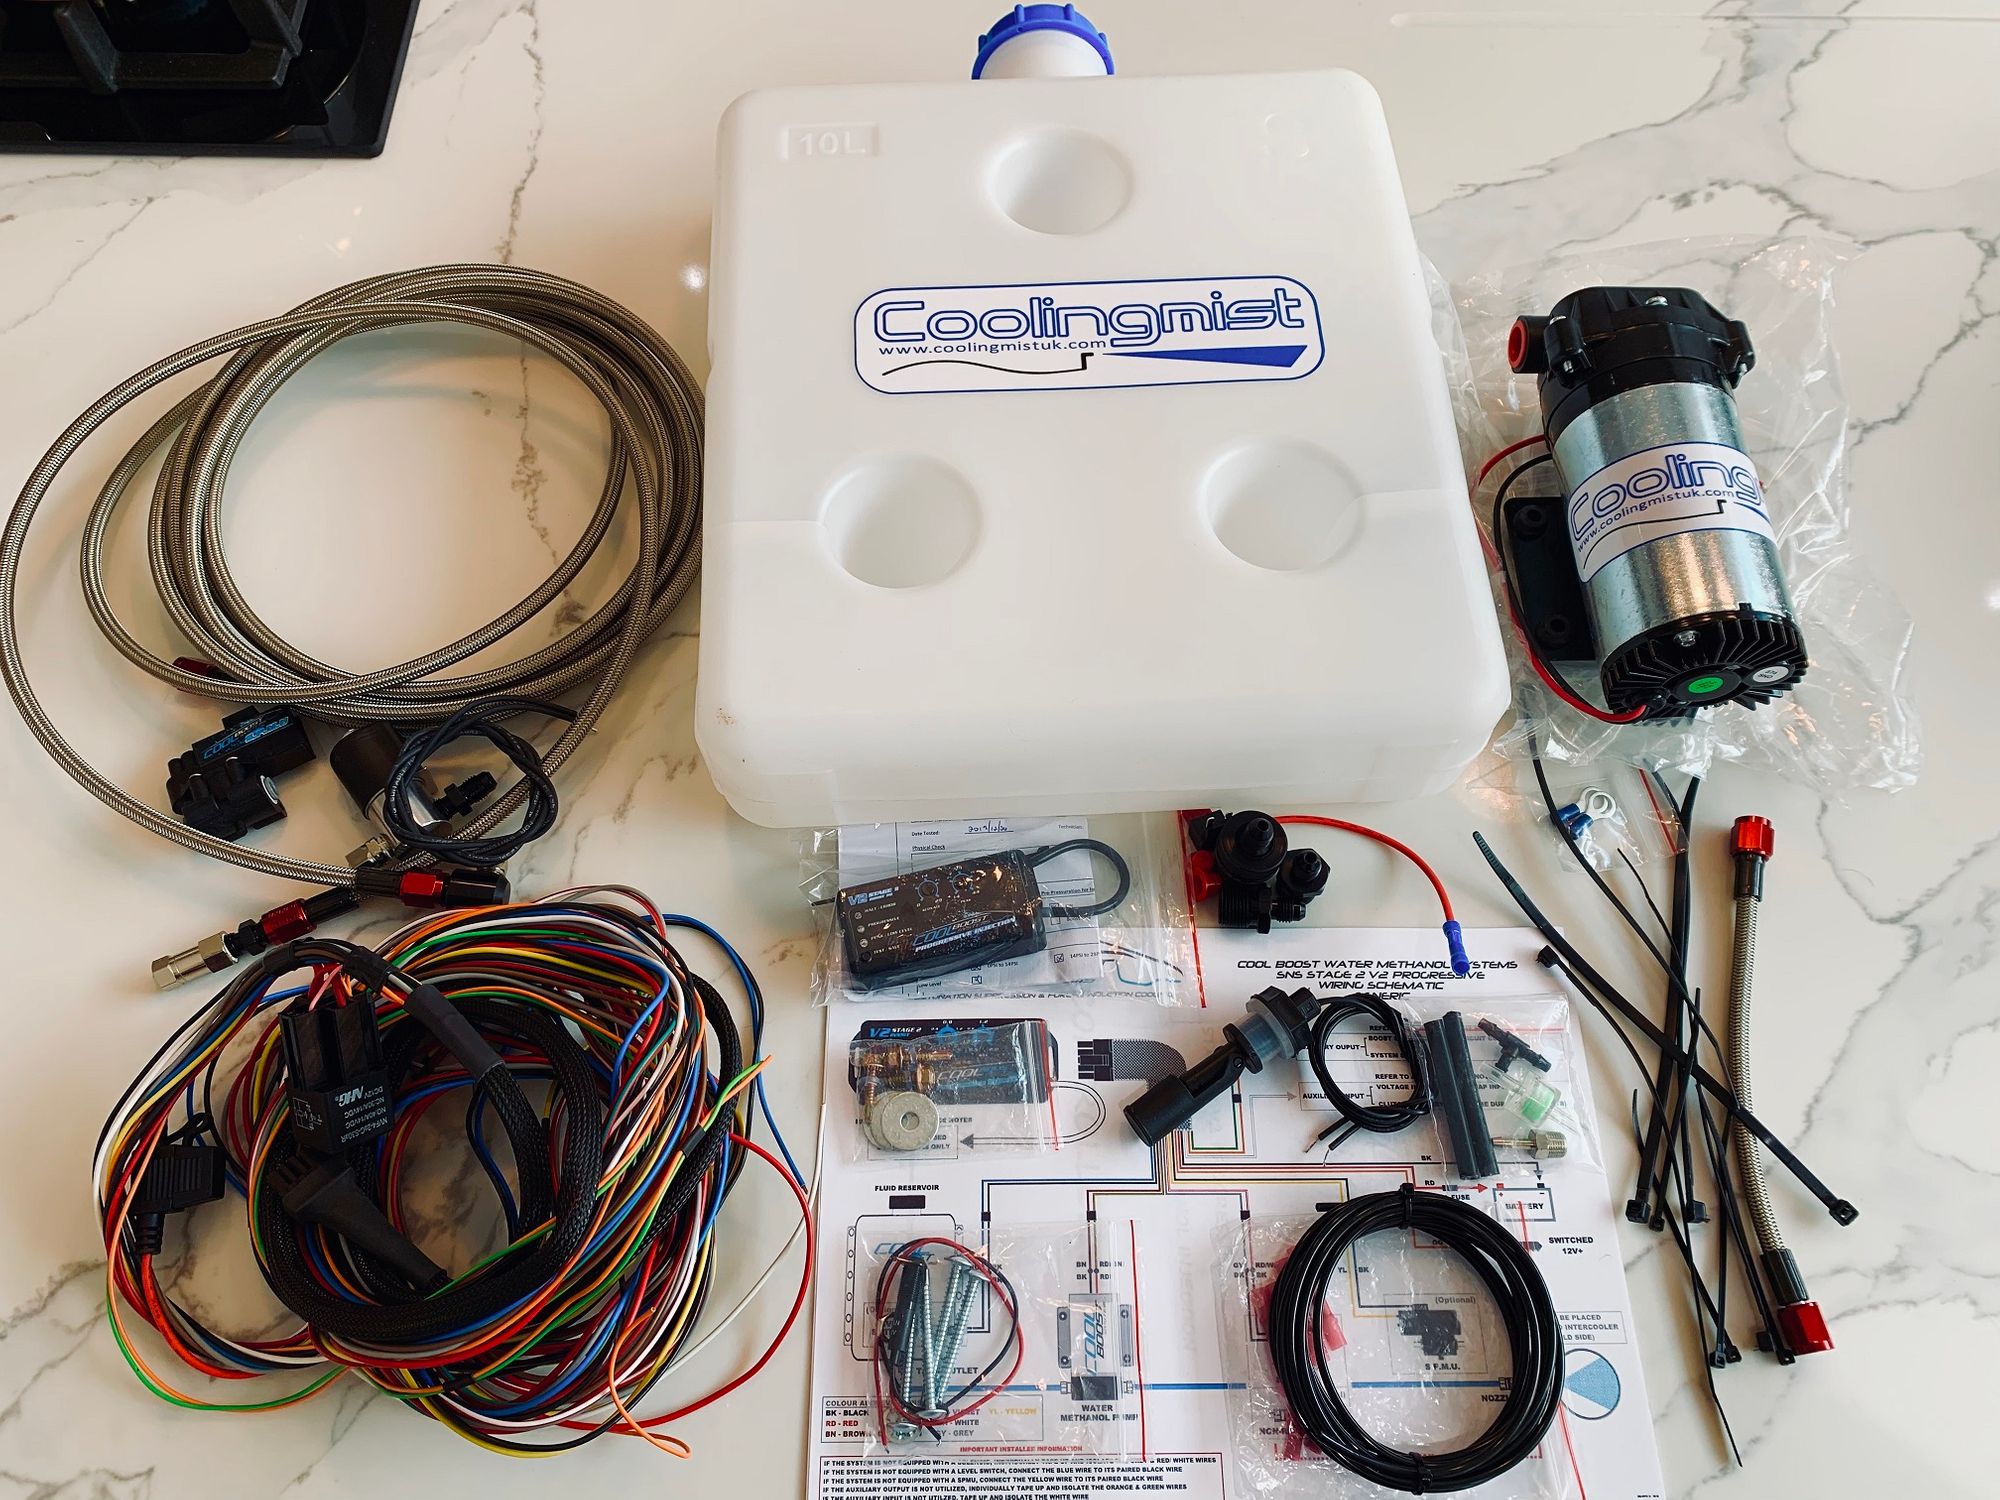
I have a 10L tank that will be mounted in the boot (trunk) of the car, the 200 PSI pump in the top right, the hoses/lines top left and the wiring harness bottom left. The real magic is in the controller which is the small, black box just under the tank. There are basically 2 types of controller you can go for:
Standard Controller - this is basically an on/off switch for the pump and you can either be injecting water/meth at full flow, or not injecting.
Progressive Controller - this allows for the water/meth to be injected at a varying rate based on an external data point, usually boost pressure.
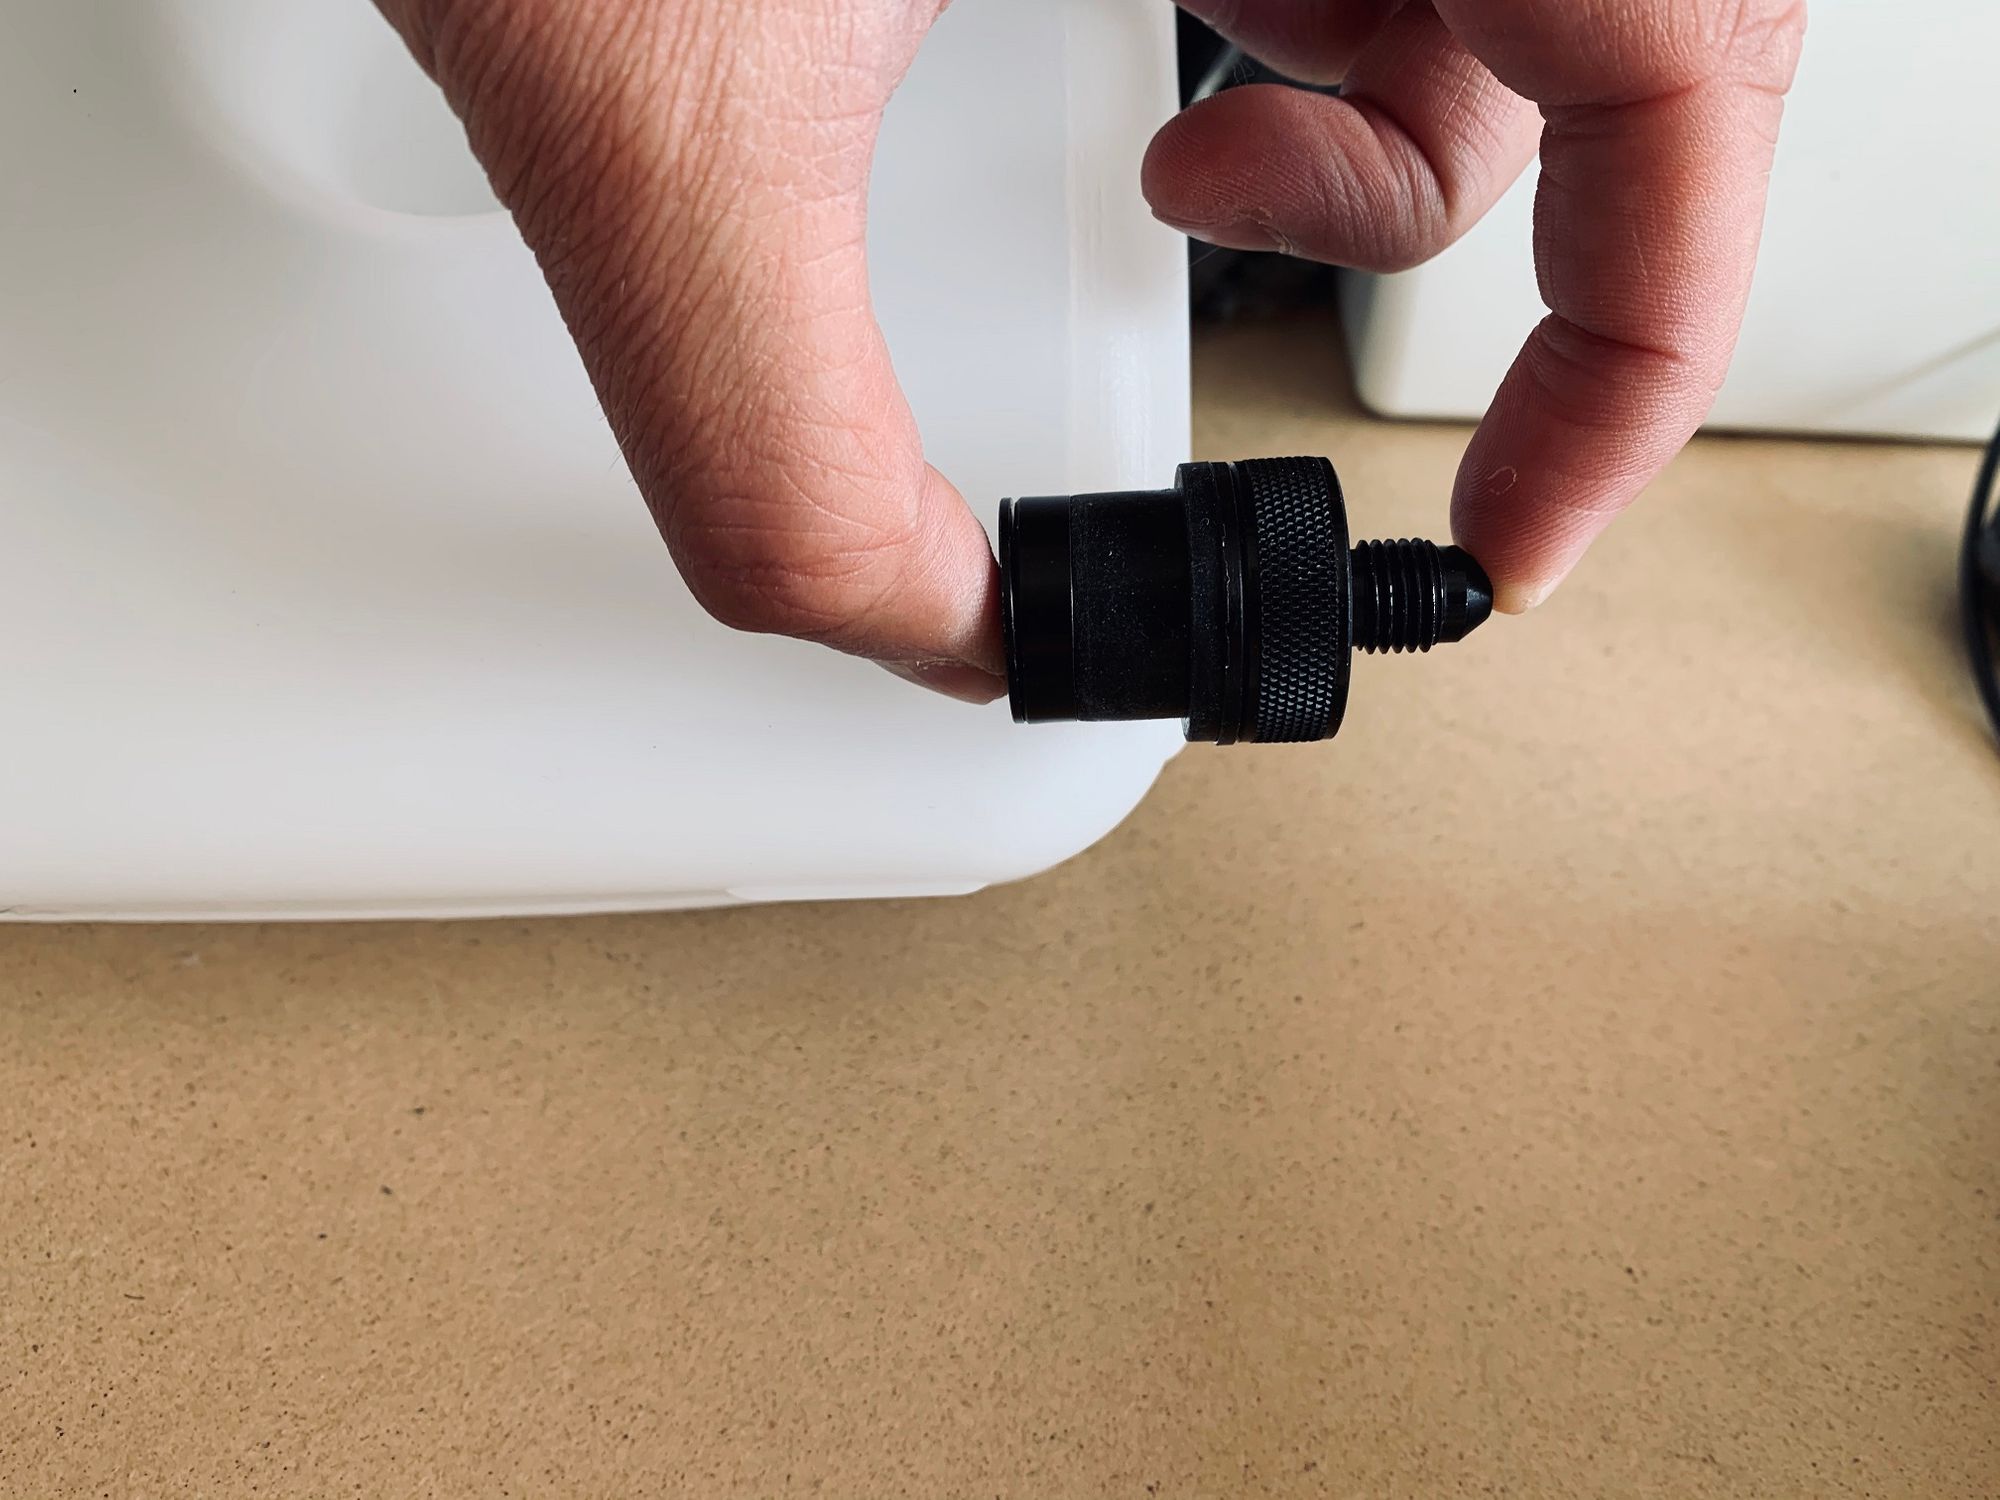
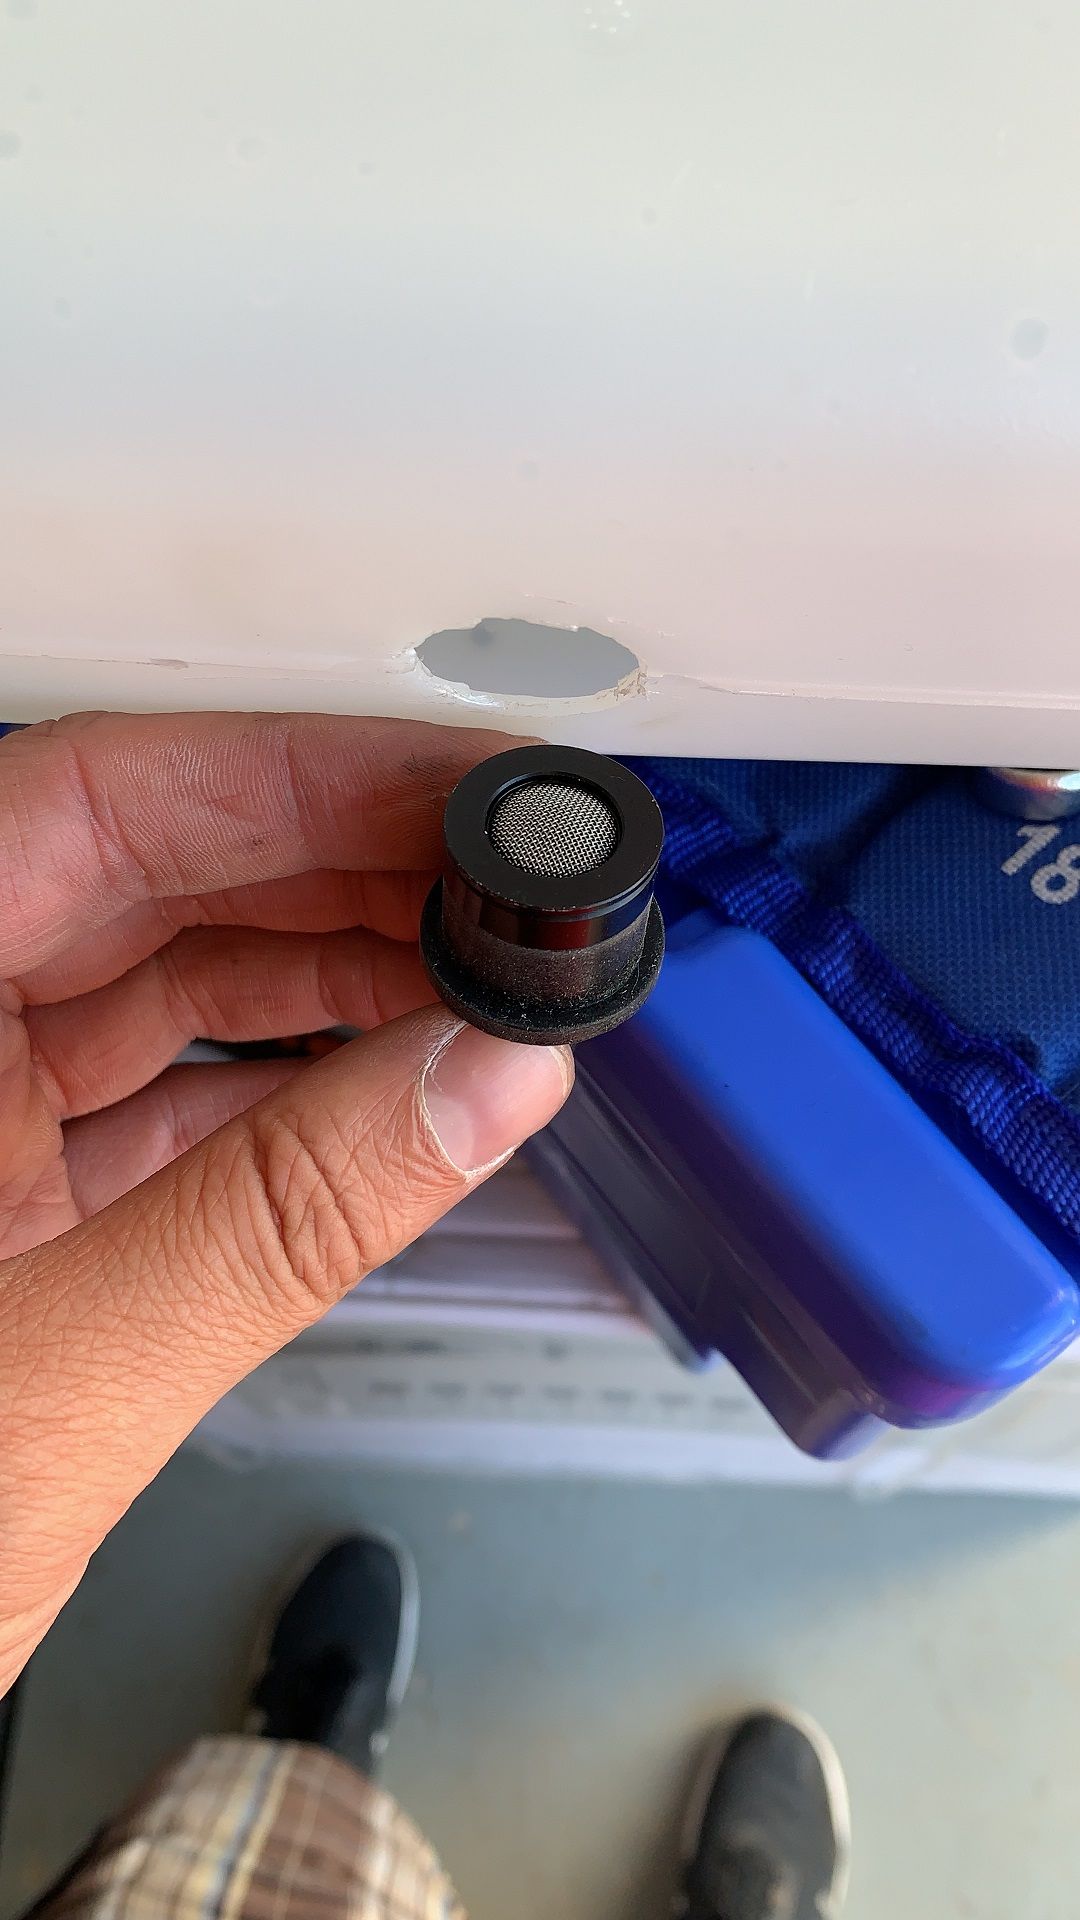
A progressive controller is a considerably better option and allows for almost infinite fine tuning and control so it's what I went for. With a standard controller that sudden change of the engine having no water/meth and then bam full flow, it's hard to account for that in a tune and I wanted avoid the big hit of the pump coming on. Before we can talk about that more though, let's get some of the kit setup. First was installing the filter and pump feed along with the tank level sensor.
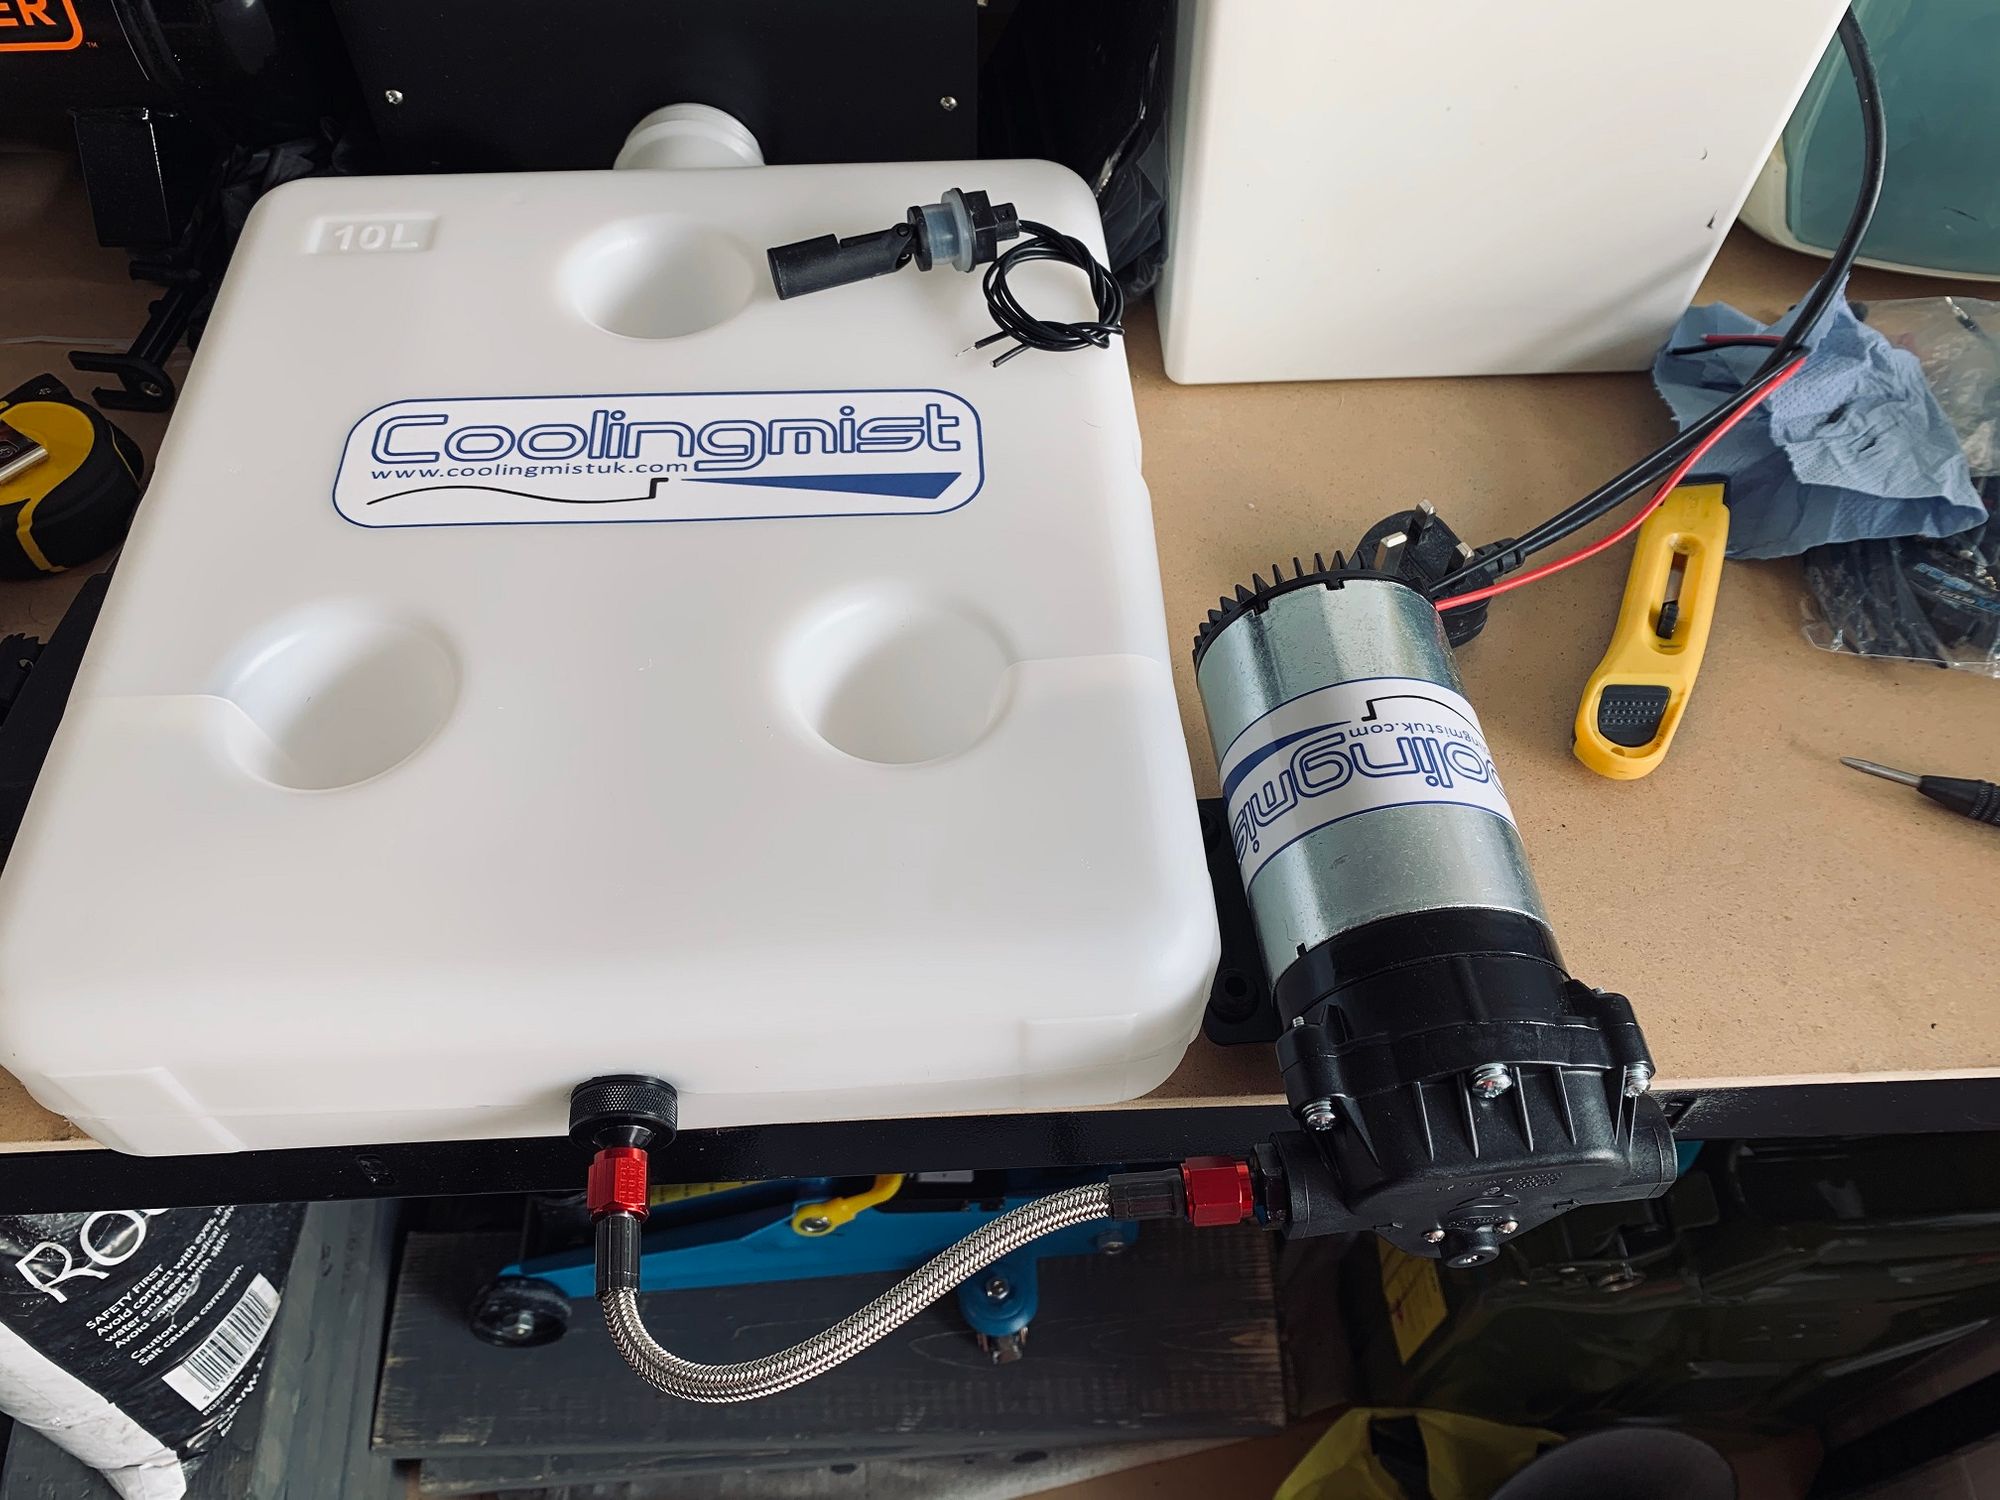
I filled the tank with water and mounted it up overnight with some paper underneath to check for leaks and it seemed like we were all good!

I ran the lines and wires through the car up to the front glovebox where the controller would be installed and I also need to provide a boost feed to the controller. My controller will start injecting the water/meth mixture based on the boost pressure in the intake so I needed to find a source it could monitor.
In Part 10 I talked about the installation of my Forge Motorsport boost pipe and I now needed to make a little modification to my brand new part. The OEM ECU has a boost pressure sensor in the intake pipe and I wanted to tap into the same location so that the controller and the ECU were looking at the same thing. It was also the thickest part of the aluminium intake pipe so it was a great place to drill and tap a thread in. Here you can see where the boost tap was going to be placed, the small silver piece resting on top of the OEM mounting location.
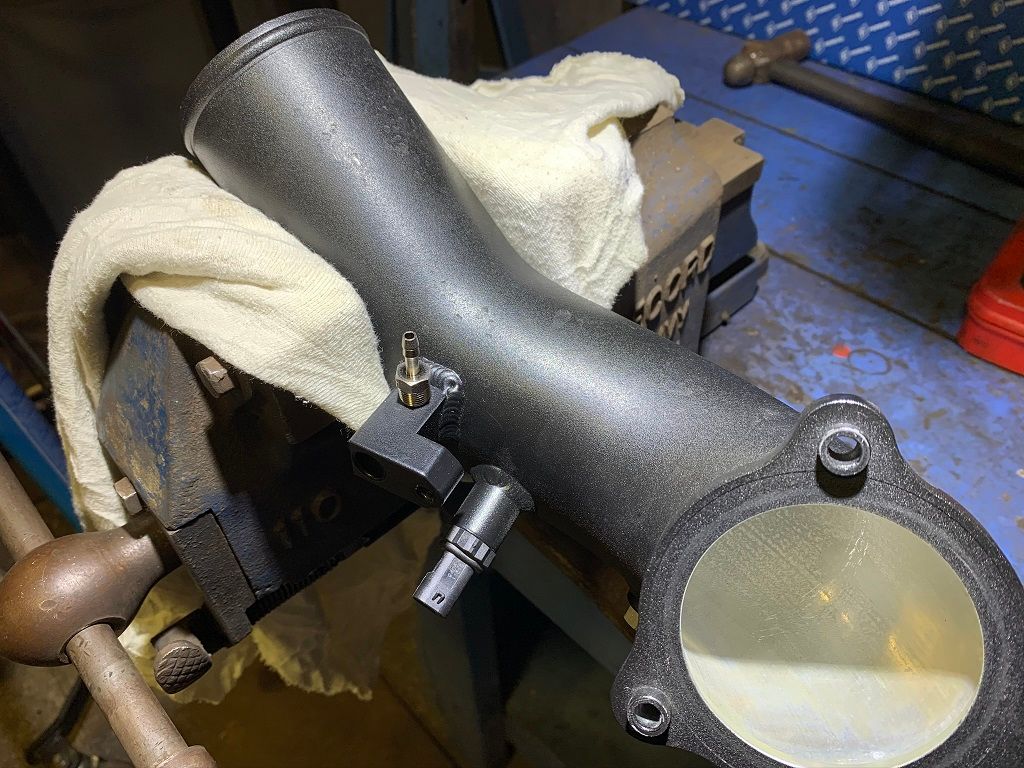
That bracket coming off the pipe is where the OEM boost pressure sensor is mounted and is also now where mine is mounted.
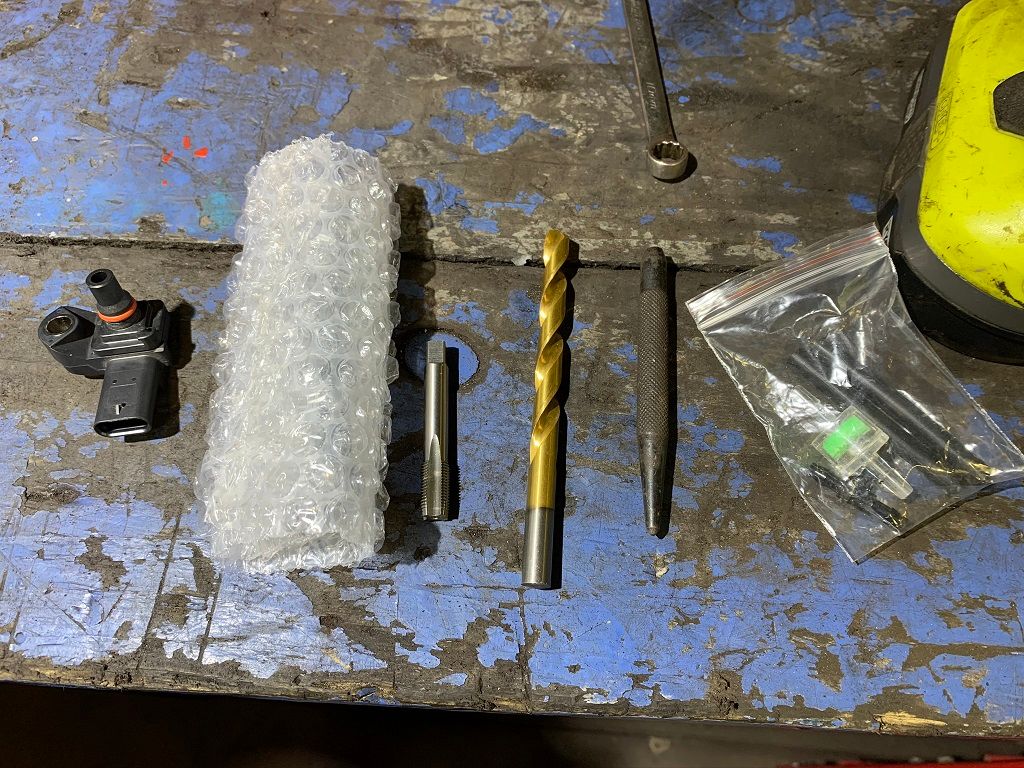
To do it I used a centre punch, a metal drill bit and a tap so I could properly install the boost tap without causing any boost leaks. All went well! At this point, there is so much of the installation to cover it seemed like a quick video would be a lot easier than 100 pictures, so have a look at this to get an idea of what the install looks like!
That's it, the system is in, wires and lines run, time for a test. Again, with the system still filled with water throughout this whole process, I ran the line out of the top of the bonnet (hood) and onto the windscreen so I could check if everything was running as expected.
This looks really odd but it means I can see that the injector is working as intended, that it triggers based on the right boost level and ramps up the injection flow rate as the boost ramps up. Everything looked good so it was time to top up the tank with methanol for the 50:50 mix and feed the nozzle into the intake.
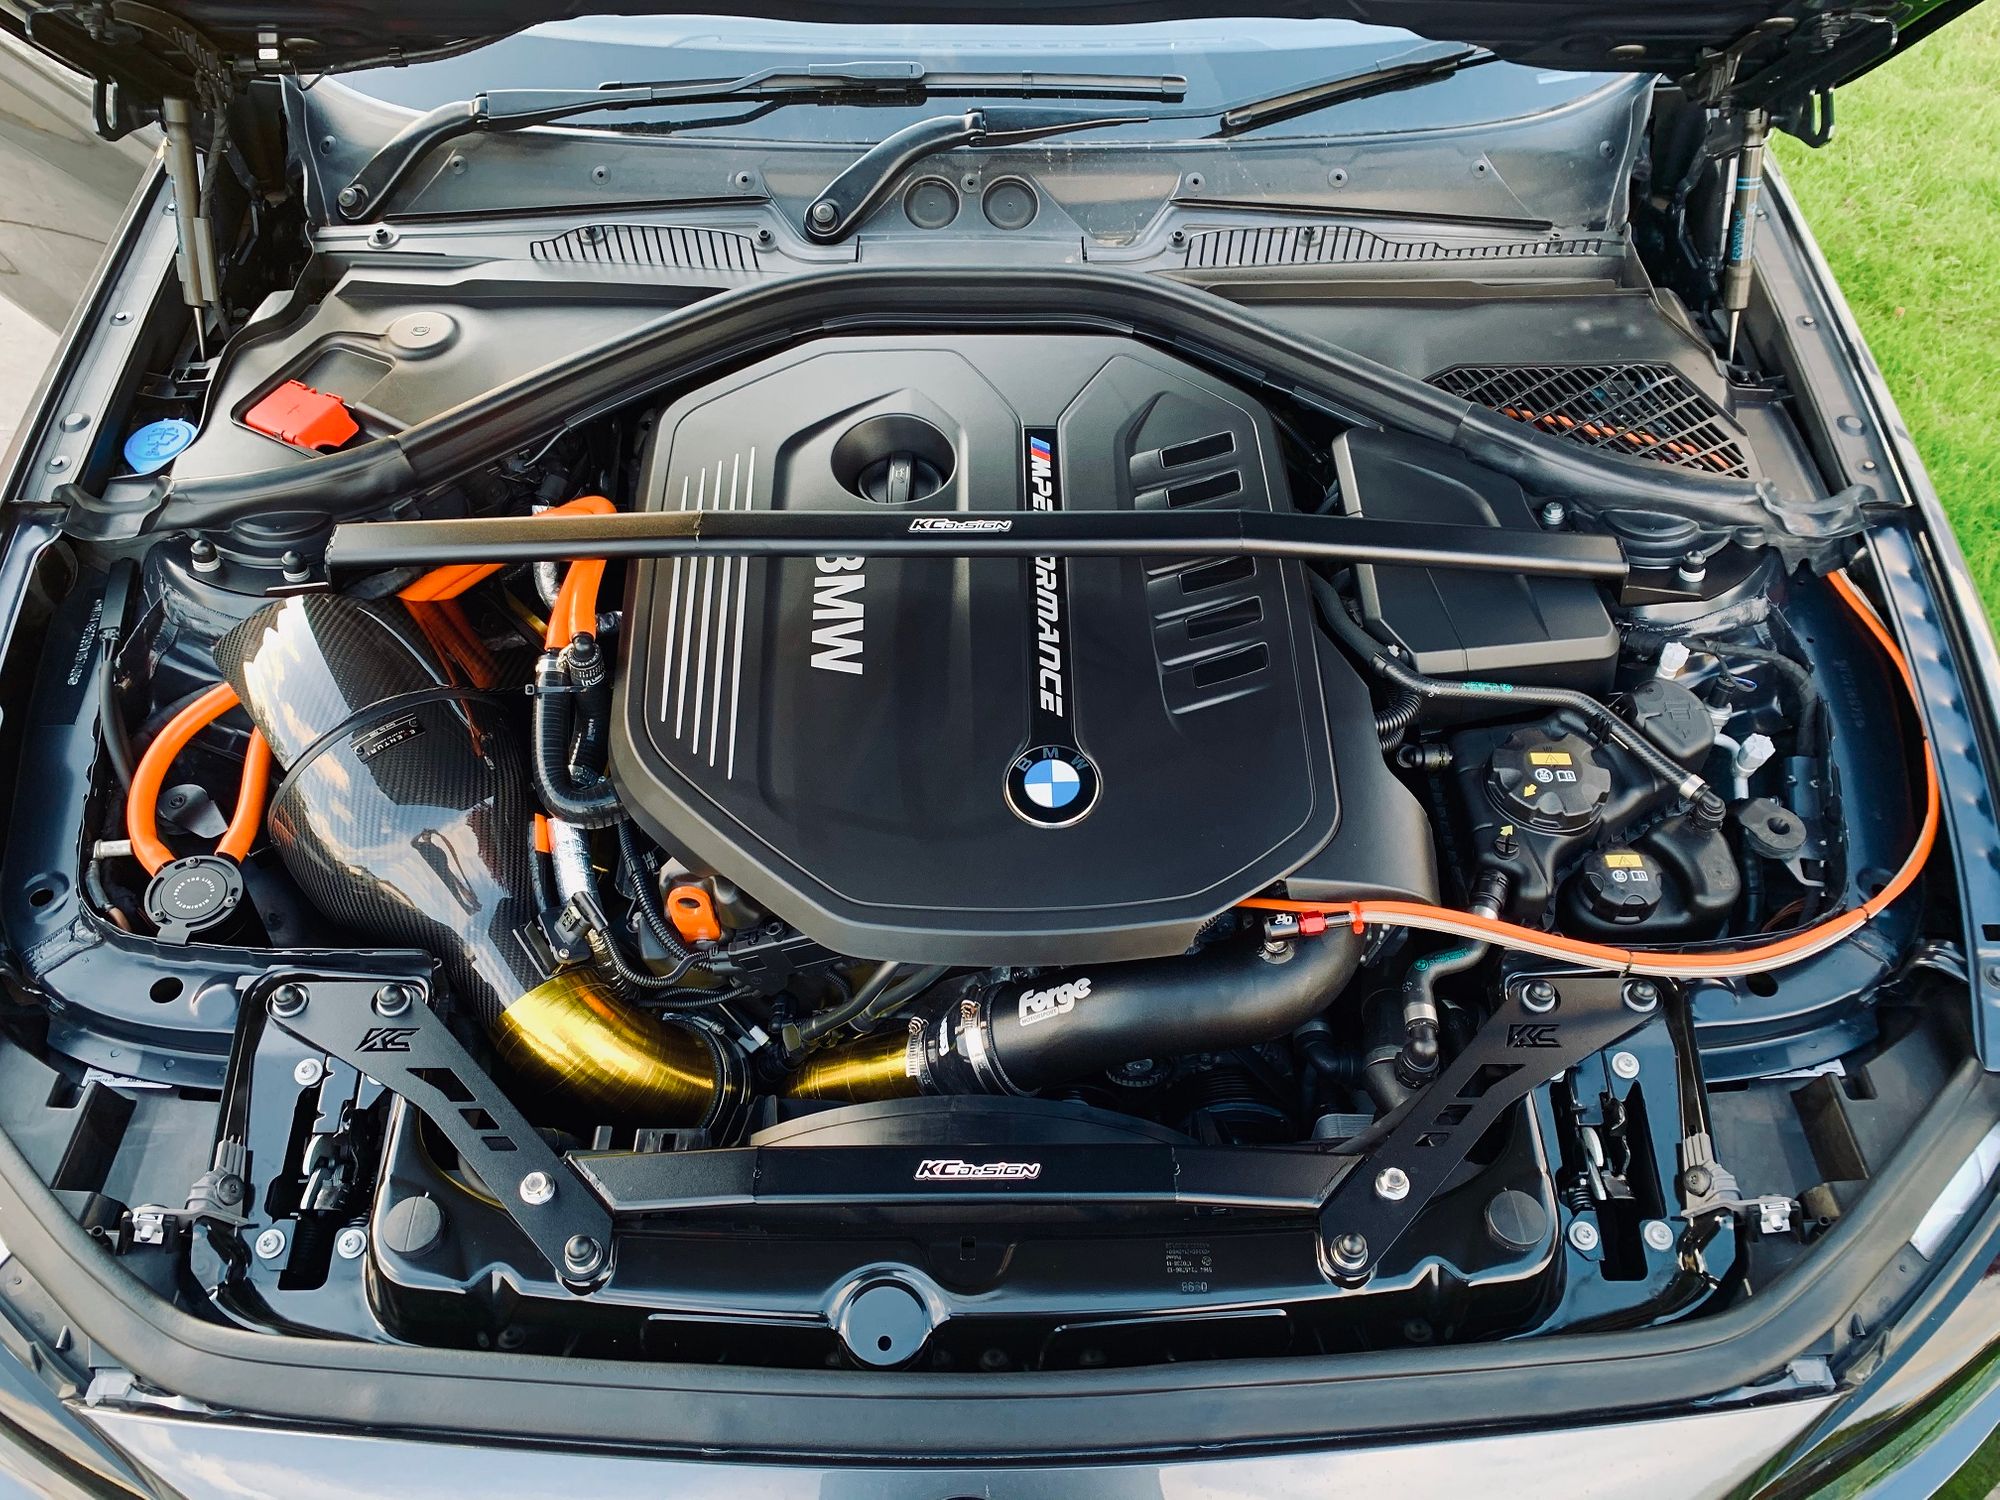
The orange line on the right is the boost feed for the controller and the silver line is for the water/meth injection nozzle that is now fitted into the spare port on the boost pipe, which is what that last fitting location was for in the previous blog post!
Tuning for water/meth
As it currently stands my car isn't tuned to take full advantage of the water/meth system, the system is acting as a safety net of sorts. When pushing a car hard there's a chance that you can demand too much of the fuel system but now with the water/meth injection system we have the additional fuel provided in the form of methanol. The system also provides a lot of cooling and as I've mentioned before, a tuned engine makes a lot more heat so anything to reduce that and keep it under control is always welcome. Now that the kit is installed though I will eventually be getting the car tuned to take advantage of the additional cooling and fuel which will ultimately yield even more power. Having the standard injectors on the car (Direct Injection) and now the methanol nozzle in the intake (Port Injection) makes the car a Dual Injection engine which is quite cool!
Fine tuning the controller
I wanted to start injecting water/meth near the top of the power band as I don't really need it day to day and didn't want to use huge quantities of it. My turbo produces about 21 PSI of boost once its wound up so I set the controller to start injecting at 15 PSI and ramp up to full flow by 20 PSI. This all worked great and everything was fine but I did get a few misfire issues on cylinder 6 which is the back cylinder (longitudinal inline 6). After some diagnostics and checking my logs it seemed that I was basically flowing too much water and it didn't have enough time to evaporate fully between where it was injected in the boost pipe and reaching the intake valves into the cylinders. This meant that combustion wasn't happening properly in the cylinder at the back (which is where the liquid water ends up) so I either needed to reduce the flow or increase the % of methanol in the mixture as the methanol evaporates more easily and is also combustible. It seemed like the only sensible thing to do was go for 100% methanol in the tank as this would give maximum cooling and maximum additional fuel for the future and it completely resolved the issue. In a future post I will talk about how to take logs and how to read them because it's a really important skill to have and thing to do, especially when you're pushing things so hard. If you want to learn a lot more about engines and/or you like pretty graphs, that will be a post for you!
Cleaning your intake and cylinders
I talked about the Oil Catch Can in my previous post and how that was designed to keep the intake tract clean which mine is doing an exceptional job of so far. During the installation of the water/methanol kit we took a look into the intake pipes and throttle body to find there was not a single drop of dirt or contamination in there. Another benefit of water/methanol injection is that it also helps to keep the intake tract incredibly clean too. Because that mixture is being injected into the intake it will help to keep everything in there clean and fresh by constantly 'washing' the inside of the piping and tubes. Deposits won't be able to build up and the mixture will be constantly cleaning everything it passes by!
Buying methanol
So many people ask me where I buy methanol and honestly the answer is eBay!
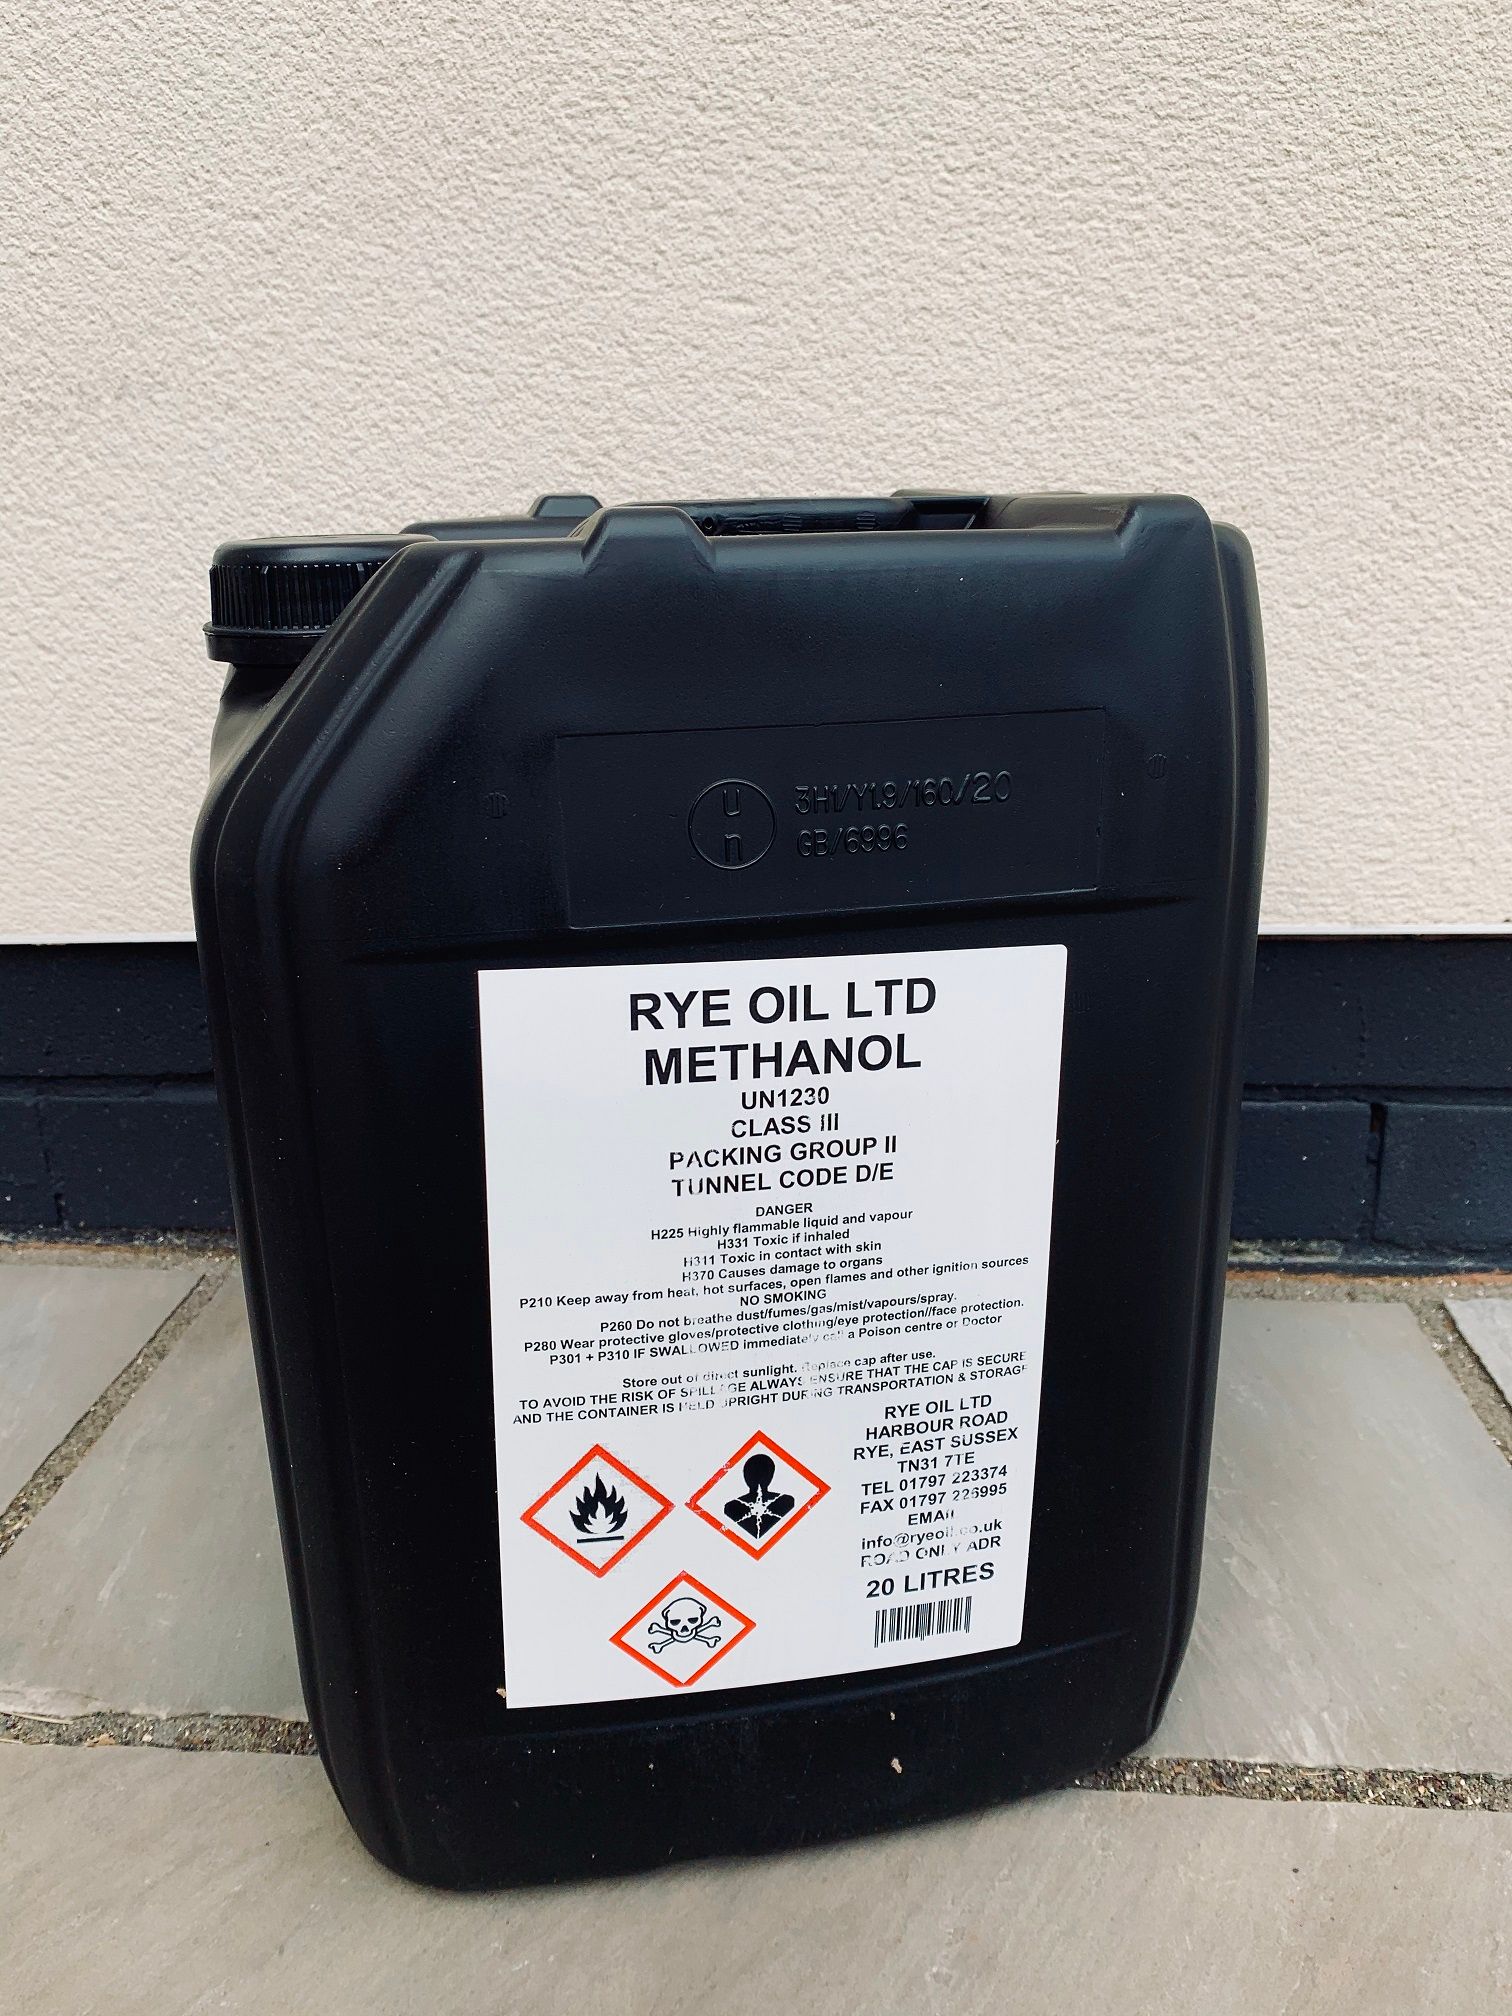
I've been using this Rye Oil Methanol for a while now but I'm planning to switch to JennyChem Methanol on my next order as it's cheaper. Where you get it from doesn't matter, as long as we're talking about pure methanol you're all good. At the minute because of the COVID-19 pandemic the price of things like methanol and ethanol are considerably higher than usual as a lot of these kind of alcohols are being used in sanitising products. That makes the price per litre of methanol more than a litre of petrol here in the UK at present but this isn't usually the case. That said though, you use considerably less methanol than you do petrol so it's not an overly expensive solution and eventually the price will come down.
Wrapping Up
Water Methanol Injection is probably on the extreme end of the scale for car modifications but apart from keeping the tank topped up, it comes with minimal overhead. For now as I said the car isn't tuned for the methanol and leveraging it fully but it is still providing benefits. Once the good weather comes next year and the roads aren't cold and wet, I will be tuning the car again to utilise the methanol but I also have another type of alcohol being added to the equation that I will talk more about in another blog post!
Parts
Here's the list of parts used in Part 11 and where you can get them:
*full transparency: I had numerous issues with this kit and it is being returned for a refund (actually a chargeback because they wouldn't refund the faulty product after multiple parts were exchanged) and replaced with another kit. Same principles, same components, just a different manufacturer.
View all of the other blog posts here: The BMW M140i Project Series