I'm sure many of you, like me, have needed to run a program for one reason or another and you just weren't happy with the idea of running it on your own computer. In the past I've used VirtualBox and other solutions to spin up VMs but recently I came across a much easier and faster way to do this, Windows Sandbox.
Windows Sandbox
Windows Sandbox is available for free on Windows 10 Pro or Enterprise. To enable it, open the Start bar and search for "features" to locate "Turn Windows features on or off".

Scroll down to find Windows Sandbox and enable it. This will require a system restart.

Once you've installed and rebooted you will now have the Windows Sandbox available.

If you launch it, within a few seconds you should have a nice, clean Windows 10 Machine ready to go!

Enabling Virtualisation in your BIOS
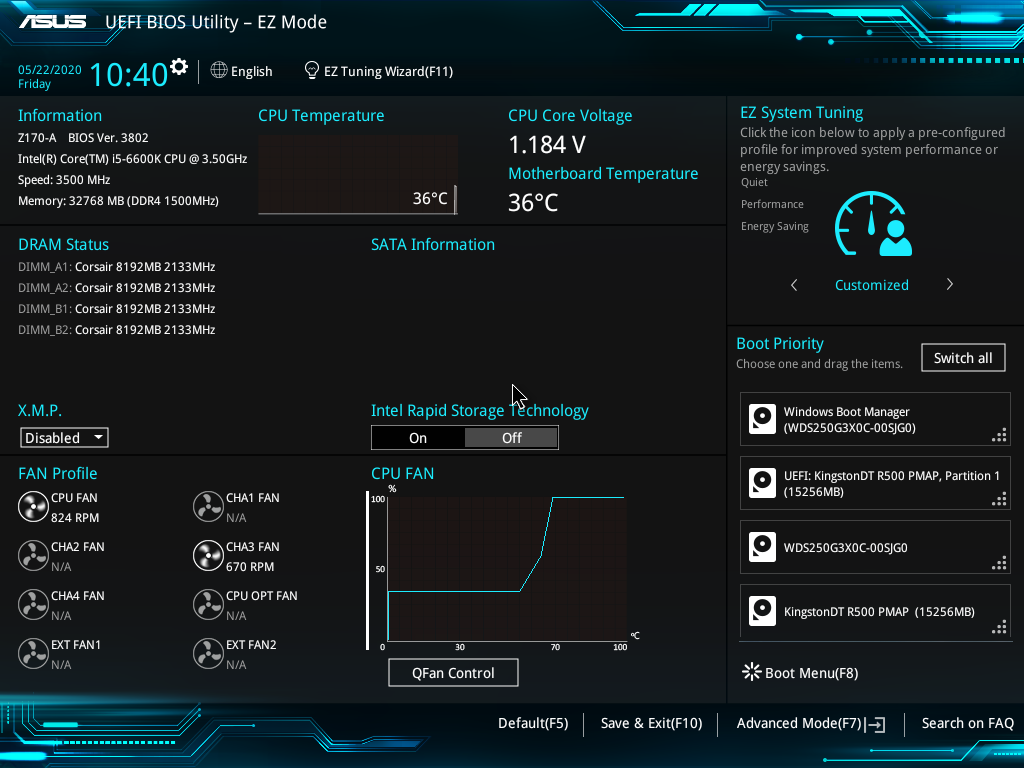
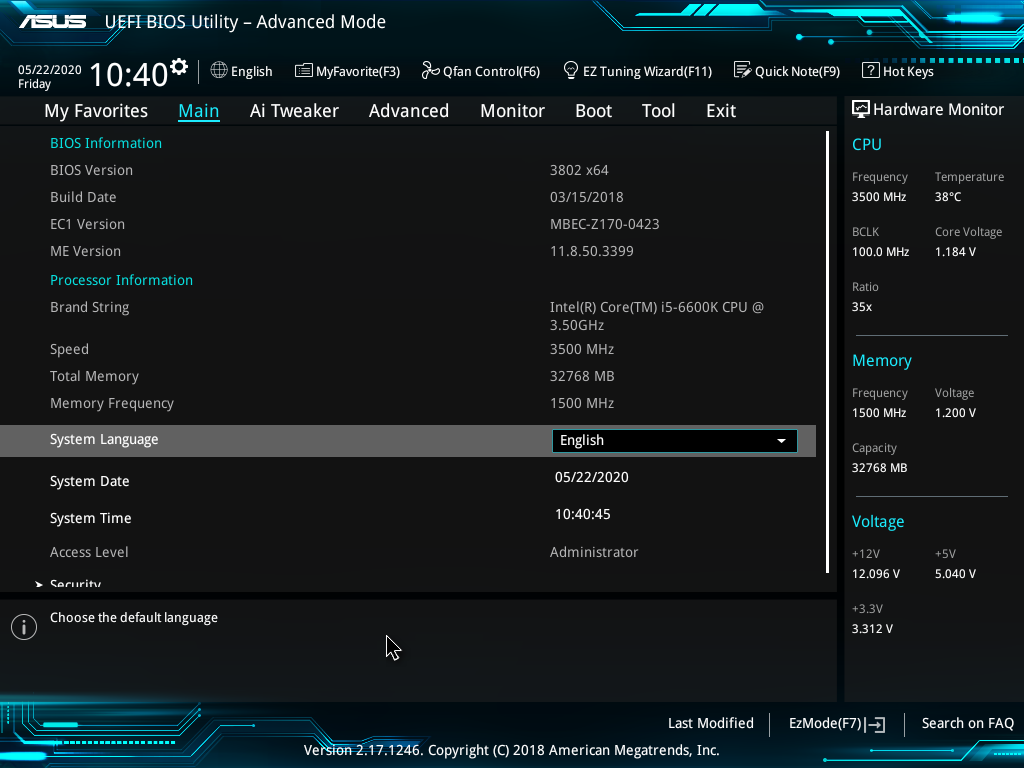
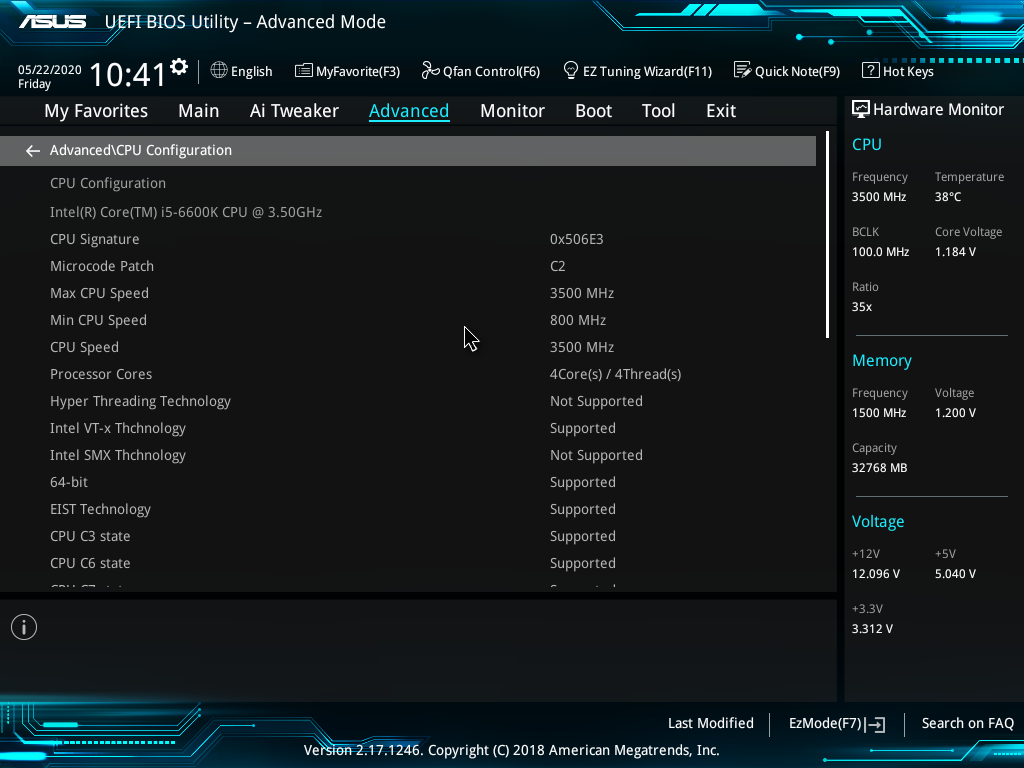
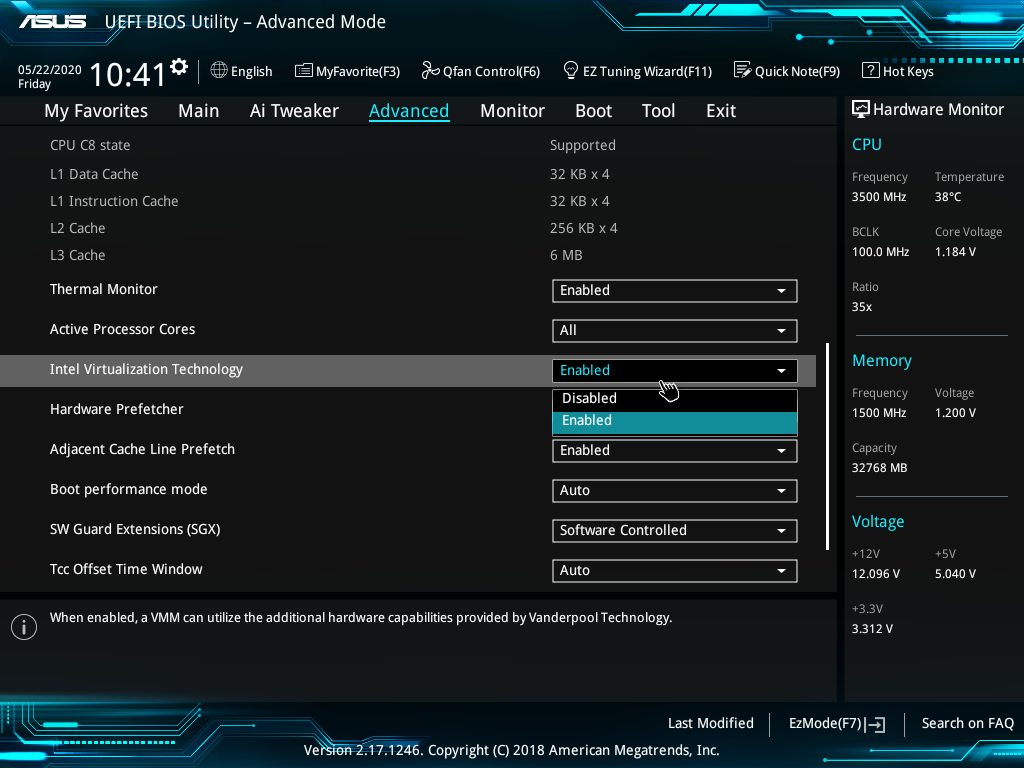
Your hardware will need to support virtualisation for this to work and it may not be enabled by default on your system even if it is capable. Mine wasn't so I needed to drop into the BIOS and enable it. I will show you the process on my machine here but it will vary depending on your hardware. Search for the manual for your motherboard online and within a quick few steps you should be able to get this enabled.


With that change made, I saved and exited the BIOS and everything was good to go.
Customising your Sandbox
Firing up a clean machine like this is awesome and you can now play around to your heart's content. When you close the window for the Sandbox everything inside it will be destroyed and lost forever and anything that happens in there won't have any effect on your host machine. I wanted to setup a Sandbox for frequent use though and I didn't want to have to go through the search/download/install process for the application I wanted every time, so I created a config file for a Sandbox.
First of all I created a folder to hold common applications I was going to want to use inside a Sandbox.

I'm going to create a demo here with Havij, which is a dodgy hacking tool, and I don't want running on my actual machine. To do this I created a file called Havij.wsb which is a configuration file for a Windows Sandbox.
<Configuration>
<VGpu>Default</VGpu>
<Networking>Default</Networking>
<MappedFolders>
   <MappedFolder>
     <HostFolder>C:\Users\scott\Sandbox</HostFolder>
     <ReadOnly>true</ReadOnly>
   </MappedFolder>
</MappedFolders>
<LogonCommand>
   <Command>C:\Users\WDAGUtilityAccount\Desktop\Sandbox\Havij.exe</Command>
</LogonCommand>
</Configuration>
I'm mapping C:\Users\scott\Sandbox as a read-only folder inside the Sandbox which means it will automatically show as a folder on the Desktop in the Sandbox. To go an extra step further I'm also running the installer at logon. Here's what the config file looks like when saved.

All you need to do is double click the Havij file and when the Sandbox launches, you get this:

You can see that Havij is ready to install and I just need to click a couple of prompts and you can also see the Sandbox folder located on the Desktop. Everything is ready to go and I don't need to worry about running this dodgy program on my machine!
Just getting started
I haven't been using this for long but already I quite like it as a solution and there is a heap more stuff that you can do than what I've shown here. The idea was to introduce you to Windows Sandbox and show you a couple of the things I've done already. As you can see from the config examples above you can disable networking in the Sandbox if you'd like and you can create scripts to do much more complex tasks when your Sandbox boots up. Here's a couple of the other things I've created so far like giving access to my Downloads folder if I've just grabbed something and want to fire it up in a Sandbox.
<Configuration>
<VGpu>Default</VGpu>
<Networking>Default</Networking>
<MappedFolders>
   <MappedFolder>
     <HostFolder>C:\Users\scott\Downloads</HostFolder>
     <ReadOnly>true</ReadOnly>
   </MappedFolder>
</MappedFolders>
</Configuration>
You might also want to test something in a beta version of software without having it installed on your machine, so here I have the Chrome Canary installer so I can fire it up in a few seconds to test something.
<Configuration>
<VGpu>Default</VGpu>
<Networking>Default</Networking>
<MappedFolders>
   <MappedFolder>
     <HostFolder>C:\Users\scott\Sandbox</HostFolder>
     <ReadOnly>true</ReadOnly>
   </MappedFolder>
</MappedFolders>
<LogonCommand>
  <Command>C:\Users\WDAGUtilityAccount\Desktop\Sandbox\ChromeCanarySetup.exe</Command>
</LogonCommand>
</Configuration>
Hopefully this will be useful and if you have any cool tips or tricks for the config files then let me know in the comments below!
