
After writing about both CSP and HPKP, I covered the report-uri directive that allowed a browser to send reports back to the host if their security policy was breached. Whilst this reporting is a great feature, it can be a lot of work to implement, especially on smaller sites. I've just launched report-uri.io to take care of everything for anyone who wishes to sign up and use it, for free!
Introduction
I've written some extensive blogs on CSP and HPKP and if you'd like to know the whole story, they would be the best starting point. To give a brief overview, CSP is short for Content Security Policy. CSP allows a host to define a whitelist of sources that the browser may load content from for their site. As an example, a host has a CSP that specifies scripts may only be loaded from the my.cdn.com domain. The site suffers an XSS attack and an attacker gets a script tag into the page to load a script from nastyhacker.com too. Normally, the browser would have no idea if the script from nastyhacker.com should be loaded and such is the problem of XSS attacks. However, with the CSP in place, the browser can see that the nastyhacker.com domain is not in the whitelist and will block the resource from being loaded. Whilst it's great that the browser has stopped the attack, the host has no idea they've suffered an XSS attack and the browser is taking action to stop it. This means the host can't fix the issue and anyone with a browser that isn't CSP compliant will also still be at risk. This is where the report-uri directive comes into play and what report-uri.io is designed to fix. If the report-uri directive is present in the hosts CSP, each time the browser takes action based on the CSP, it will POST a JSON formatted violation report to the URI specified. The host can then receive these reports and know they have a problem on their site that needs fixing. HTTP Public Key Pinning, or HPKP, works in a similar manner except it is a whitelist of cryptographic identities that the browser should accept for the host. You specify the SPKI fingerprint of your current certificate and at least 1 backup certificate or certificate signing request and present them to the browser in the HPKP policy. If someone launches a MiTM on visitors to the site and substitutes the certificate with one that may be valid, say from a compromised CA, the browser will still reject it because the fingerprint was not found in the HPKP policy. Should this happen then the browser will POST another JSON formatted violation report to the specified report-uri so that the host can be aware that someone is attempting to compromise their users.
![]()
Easy violation reporting
With the relative ease of deploying both CSP and HPKP, they are after all just HTTP response headers, the task of implementing violation reporting is considerably more difficult. Not only do you have to host a service capable of receiving the reports, there's the potential scale of inbound reports, storing and querying them and then presenting data in a format that's actually useful. Add to this the inherent lack of authentication required for a browser to POST a violation report and you can see why it would be easy to deploy CSP or HPKP and not implement some kind of violation reporting. This is what I hope to change with report-uri.io. I've made the site as simple as I can and you can get up and running in literally just a couple of minutes.

There's no complicated registration process, you don't need to provide us endless personal details or fill out complicated forms, registration is just a simple case of your email address and your desired, strong, password. (8-100 chars with at least one upper/lower case, number and symbol)
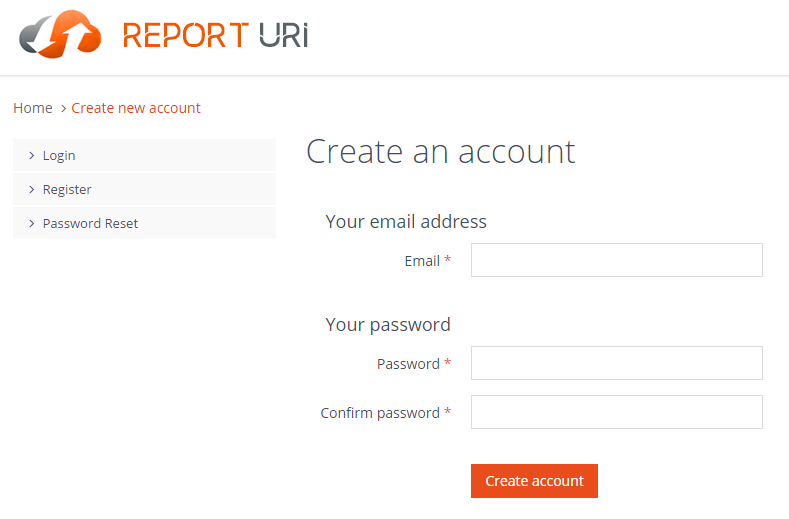
This might seem surprising but to be quite honest I simply don't need or want anything more. I'm not looking to hoard personal data on my users, I just need to know you're a real person with a genuine email address and that's it. Besides, holding large amounts of personal data comes with an added responsibility that I just don't want, let's keep it simple. Once you've filled out the registration form we will send you a quick email to verify your email address and you're off!
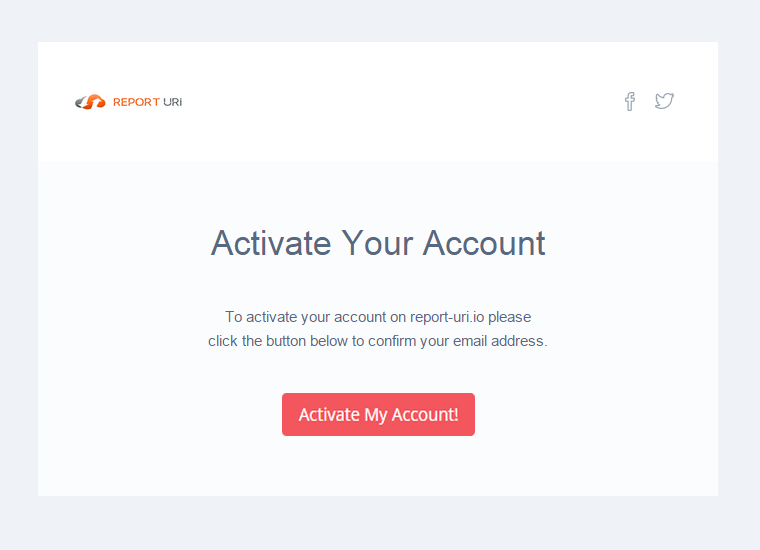
You can login and look around before verifying your email address, but it's worth pointing out that none of your inbound reports will be stored and as such all of your dashboards will remain empty until you do.
Your Account
I won't go into too long an explanation here as you can sign up for a free account and check the site out if you want to have a look around, but I will give a brief overview of the current selection of features.
Real-Time
The Real-Time section of your account will allow you to view reports live as they come in. Giving you a snapshot of the last 30 seconds this view is updated frequently using AJAX. It's great if you're about to make changes to a policy and want to see if they have an effect or to keep an eye on what's going on with your site in real-time.

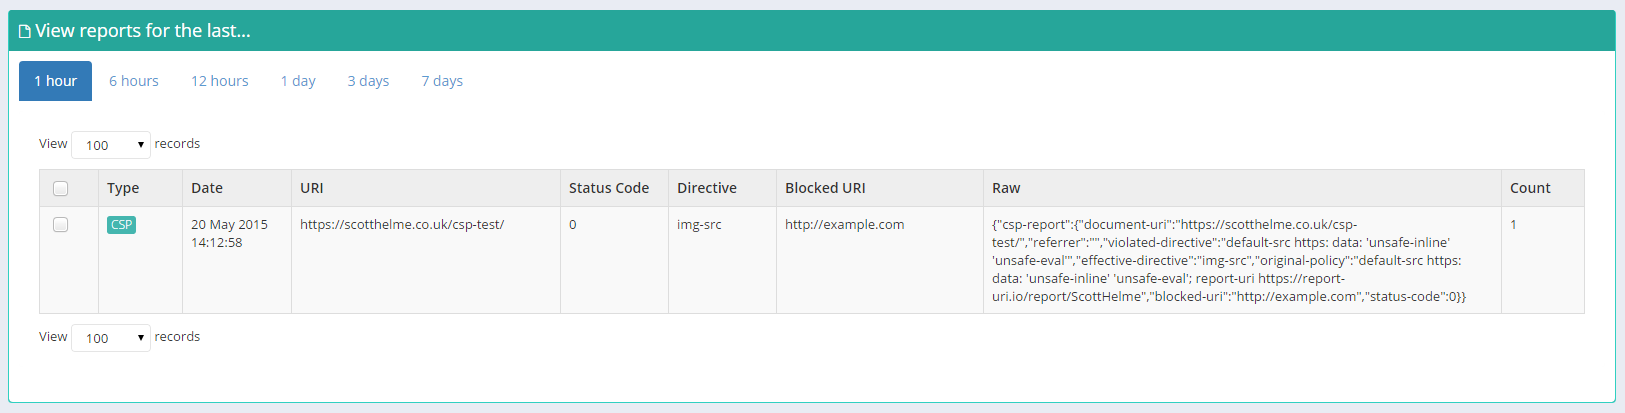
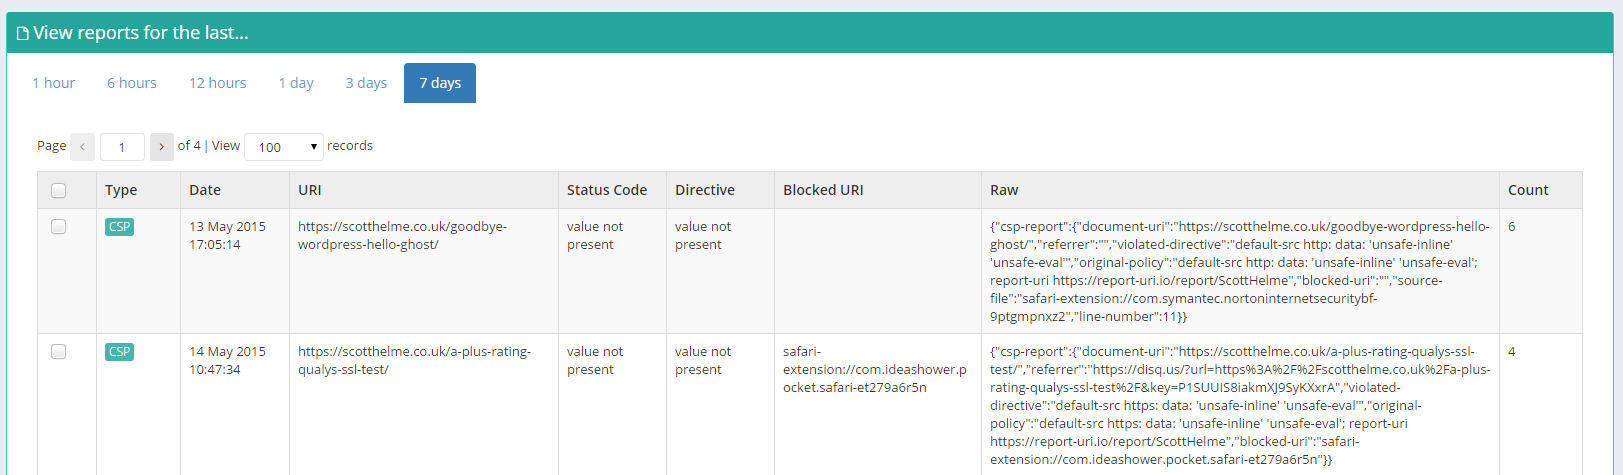
Reports
Using the Reports section you can view more detailed information on your reports for a given time period. Allowing you to look back and find your most common problems this section is great for sorting through your data.
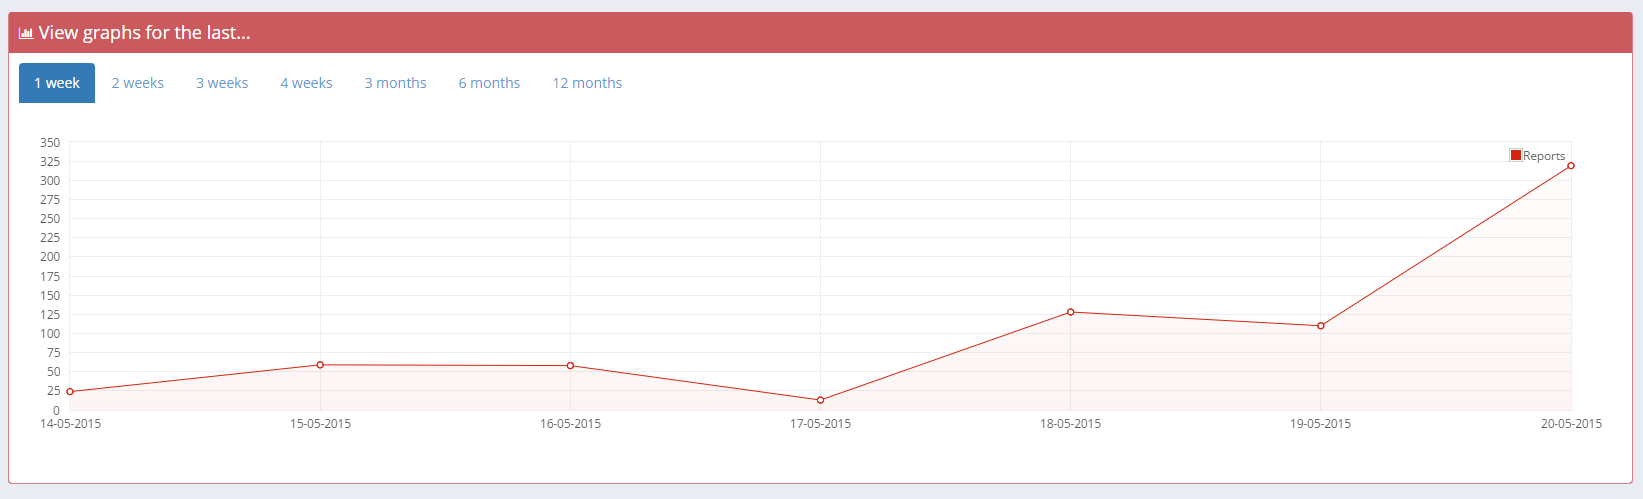
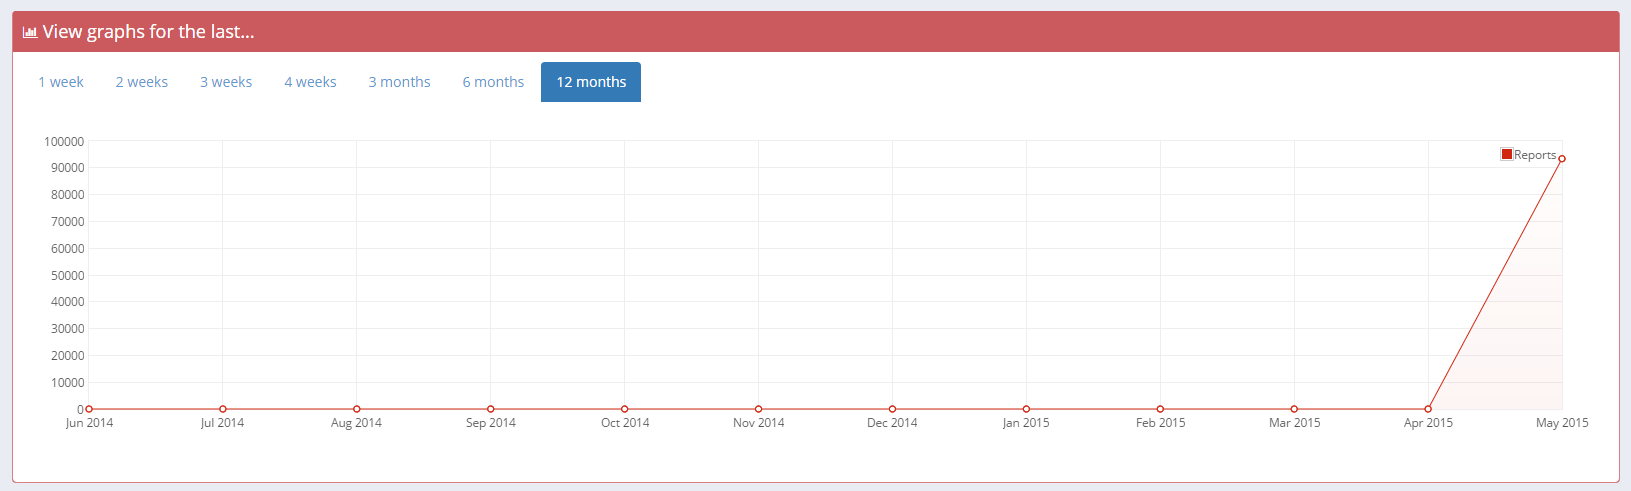
Graphs
For a quick glance to see whether or not your report numbers are climbing or dropping you can use the Graph section of your account. For anything from the last week to the last year you can use the time filters to view the data you need.
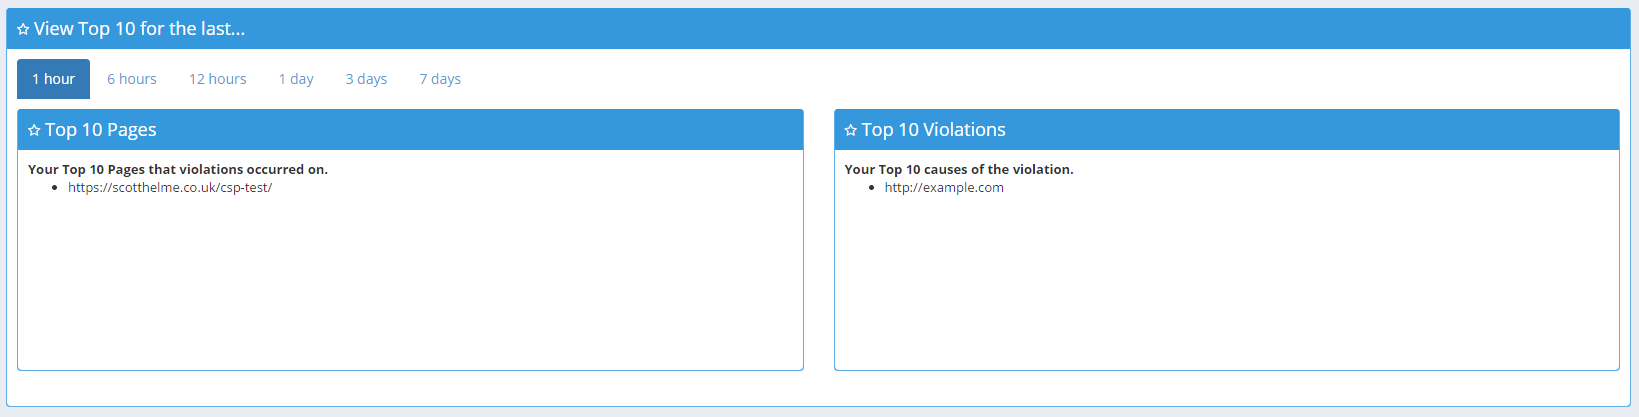
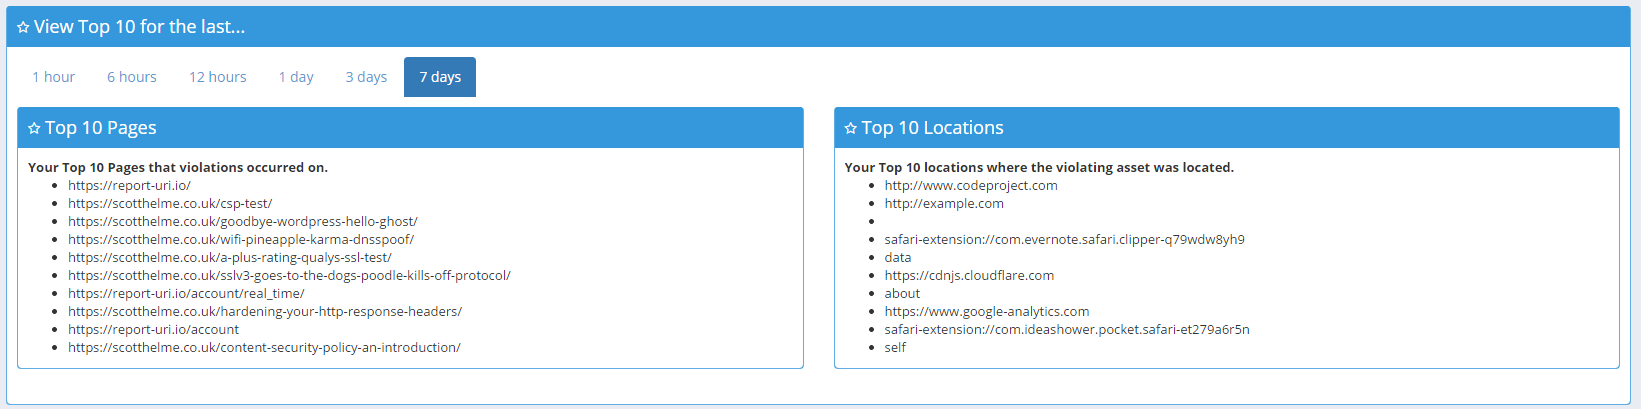
Top 10
The Top 10 section allows you to quickly see which of the pages on your site are the worst offenders and what the majority of your violations are being caused by. It could be malicious extensions, advertisers serving up http assets to your https pages or maybe some accidental inline script or style. Either way, this is a great way to get a quick glance at the worst of the worst.
Setup
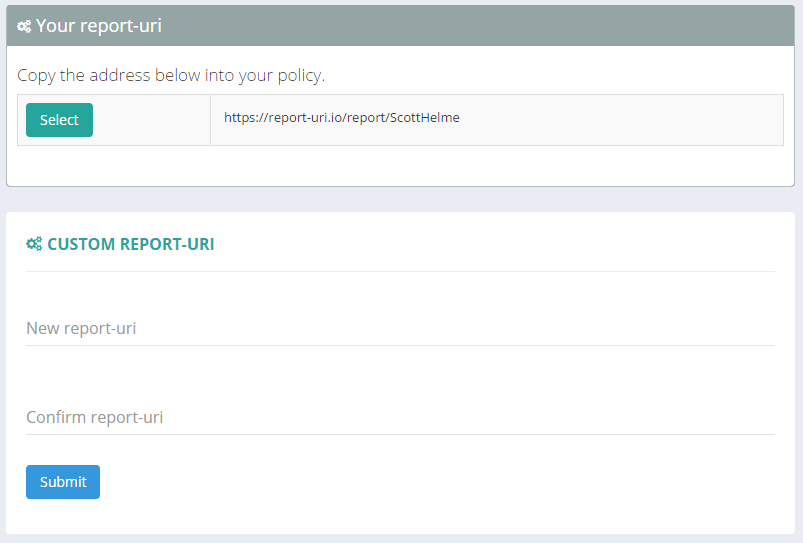
The Setup page contains your unique URI that needs to be placed into your CSP or HPKP policies for reporting to be enabled. This is what we use to filter reports into your account. There is an option to create a custom reporting URI, a 'vanity URI' if you will, and there are a couple of things worth noting. The default value that is shown is yours forever and it's advised to not use it as it can never be changed. It's better to create your own custom URI and use that as it can be changed in the future if needed. More on that in a subsequent blog.
Settings
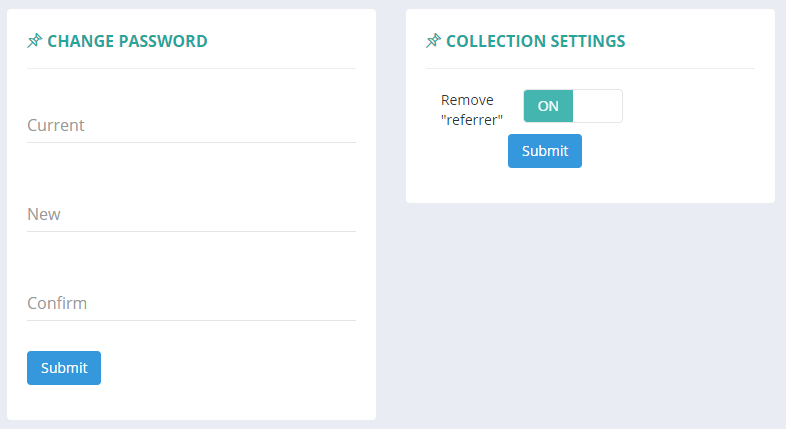
There isn't much exciting going on in the Settings page just yet, you can change your password, resend your activation email if you need to and right now, there is 1 filter for report collection. It is highly advised that you keep this filter enabled and also any future filters that may be introduced. The current filter strips the referrer value from your inbound reports. With the referrer value present, reports that would otherwise be exactly the same suddenly become unique due to ever changing referrer values. This results in more rows in your tables, making it harder to understand data, and slows down your queries due to increased load on the database. There isn't much to be gained to seeing the referrer value and you should leave this option enabled. Future filters will include the ability to filter on domains, pages, violation locations, remove mixed content warnings, inline script/style warnings etc...
Coming Soon
In the coming days and weeks I will be producing a whole series on https://report-uri.io, including how I built it, the software and platform it's built on, technical challenges and difficulties and much more. Please stay tuned for more and I'd love to hear your feedback in the comments!