One of the most simple and fun things to do with your WiFi Pineapple out of the box is the Occupineapple Infsusion. Simply put, this Infusion allows you to broadcast a whole host of SSIDs to make it look like there are multiple WiFi networks nearby. This is a great demonstration of how the Pineapple can start moving outside of the expected 'normal' operation of an Access Point.

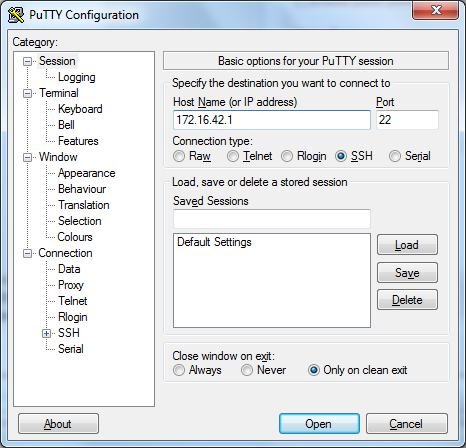
Let's dive straight in and get your Pineapple fired up. You can follow my previous blog post on setting up the WiFi Pineapple if you haven't already and then my blog on setting up USB storage for your WiFi Pineapple. Before we install the Occupineapple Infusion we need to install a piece of software called mdk3 and to do that we're going to use SSH. Grab Putty from HERE if you don't have it and launch it. Once launched, insert your Pineapple's IP address in the Host Name field and hit Open:
From the login screen enter the username root and then your password. This should log you in and present you with the shell:
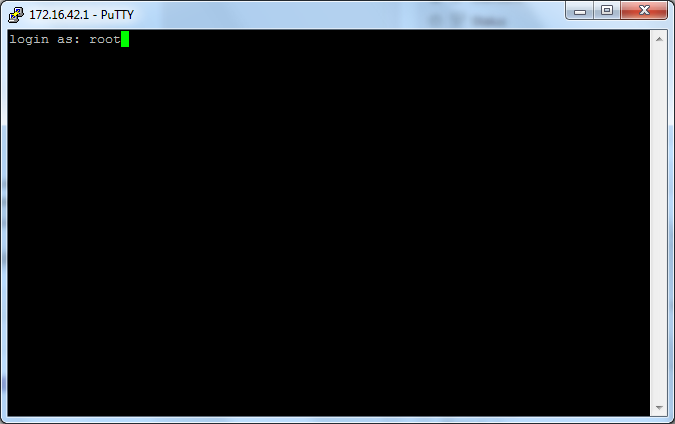
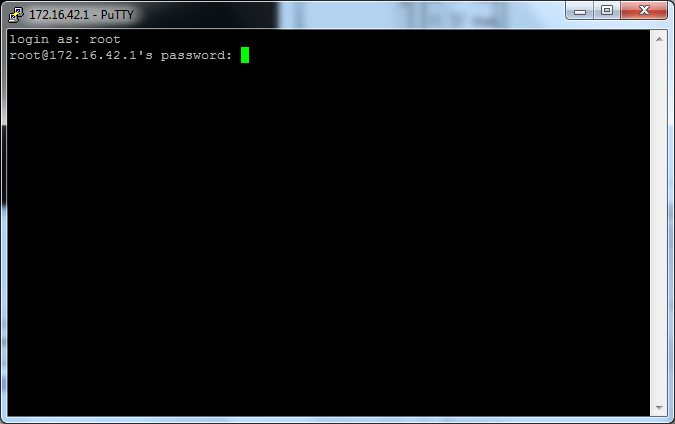
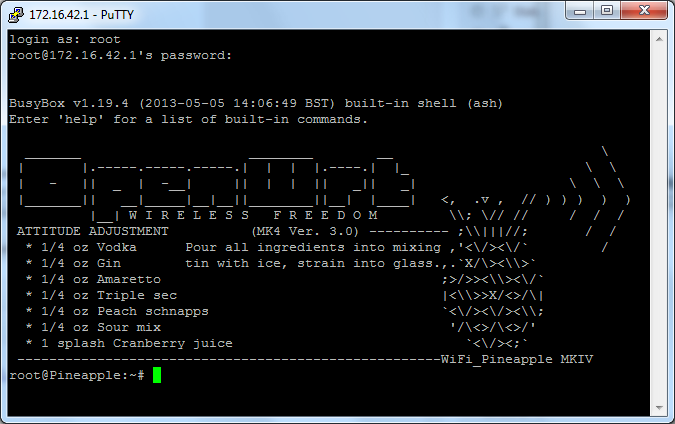
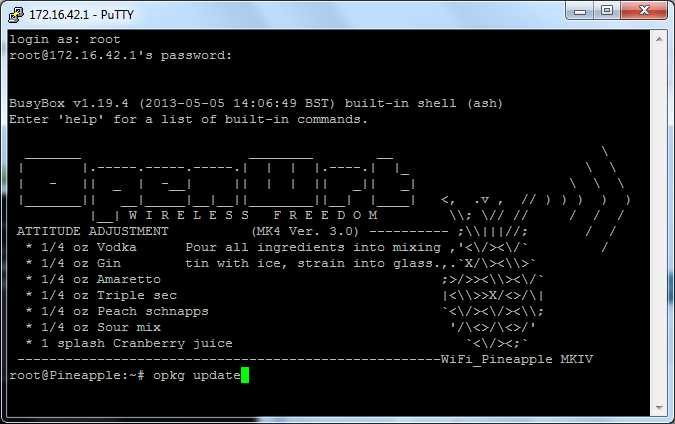
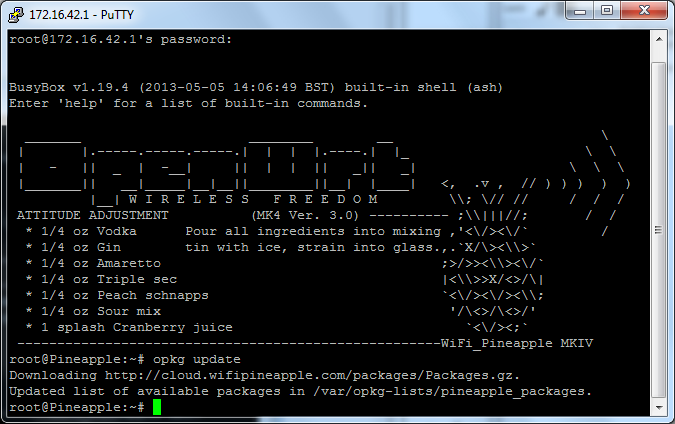
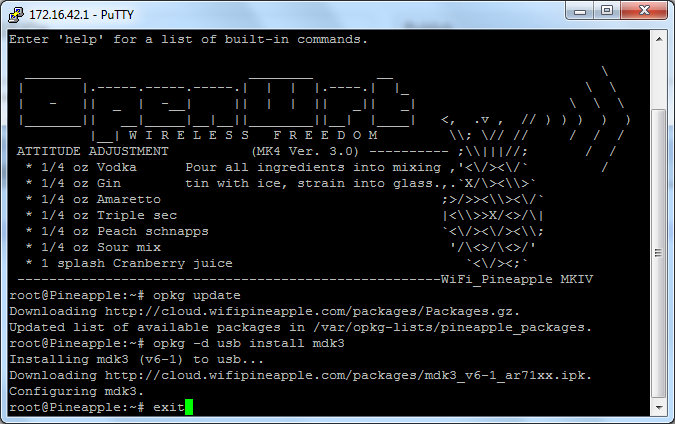
There are only 2 commands needed to install mdk3, the first is "opkg udpate" which should update your list of available packages:
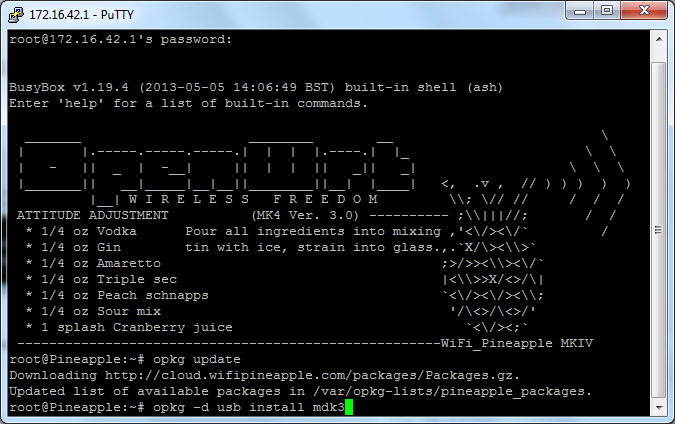
The second command is "opkg -d usb install mdk3" which tells the package manager to install mdk3 to your USB drive (It's just "opkg install mdk3" if you don't have a USB drive):
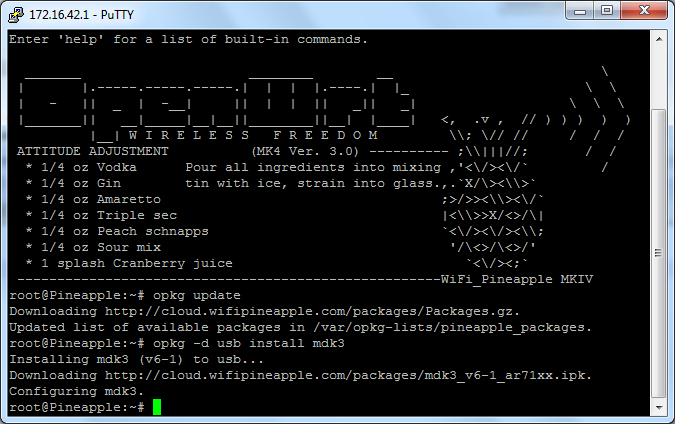
That's it! This SSH thing isn't so bad really. Now that mdk3 is installed on your WiFi Pineapple you can close the shell or use the "exit" command to close it:
Now mdk3 has been taken care of you can head to the Pineapple Bar! Open up your browser and navigate to the IP address of your WiFi Pineapple, 172.16.42.1:1471, and login. From here click Pineapple Bar, select the Available tab, locate the Occupineapple Infusion and hit Install ensuring you select USB storage when prompted.
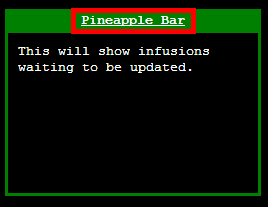
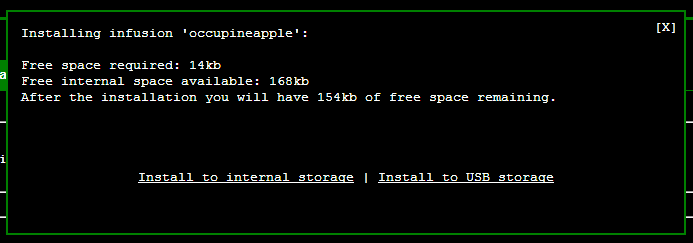
Once installed you should now have the Occupineapple Infusion available from the main screen:
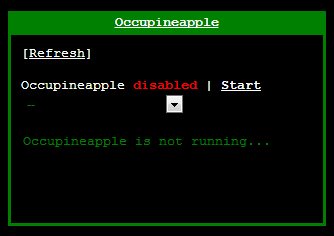
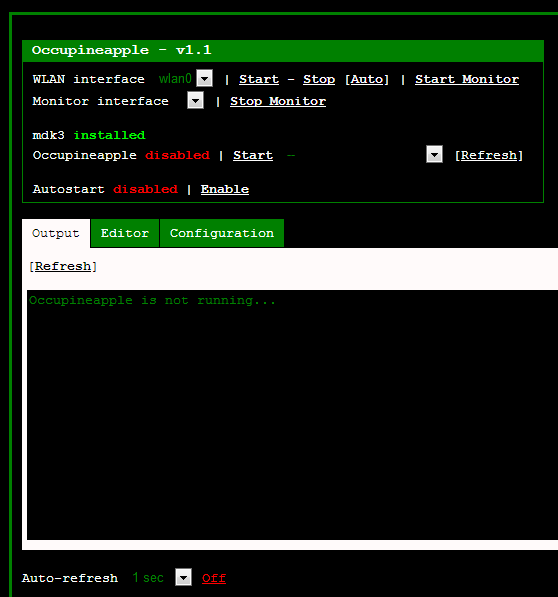
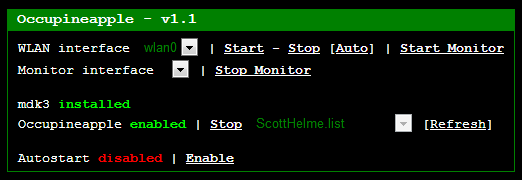
Go ahead and click on Occupineapple and you should be presented with the Occupineapple staging area if you will. The first thing you need to check here is that mdk3 is showing as installed as you can see below:
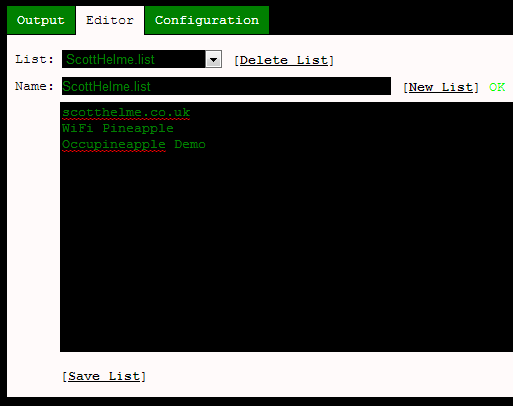
Next up you need to head over to the editor and create a new list of SSIDs that your WiFi Pineapple will broadcast. Insert a name for the list and make sure you put ".list" on the end of the file name and click "New List":

The new list should be created and you should get a green "OK" to show there were no problems. Your new list should also be selected in the "List" drop down for you. Now all you need to do is create the list of SSIDs in the empty field below! An SSID should not be longer than 32 characters but it's worth remembering that some devices, like phones with small screens, can't display that many anyway! You can see my example list here and don't forget to hit save once you're done:
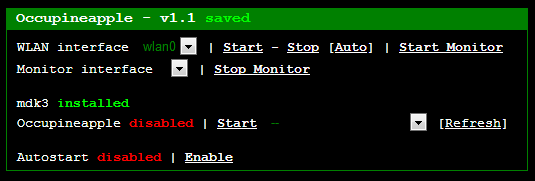
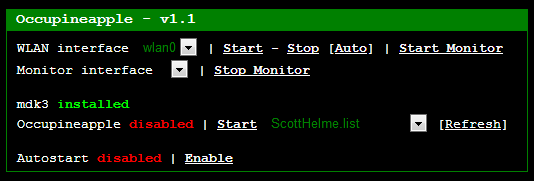
All that's left to do now is to select your list, enable Occupineapple and go grab some devices to check out your SSIDs!
Here they are on an Android phone and an iOS phone:
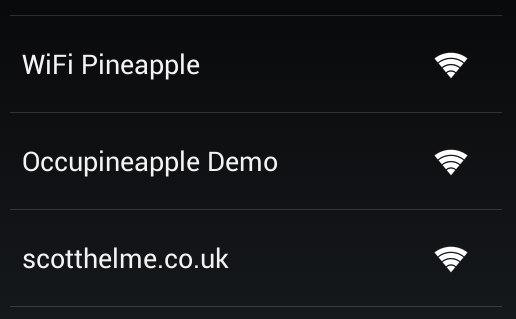

It's worth pointing out that these 'networks' won't actually work as all the Pineapple is doing is sending out beacons to advertise them. It won't respond to requests sent to them and clients won't be able to connect. This could be used as a novel way to do some local advertising or, as implied by the name, some peaceful protesting!
This was only intended to be a brief but fun demo to illustrate how the WiFi Pineapple can start to move outside of the 'norms' of a WiFi Access Point. In subsequent blogs I'm going to start going more in-depth on the advanced features of the WiFi Pineapple and start to show what this thing is really capable of!
Scott.
Short URL: https://scotthel.me/Pineapple-Occupineapple
