
I've been using Ghost as my blogging platform for quite some time and I've also been using Cloudflare for a good while too. Recently these companies came together and Ghost(Pro) started using Cloudflare by default. Whilst this is probably a great thing for most, it left me wihout control over my Cloudflare settings which presented something of a problem to me. Here's how to work around the limitation.
My blog setup
I've been using Ghost on my blog for a long time now, I originally made the switch from WordPress to Ghost in April 2014! I was self hosting back then and have since moved to the hosted service that I put behind a free account on Cloudflare and all was good. There were some changes with Ghost this year though and they've become more integrated with Cloudflare which means they now control your Cloudflare settings if you CNAME a custom domain to your Ghost domain in the Cloudflare dashboard. I agree that for most people this will be absolutely fine but I didn't like the lack of control this left me with but most importantly, I actually lost a feature that I used on Cloudflare called Workers. This left me in a bit of a sticky situation and I needed to find a way to get back control of my Cloudflare settings, but more specifically, the ability to deploy a worker again. Neither Ghost nor Cloudflare could help me because this isn't an option they support so I was left with little choice but to find my own way around the limitation. Cloudflare Workers to the rescue!
Ghost Settings
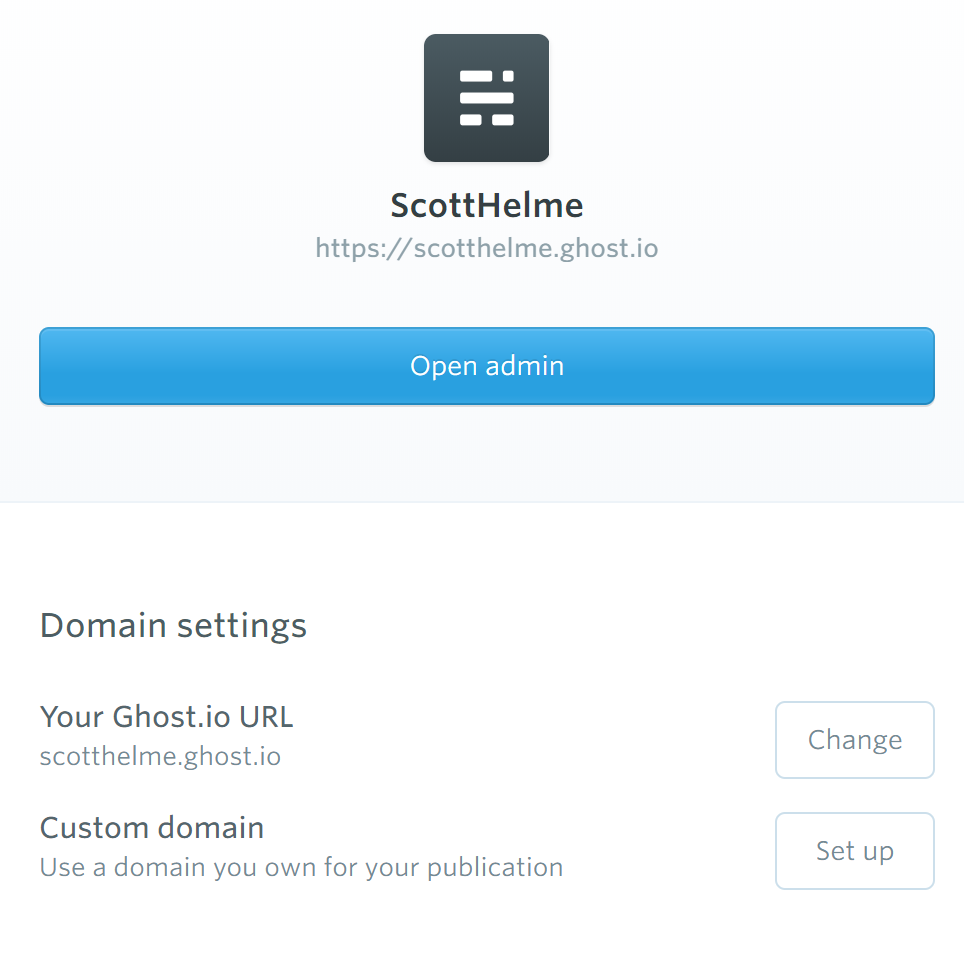
There's only one thing you need to do in Ghost for this to work and you will also need to know your Ghost URL which you can get from https://my.ghost.org, mine is scotthelme.ghost. io. (The space is intentional, you will see why later)
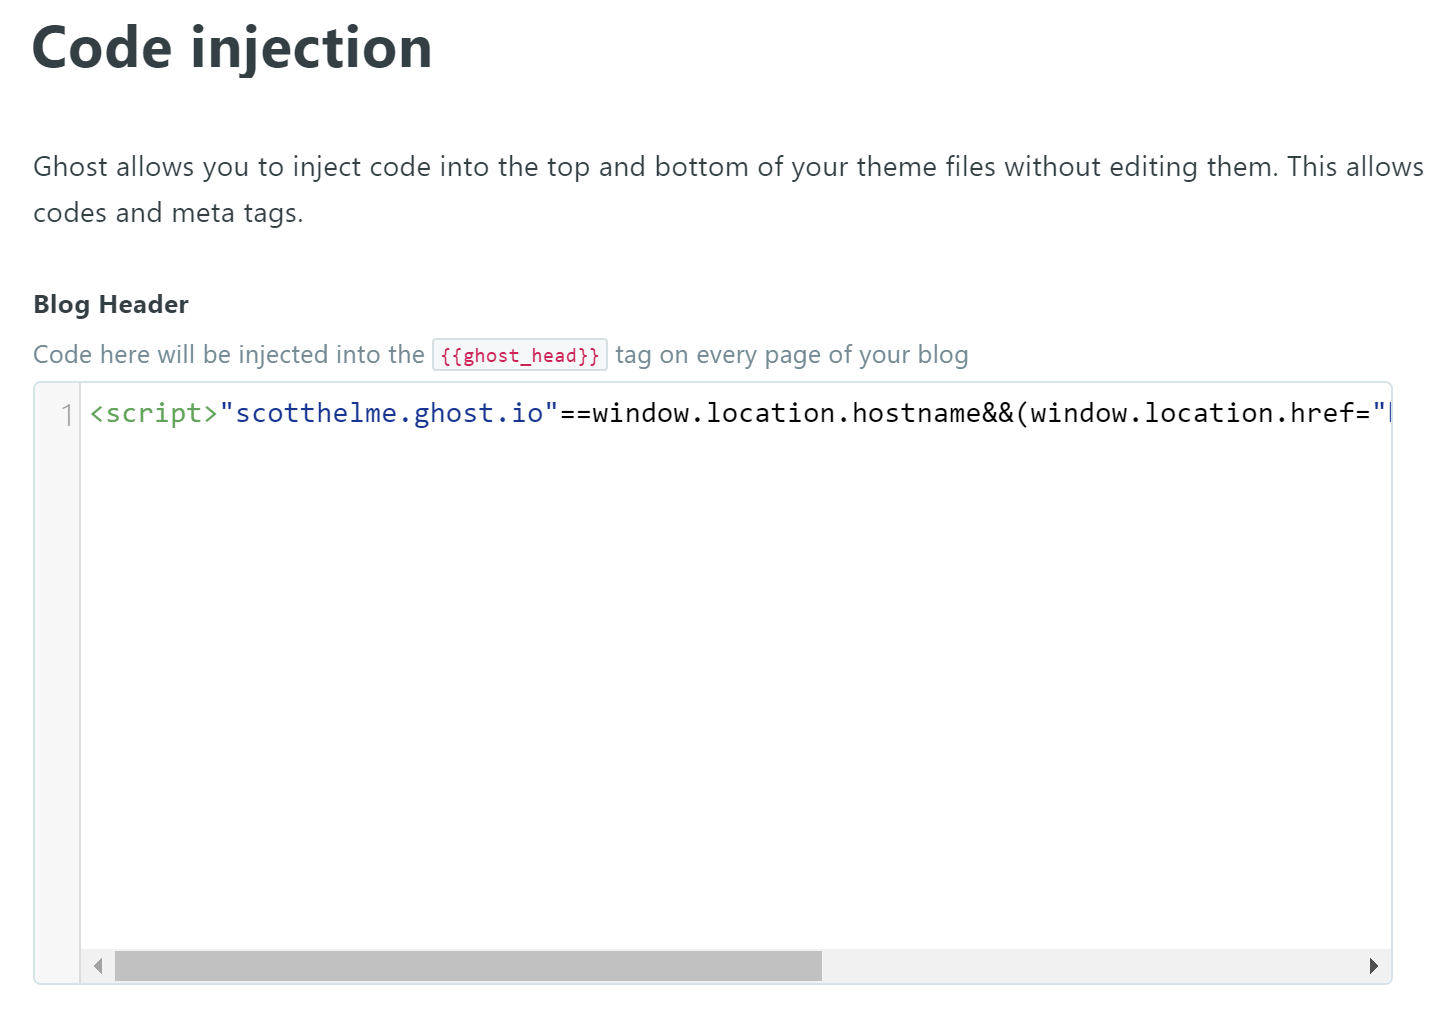
Because I'm going to be serving my blog off scotthelme.co.uk I need to have something in place for visitors who may end up on scotthelme.ghost. io as unlikely as that is. For that I have a little bit of JS to redirect users away from the Ghost site and over to my domain.
<script>"scotthelme.ghost. io"==window.location.hostname&&(window.location.href="https://scotthelme.co.uk"+window.location.pathname);</script>This is inline script, yes, which is naughty, but don't worry, we're going to fix it up later. This can be injected with the Code Injection feature in your blog amin panel.
Now I have my blog hosted on Ghost and redirecting users to my domain, we need to setup the Cloudflare Worker to serve my blog from my domain.
Cloudflare Workers
I realise it's a little odd that the feature that I lost is the feature that is going to save me, but bear with me and I will explain. Cloudflare Workers are Cloudflare's serverless offering where you can write a worker in JavaScript and have it run on all of Cloudflare's CDN servers. It sits in front of your site and is executed on inbound requests, allowing crazy amounts of flexibility. I use Workers extensively on Report URI for performance gains and even wrote a Cloudflare Worker for Security Headers so that sites behind Cloudflare can easily add a range of Security Headers in a super easy way. The thing that saved me here is that Cloudflare Workers can issue subrequests as part of their execution so my plan was to no longer CNAME my domain to Ghost(Pro) but instead use a Worker as a proxy instead.
This is really simple fucntionality for a Worker and whilst I have a couple of additional features in there, I will walk you through my basic code to get a proxy working. Here is my worker with the code unrelated to this task removed:
The first code block simply checks if the incoming request is being made to my bare domain, and not something like the www subdomain, and if not will redirect the request there.
if (domain !== 'scotthelme.co.uk') {
	let redirectHeaders = new Headers()
	redirectHeaders.set('Location', 'https://scotthelme.co.uk')
	return new Response('', {
		status: 301,
		headers: redirectHeaders
	})
}
The next section takes the current URL and replaces my scotthelme.co.uk domain with my Ghost domain, which is scotthelme.ghost. io, and makes the request to Ghost to fetch the page.
let url = new URL(req.url).toString().replace("scotthelme.co.uk", "scotthelme.ghost. io")
const init = {
	body: req.body,
	headers: req.headers,
	method: req.method
}

let response = await fetch(url, init)
Next we check the headers to see if the content type is something other than text/html (an actual HTML blog page) or text/xml (RSS feed). If it's not one of those things then we can return it to the visitor right away.
let newHdrs = new Headers(response.headers)

if (newHdrs.has("Content-Type") && !newHdrs.get("Content-Type").includes("text/html") && !newHdrs.get("Content-Type").includes("text/xml")) {
	return new Response(response.body, {
		status: response.status,
		statusText: response.statusText,
		headers: newHdrs
	})
}
If we get to this point we're dealing with either a page or the RSS feed and they both need to have the links withing them updated. All of the links will point to scotthelme.ghost. io as the blog is hosted on Ghost so let's switch them out to scotthelme.co.uk instead. (This is why I have spaces in the Ghost domain throughout the article!) This is also where we're going to remove the JS we injected into the Ghost head section earlier too so that we no longer have any inline script.
let text = await response.text()
let modified = modified.replace('<script>"scotthelme.ghost. io"==window.location.hostname&&(window.location.href="https://scotthelme.co.uk"+window.location.pathname);</script>', '')
modified = modified.replace(/scotthelme.ghost. io/g, 'scotthelme.co.uk')
The penultimate piece to this puzzle is a little convenience trick where I catch requests to /ghost and redirect them to the actual admin panel so I don't need to type a whole new address myself to get there.
let urlPath = new URL(req.url).pathname
if (urlPath === '/ghost' || urlPath === '/ghost/') {
	let redirectHeaders = new Headers()
	redirectHeaders.set('location', 'https://scotthelme.ghost. io/ghost/')
		return new Response(modified , {
		status: 302,
		headers: newHdrs
	})
}
The final piece of the puzzle is to check if the Ghost origin redirected the request that the Cloudflare Worker issued.
let originPath = new URL(response.url).pathname
if (originPath !== urlPath) {
	let redirectHeaders = new Headers()
	redirectHeaders.set('Location', 'https://scotthelme.co.uk' + originPath)
	return new Response('', {
		status: 301,
		headers: redirectHeaders
	})
}
If the Ghost origin responded with a different path, for things like when a preview link has been published to a live blog, this will pass the redirect back to the browser to maintain the functionality. If we make it this far then we're ready to return to the content back to the visitor.
return new Response(modified , {
	status: response.status,
	statusText: response.statusText,
	headers: newHdrs
})
Full Control
With this setup I now have all the benefits of a hosted blog on Ghost(Pro) and I get to retain full control of my Cloudflare settings. I can configure any settings I want/need, use Cloudflare Workers as we've seen and with that comes the ability to do a whole load of extra things too. You can add extra functionality to the Worker like the Security Headers Cloudflare Worker that I released which lets you add any response headers you need. You can't do this with Ghost(Pro) but you can with a Worker. I understand how Ghost and Cloudflare ended up in the situation where users with a Cloudflare acount couldn't control anything in it, but that wasn't ideal for me so I came up with this solution instead. Hopefully, if you've found yourself in a similar situation, this can help you out too.