
I first deployed my Pi-hole back in 2018 and ever since then, I've never looked back! Pi-hole have just dropped a pretty major update and, of course, I wanted to get HTTPS up and running on the Web UI like I had before.
Pi-hole v6
I won't focus too much on the details of what's new in V6, there's the official launch post for that, but I will say that it's much simpler and faster than before, with some pretty nice upgrades in the UI and functionality too!
One thing that I will be focusing on though, is the added support for HTTPS that's come along in v6! Having HTTPS be natively supported, rather than having to make a few changes as we did before, is a huge improvement, and shows the value of having HTTPS, even on internal services like the Pi-hole interface, is being recognised.
Whether you're new to Pi-hole, and setting up HTTPS for the first time on a new install, or like me, you were coming over from v5, everything you need will be right here.
Setting up HTTPS via SSH
Because I'm planning to deploy my HTTPS certificates automatically, as I have done in my previous Pi-hole HTTPS blog posts, and as anyone should do when deploying HTTPS certificates, I will be doing this via SSH. You can do part of this process using the admin web interface, but you're going to have to connect via SSH for some of it anyway.
When connected to the Pi-hole via SSH, the config file we need to change is now a single file located at /etc/pihole/pihole.toml, so open that up for editing. You need to search for the [webserver] section in the config file, and we're going to change the domain value.
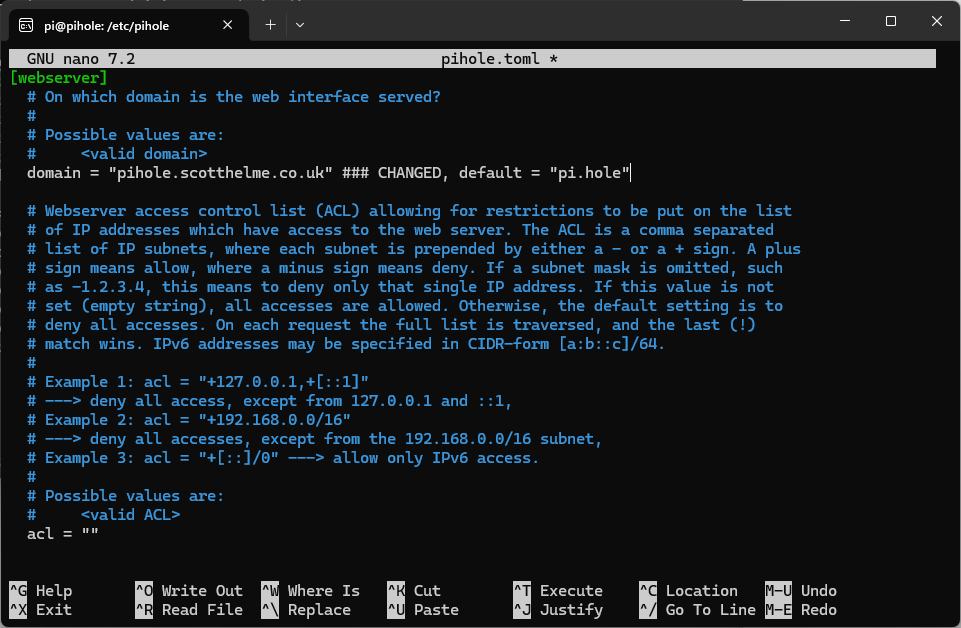
Here you can see I've set mine to pihole.scotthelme.co.uk, which is the internal name I resolve to the Pi-hole IP address, and you should set yours accordingly, and then save and exit the file.
The next step is to get the certificate and key onto the Pi-hole for it to use on the new web interface address. That file is located at /etc/pihole/tls.pem and is a combination of both the private key and the certificate chain. At this stage, it will depend how you're planning on getting the certificate onto the Pi-hole, but I will be using my previous automated solution. I have a server in my house that renews and obtains certificates for all of my internal devices, including my Pi-hole, and then deploys them via SSH. Here is my renewal script so you can see the necessary steps:
#!/bin/bash
set -e
acme.sh --issue --dns dns_cf -d pihole.scotthelme.co.uk --force --keylength ec-256
cat /home/scott/.acme.sh/pihole.scotthelme.co.uk_ecc/fullchain.cer /home/scott/.acme.sh/pihole.scotthelme.co.uk_ecc/pihole.scotthelme.co.uk.key > tls.pem
scp tls.pem pi@192.168.1.21:/home/pi/tls.pem
ssh pi@192.168.1.21 'sudo mv /home/pi/tls.pem /etc/pihole/tls.pem'
ssh pi@192.168.1.21 'sudo chown pihole:pihole /etc/pihole/tls.pem'
ssh pi@192.168.1.21 'sudo chmod 600 /etc/pihole/tls.pem'
ssh pi@192.168.1.21 'sudo service pihole-FTL restart'
To summarise, the first command is the one that will have a new certificate issued for pihole.scotthelme.co.uk, and the second command will then create the tls.pem file by combining the certificate and the key. We then scp the tls.pem file over to the Pi-hole, move the file, change the owner and permissions, and finally restart the pihole-FTL service to load in the config change and the new certificate. Tada!
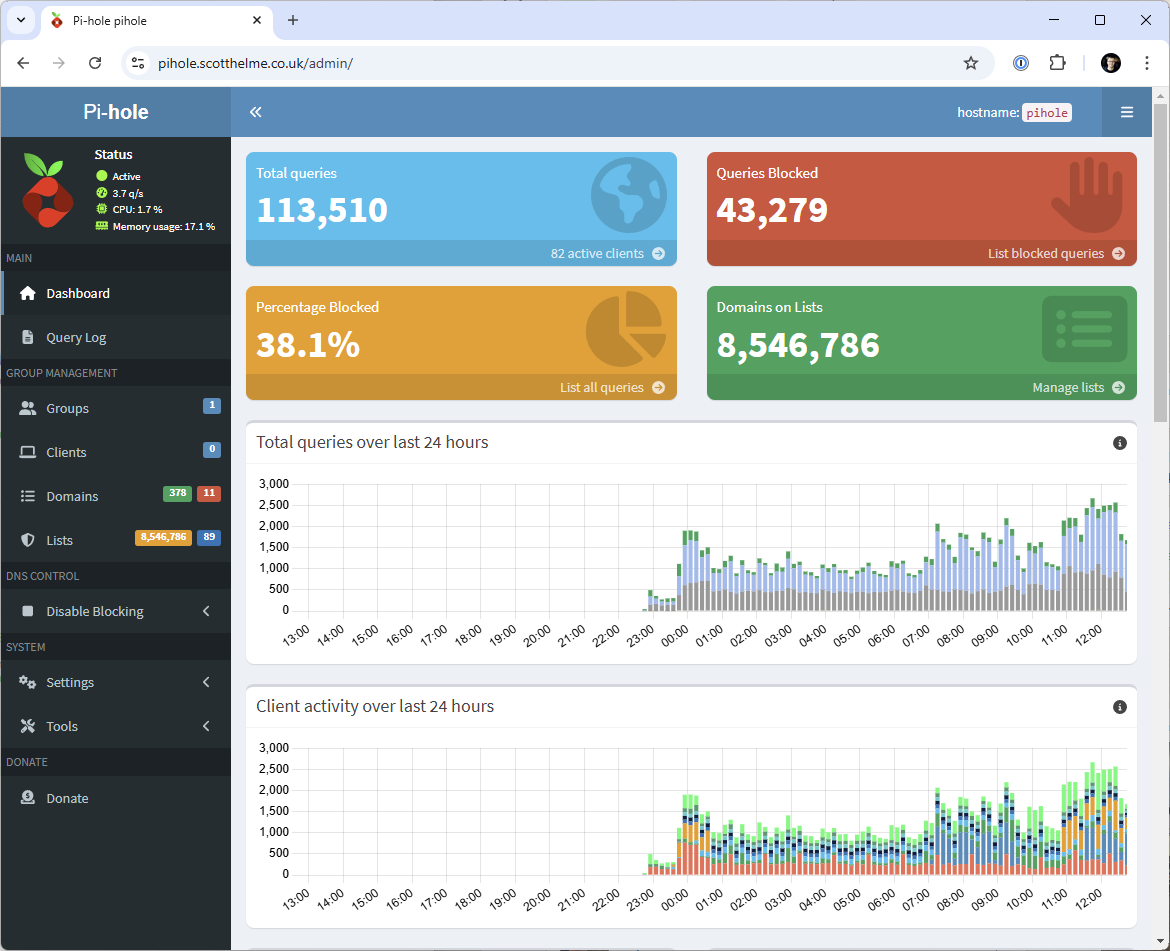
We now have HTTPS working on the Pi-hole web interface and all that is left to do is call the renewal script on a regular basis to replace the certificate. Job done!