I absolutely love the protection my Pi-hole gives me at home and absolutely hate how I don't get those benefits when I'm not at home, so I decided to solve the problem. This was surprisingly easy to do and can be a fun little project useful in other areas too!
Pi-hole
If you aren't familiar with Pi-hole then you should be. It's a little DNS server you can run on a Raspberry Pi inside your house and it will do DNS level blocking of all kinds of bad stuff! I have a blog on how to setup Pi-hole and even some more advanced stuff that I did, but honestly even the basics will be such an improvement if you don't want to take it any further.
I recently added several new hosts lists to my @The_Pi_Hole, taking my blocked domains to 1.8m+! Over 20% of DNS queries on my network are now blocked and I have literally a few exceptions to make stuff work. pic.twitter.com/PRN1s8PoaX
— Scott Helme (@Scott_Helme) January 13, 2021
That little tweet thread I did covers most of the general idea and I love how Pi-hole will protect all devices on my network with no extra effort. Because it's done at DNS you don't need an ad blocker on your PC, phone, laptop, TV, refrigerator, toaster... uuhh wait. Exactly. Network wide protect is the key benefit here. The problem is, when I step outside of my house and drop off my Wi-Fi, I'm not on my network and I lose all of the protection.
Extending Pi-hole protection out of my home
There are many different ways that you can go about this and the way I've chosen is not 'the way' or necessarily the right way for you. This is how I did it and my criteria were that it would be quick and easy!
What I need is a way for my DNS requests from my phone to hit my Pi-hole when I'm not at my house. For my laptop I already have a VPN solution to get back home for other reasons but that's a real 'sledgehammer to crack a nut' to get Pi-hole filtered DNS on my phone. I also wanted, as I often do, to see if I could get more benefit out of this than just passing DNS to my Pi-hole and that's when I thought about DoH, or DNS-over-HTTPS. I did talk about DoH in my linked blog further up and how it lets you encrypt your DNS by basically sending DNS requests as JSON requests over HTTPS. It's a simple HTTP API... That's when it struck me that I could just host a simple HTTP(S) endpoint to field queries from my phone if I could make it do DoH!
Now, how do I get a DoH server up and running quickly and easily? I did some Googling and found out almost right away that Nginx has a DoH-to-DNS to capability! How bloody awesome considering I already run a local server with Nginx for other things and this would be a really simply addition. Here is the addition to my nginx.conf file.
stream {
        # Import the JavaScript file that processes the DoH requests
        js_include /etc/nginx/njs.d/nginx_stream.js;

        # DNS upstream pool (can also be DoT)
        upstream dns {
                zone dns 64k;
                server 192.168.1.21:53; # My local Pi-hole
        }

        # DNS over HTTPS (gateway) translation process
        # Upstream can be either DNS (TCP) or DoT
        server {
                listen 127.0.0.1:8053;
                js_filter dns_filter_doh_request;
                proxy_pass dns;
        }
}

http {
        #DoH config
        upstream dohloop {
                zone dohloop 64k;
                server 127.0.0.1:8053;
        }
        ...
}
Here is the v-host for my DoH endpoint:
server {
        listen *:443 ssl http2;
        listen [::]:443 ssl http2;
        root /var/www/html/home;
        server_name doh.scotthelme.co.uk;
        client_max_body_size 10M;

        ssl_certificate /home/scott/certificates/doh.scotthelme.co.uk/chain.crt;
        ssl_certificate_key /home/scott/certificates/doh.scotthelme.co.uk/private.key;
        ssl_dhparam /home/scott/acme/dhparam.pem;
        ssl_protocols TLSv1.2 TLSv1.3;
        ssl_ciphers "ECDHE-ECDSA-AES256-GCM-SHA384";
        ssl_prefer_server_ciphers on;

        gzip on;
        gzip_disable "msie6";
        gzip_proxied any;
        gzip_vary on;
        gzip_types text/plain text/css application/x-javascript text/xml application/xml application/xml+rss text/javascript text/js application/javascript;
        gzip_static on;

        location / {
                return 404 "404 Not Found\n";
        }

        location /dns-query {
                proxy_http_version 1.1;
                proxy_set_header Connection "";
                proxy_pass http://dohloop;
        }
}
This is using the Nginx Javascript Module and does a few simple steps:
- Listen for HTTP requests on
https://doh.scotthelme.co.uk/dns-query. - Proxy those requests to
http://dohloopwhich is a defined upstream. dohlooptranslates the DoH request to a DNS request againstdnsupstream.- The
dnsupstream passes the DNS request to my Pi-hole.
That's it! I now have my own DoH endpoint that I can query against and the requests will be sent to my Pi-hole which means full protection for any device using that endpoint! The next problem is how do I get my phone to use DoH?
Getting my iPhone to do DoH
On later versions of Android you can set a system-wide DoH endpoint by going to Settings -> Network and Internet -> Advanced -> Private DNS. On my iPhone there isn't an equivalent setting just yet and whilst apps can opt-in to using DoH, I wanted to force this setting system-wide. To do that, I'm going to be using Apple Mobile Device Management (MDM) and it doesn't take as much effort as you'd think to set this open, probably just a couple of minutes. To create a configuration profile you just need an XML file with the settings defined that you'd like to enforce on the device that the profile will be loaded onto, here is mine:
<?xml version="1.0" encoding="UTF-8"?>
<!DOCTYPE plist PUBLIC "-//Apple//DTD PLIST 1.0//EN" "http://www.apple.com/DTDs/PropertyList-1.0.dtd">
<plist version="1.0">
<dict>
	<key>PayloadContent</key>
	<array>
		<dict>
			<key>DNSSettings</key>
			<dict>
				<key>DNSProtocol</key>
				<string>HTTPS</string>
				<key>ServerURL</key>
				<string>https://doh.scotthelme.co.uk/dns-query</string>
			</dict>
			<key>PayloadDescription</key>
			<string>Configures device to DoH</string>
			<key>PayloadDisplayName</key>
			<string>Scott Helme DoH</string>
			<key>PayloadIdentifier</key>
			<string>com.apple.dnsSettings.managed.c9731aa9-1b80-46aa-af7f-5ab8beca8fe1</string>
			<key>PayloadType</key>
			<string>com.apple.dnsSettings.managed</string>
			<key>PayloadUUID</key>
			<string>1d01eca5-ed69-4abf-ad99-340aa8d98802</string>
			<key>PayloadVersion</key>
			<integer>1</integer>
			<key>ProhibitDisablement</key>
			<false/>
		</dict>
	</array>
	<key>PayloadDescription</key>
	<string>Configure device to use my own DoH server.</string>
	<key>PayloadDisplayName</key>
	<string>Scott Helme DoH</string>
	<key>PayloadIdentifier</key>
	<string>uk.co.scotthelme.doh</string>
	<key>PayloadRemovalDisallowed</key>
	<false/>
	<key>PayloadType</key>
	<string>Configuration</string>
	<key>PayloadUUID</key>
	<string>d9358d81-c292-41ef-8d8a-2dbfa9911139</string>
	<key>PayloadVersion</key>
	<integer>1</integer>
</dict>
</plist>
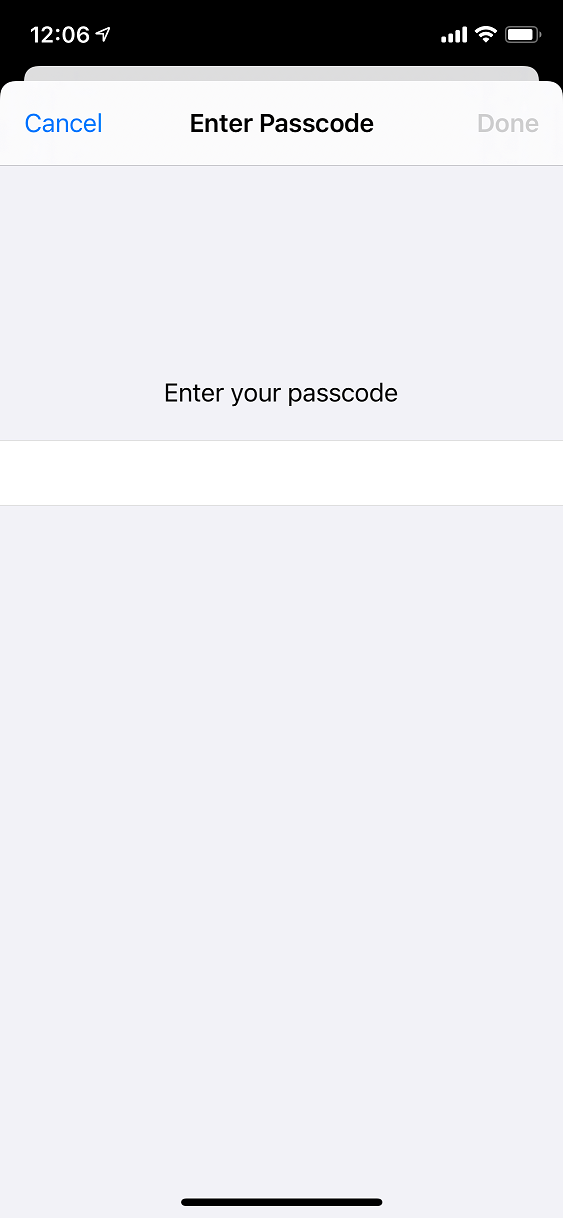
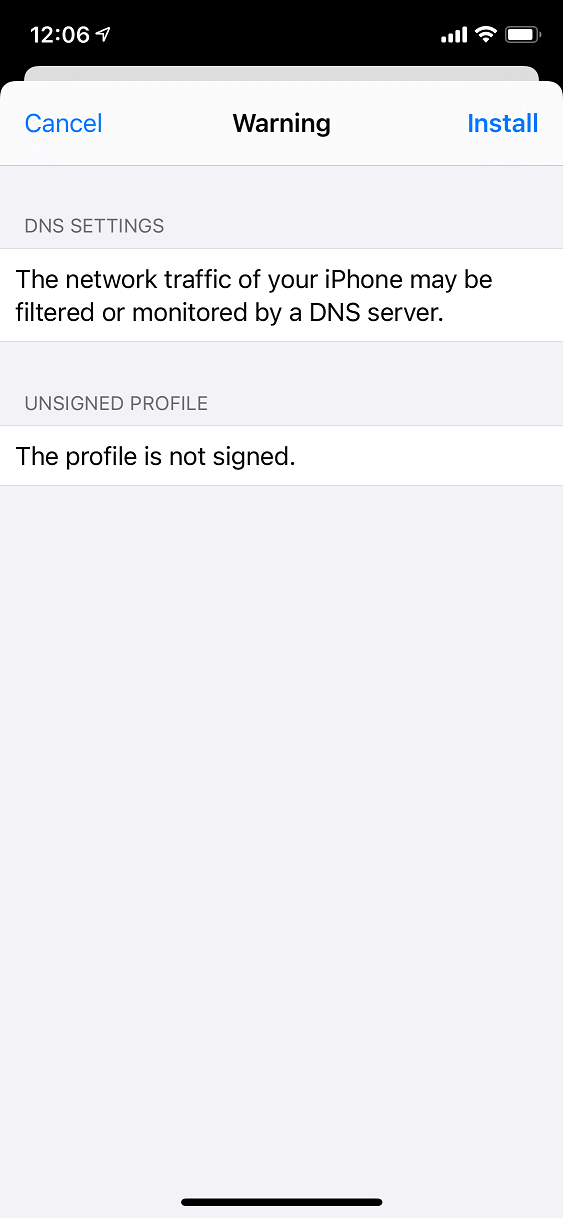
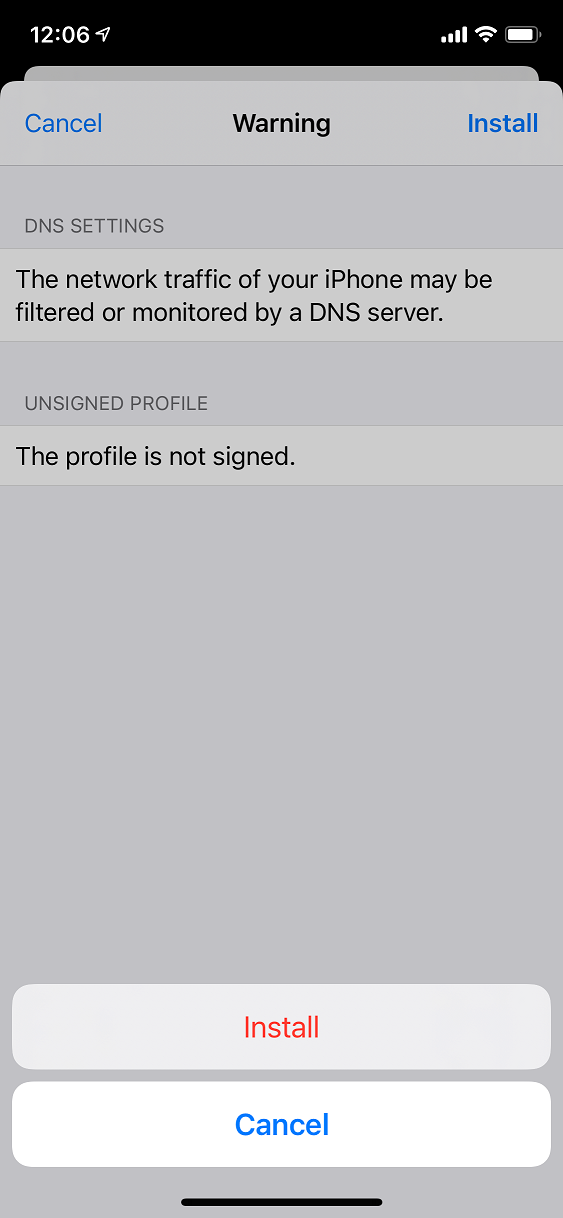
My profile is an adaption of one of profiles found here and you can use those to force DoH to public endpoints like the Cloudflare 1.1.1.1 resolver if you'd like. You can also find more details about the DNS Settings in MDM payloads here. Once the profile is created you need to download it onto your iPhone, I just sent it via email and saved it locally. From there, click the profile and go through the prompts to install it.
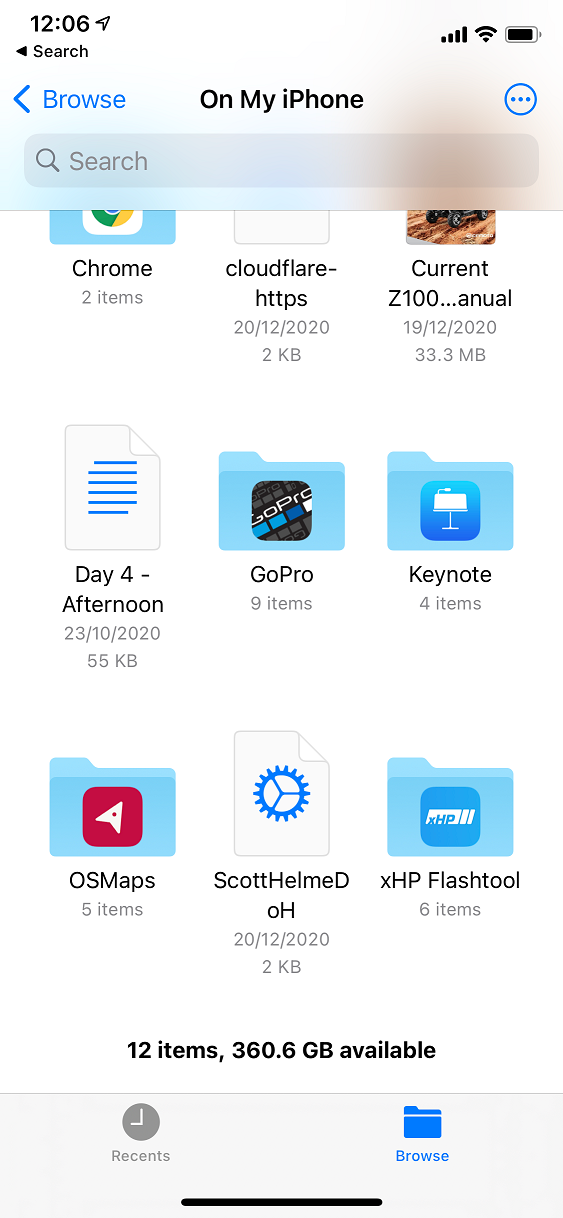
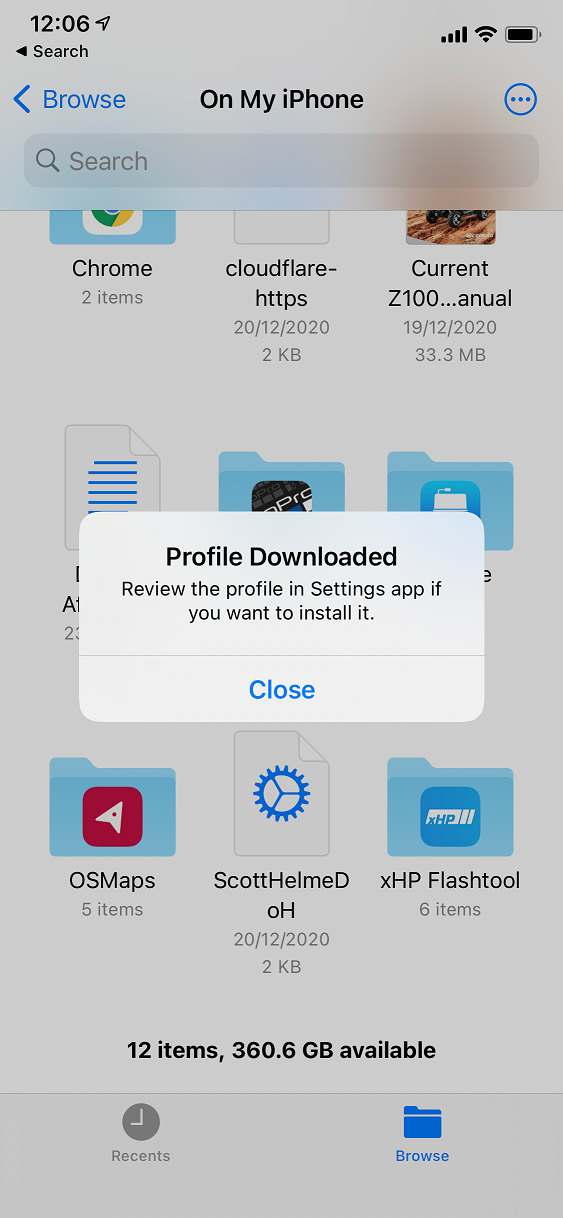
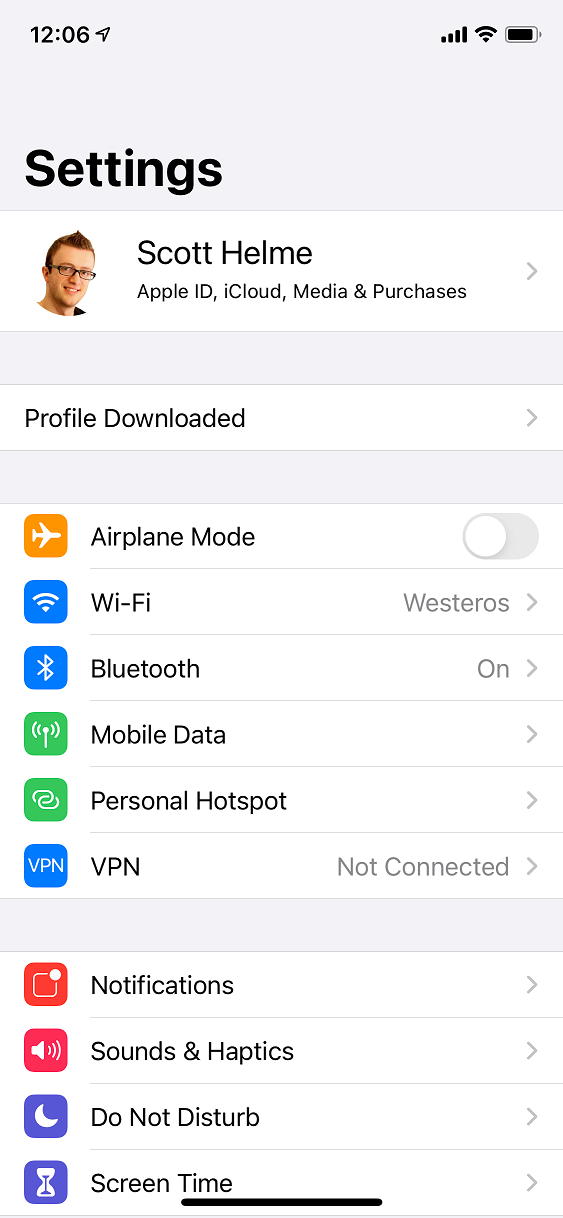
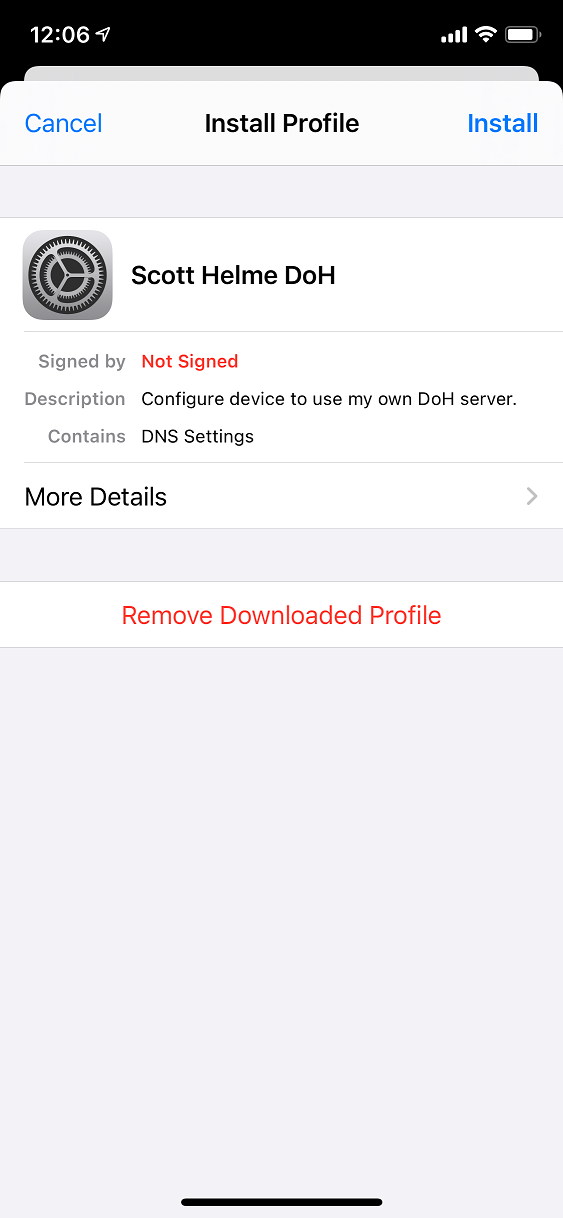
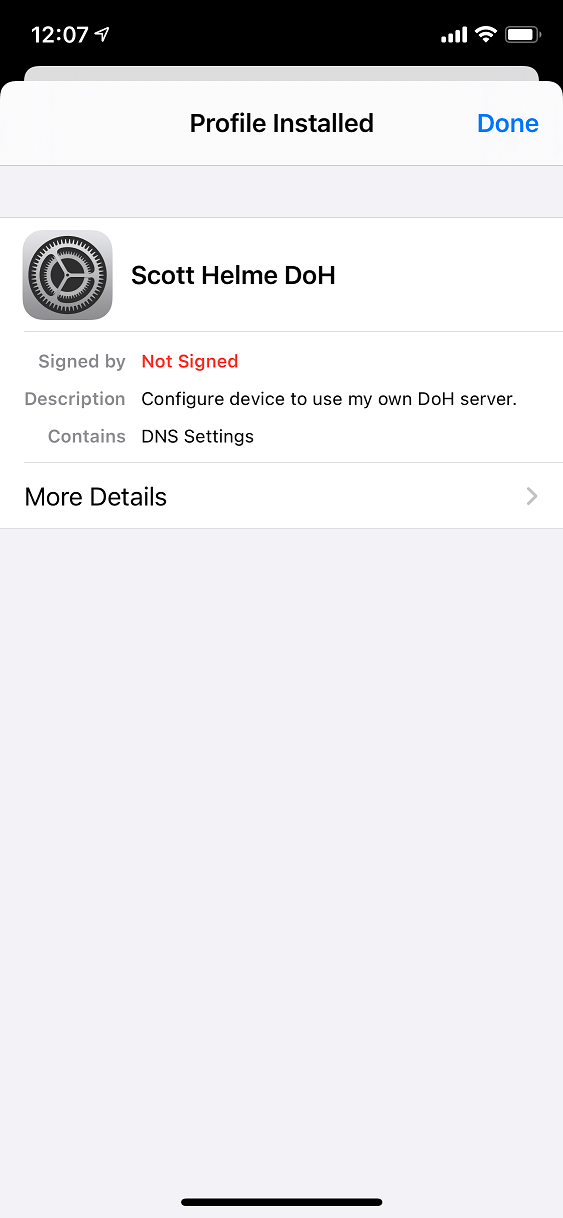
If you want, you can then inspect the profile to see what it contains.
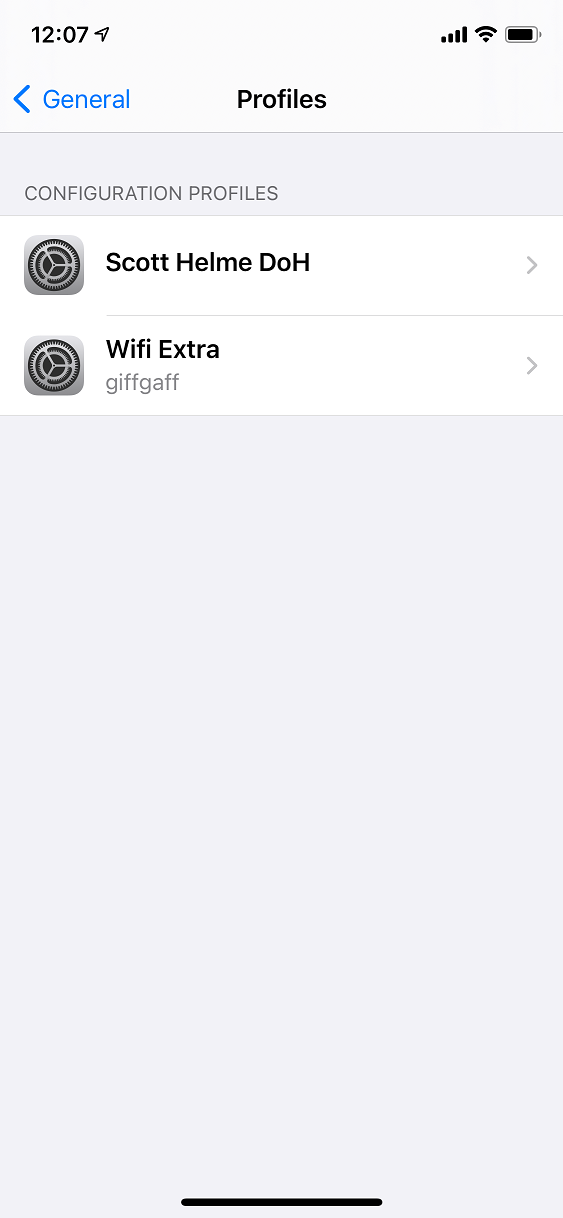
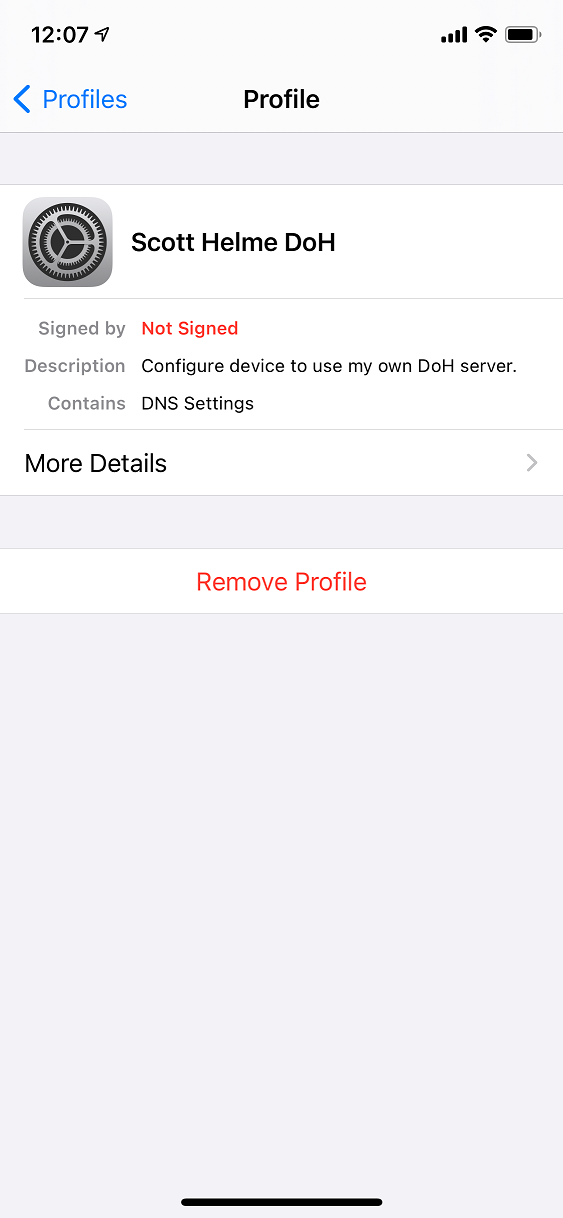
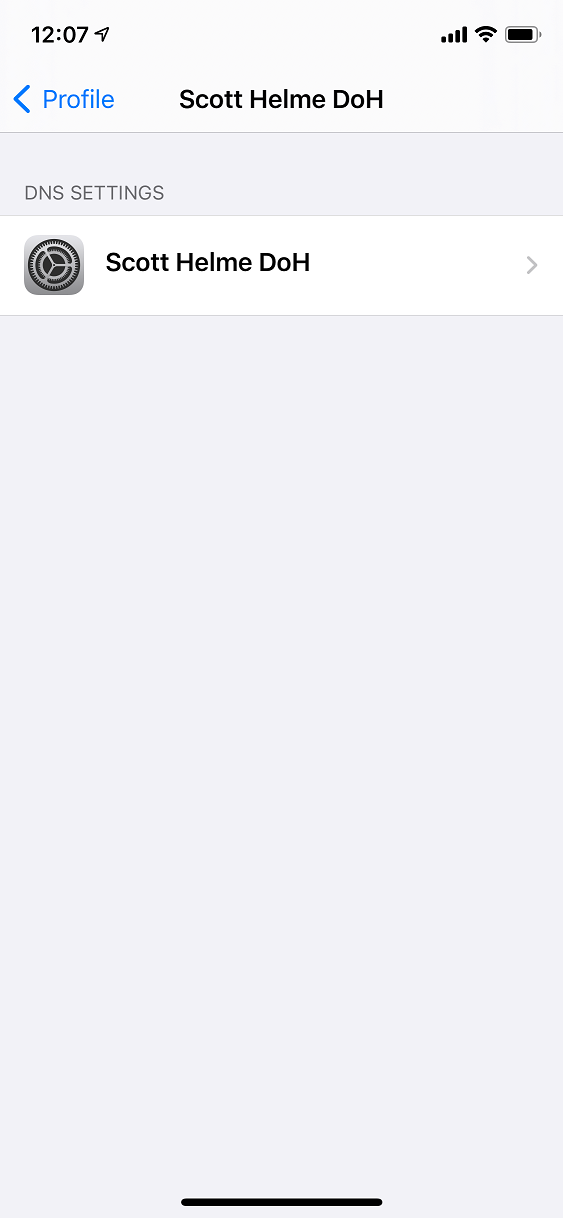
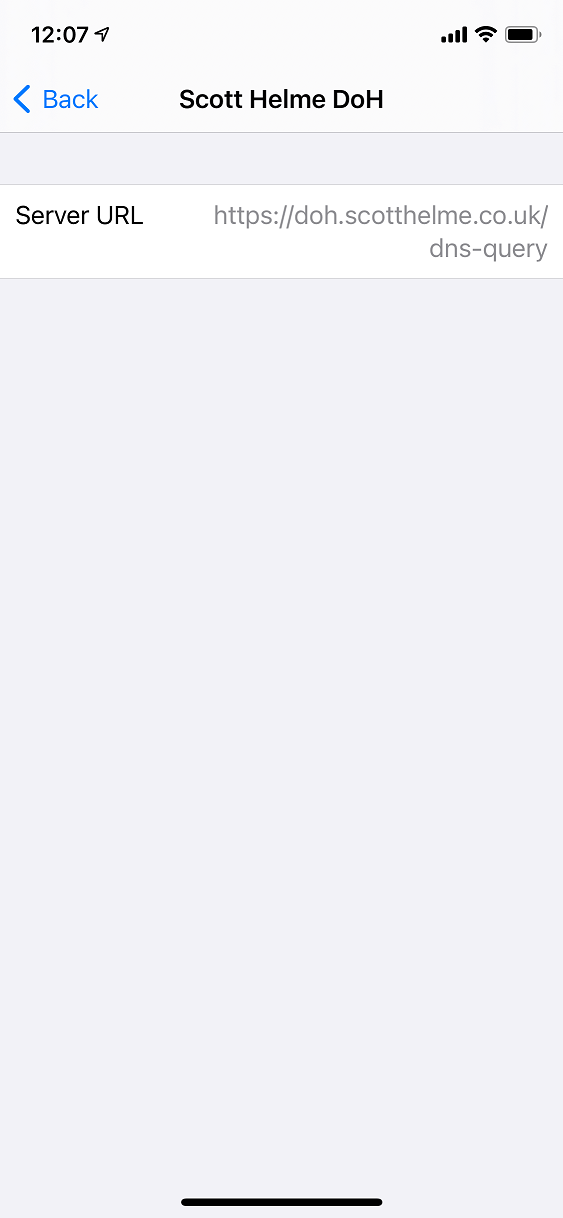
That's it! All of my DNS traffic is now routed to my simple relay at home using DoH which then passes it off to my Pi-hole for filtering/blocking where needed. Of course, my Pi-hole also does DoH to my upstream provider at Cloudflare so the whole lot is now encrypted and protected! As an example, here I am opening a very important website on 4G and I can see the DNS requests showing up in my Pi-hole!


The client there is home.scotthelme.co.uk which is the internal name for my server and why it shows up like that but if I login to the server and tail my Nginx access log I can see the DoH queries coming in from my phone externally!

Now I will always have the protection of my Pi-hole wherever I am but also the performance advantages because noticing how much slower everything was when I was off my Wi-Fi network was starting to bother me! 😅
