I've had a pretty chaotic few weeks and come weekend I like to chill out and tinker with little projects on my backlog. Months ago I bought some Amazon Dash buttons with every intention of using them but never actually getting around to it. It's time to change that and what better than integrate one of them with Let's Encrypt!
Weekend Project
I've always loved tinkering around with technology and I love little weekend projects to take my mind off work. I recently setup a Raspberry Pi to act as a DNS filter on my network using PiHole which was a great short project and something to have fun with that was also useful. I wanted to follow a trend here and finally put the Amazon Dash buttons I bought to good use.
I'd bought a few Dash buttons but hadn't yet thought of what to use them for (I commonly buy stuff because it looks cool and think of a use for it later) but then I had a great idea. After my recent HTTPS Anti-Vaxxers post I came away feeling like we still needed more encryption in the world and an idea was born...
Let's Encrypt Dash Button
My goal was to create a Let's Encrypt Dash Button so that any time I felt sad about there not being enough encryption in the world I could hit the button and have a Let's Encrypt certificate issued! Hacking the Dash Button to do custom things shouldn't be too hard and Let's Encrypt provide certs for free so this should be a quick and easy project. Let's dig in.
Purchase and Setup
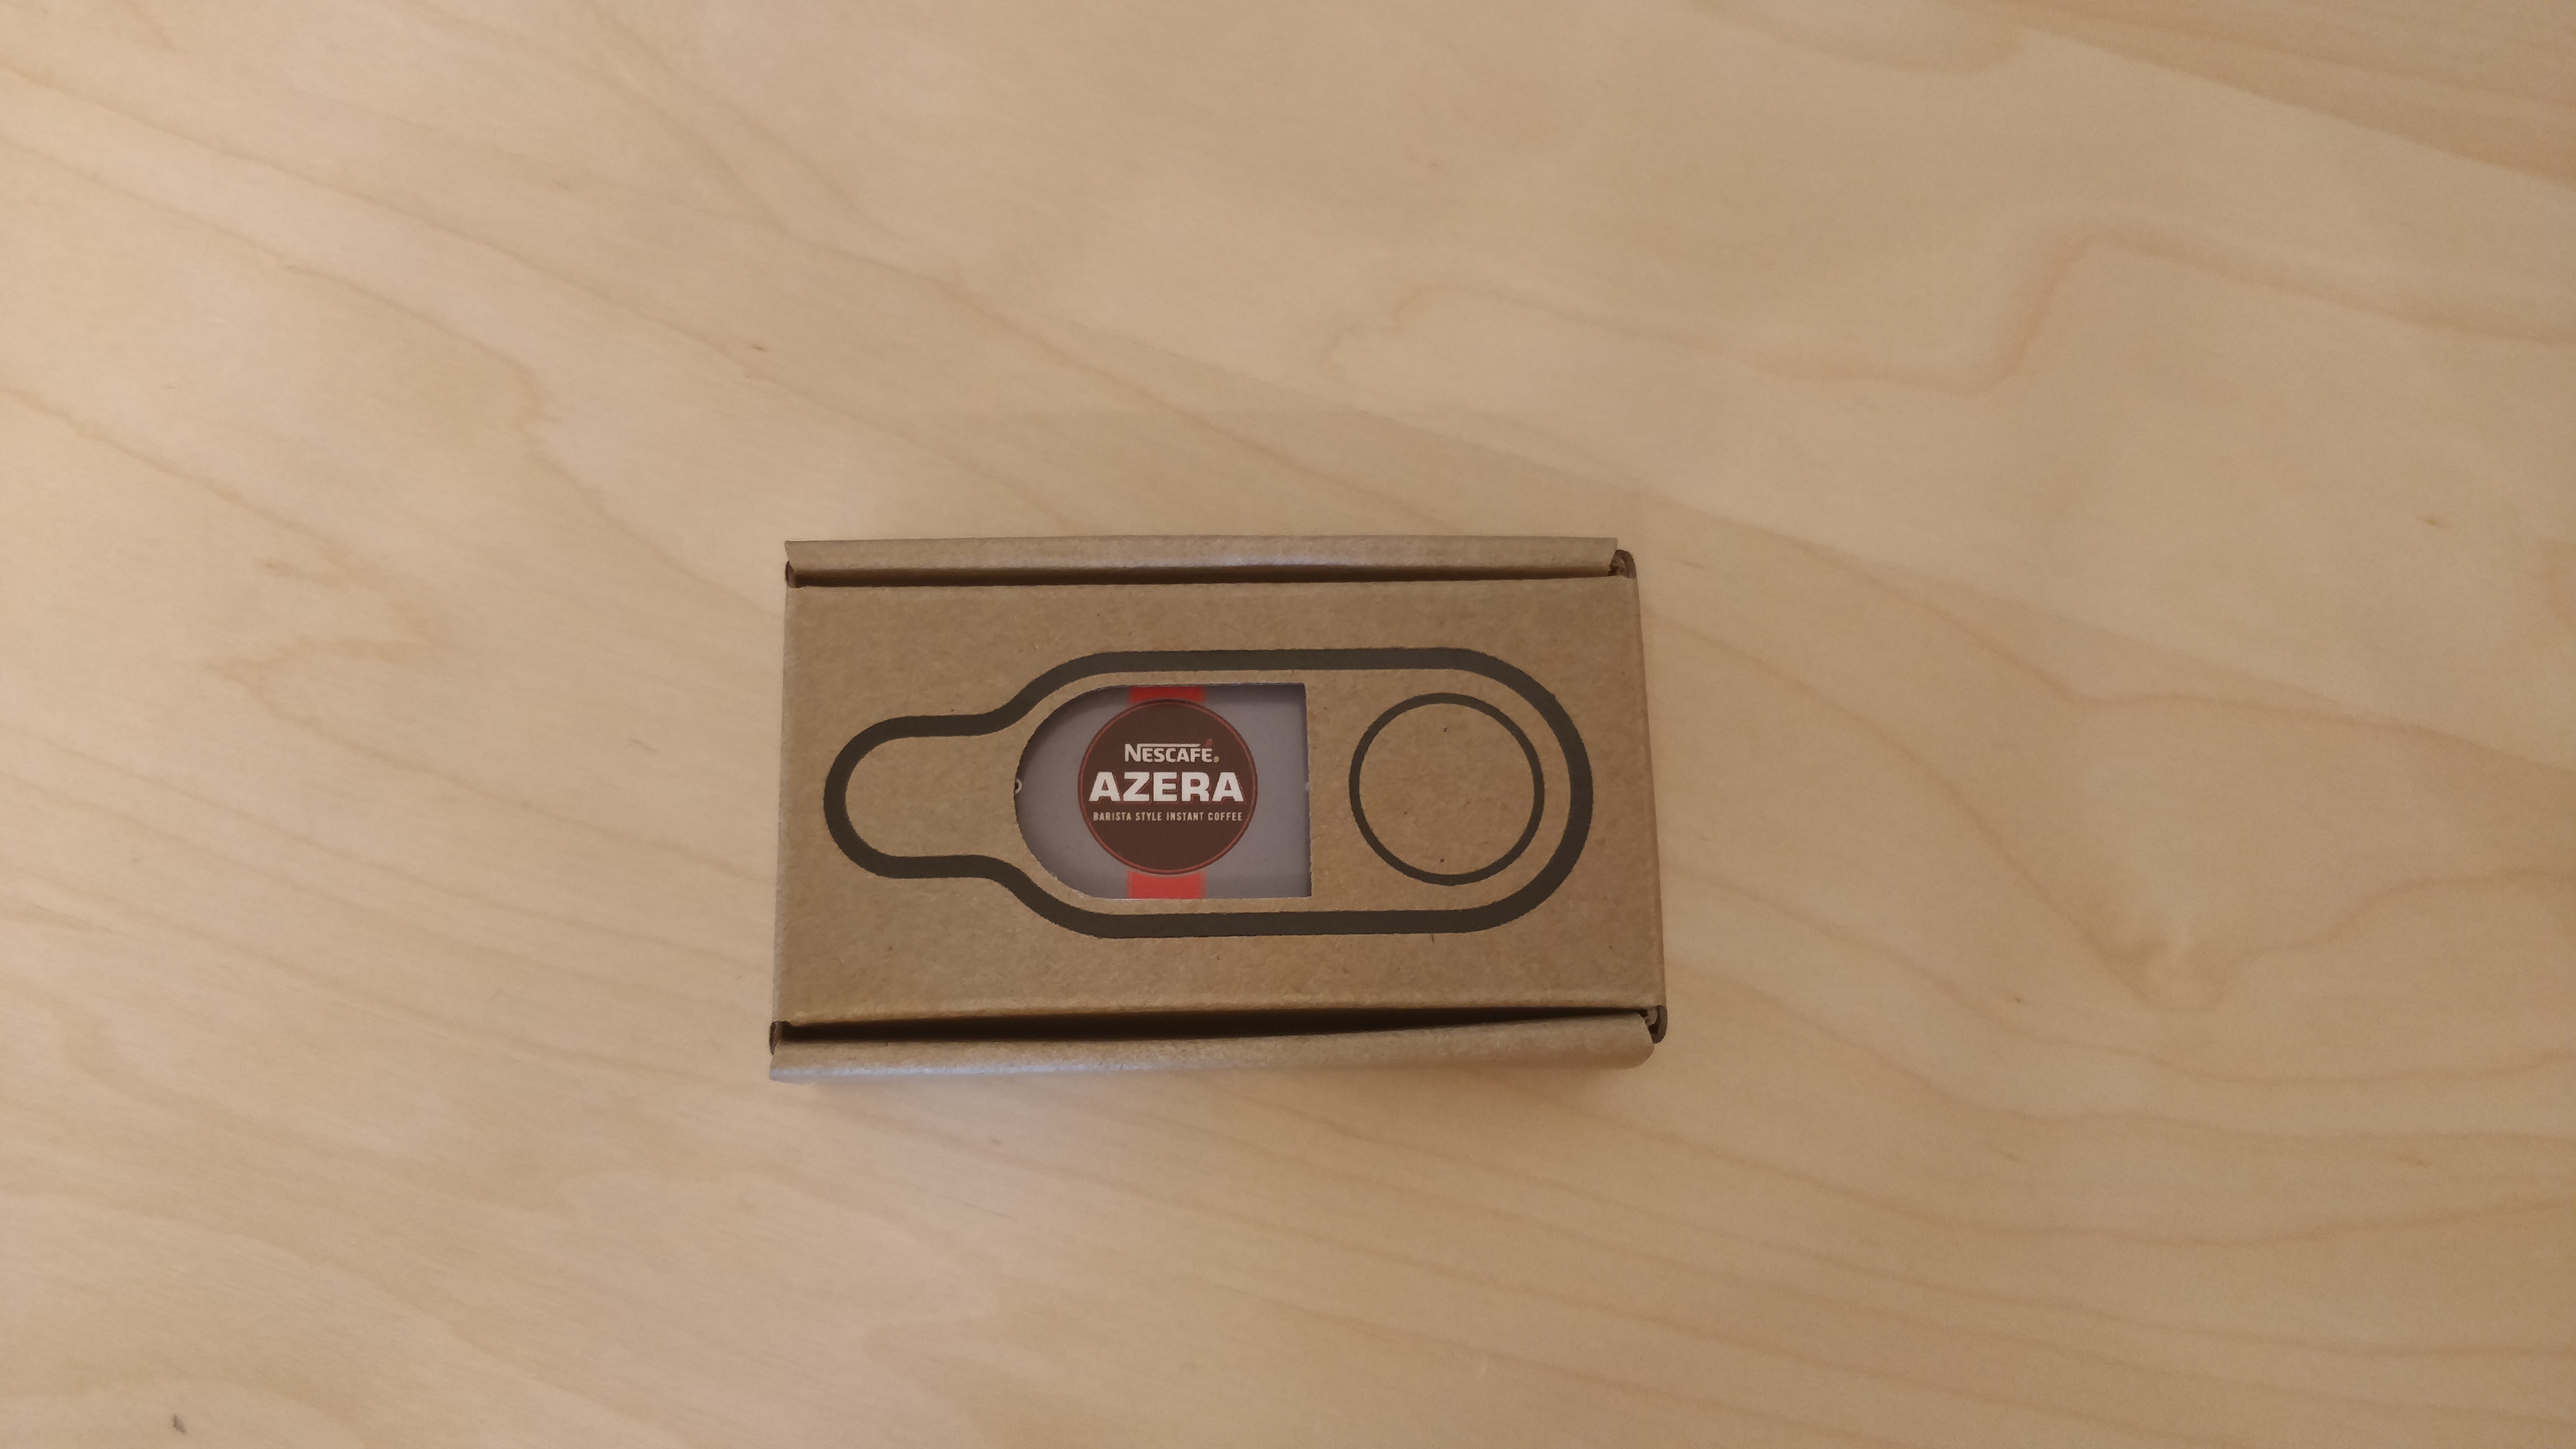
If you need a Dash Button you can get them on Amazon for £4.99 or $4.99 right here. If you're really keen on getting the £4.99 back then get a Dash Button for something you will actually order and if you use the button to order it then Amazon will knock the price of the button off the product! I didn't do that and I just picked a few buttons to play around with. I was going to peel the labels off and put my own stickers on them so it didn't matter which I bought, otherwise just pick ones you like the look of I guess. Go through the setup instructions which you can find here but do not complete the step where you link the button to a product, just quit the app. This means you will be abandoning the setup process before completing it which is what you need to do.
Setup Dasher
You can find the Dasher repo on GitHub and to borrow their explanation, "Dasher is a simple way to bridge your Amazon Dash buttons to HTTP services". I'm going to be running Dasher locally to listen for the button being pressed and then use it to trigger a HTTP GET request. Their Setup guide is great so check that out but I went for a simple git clone.
cd ~
git clone https://github.com/maddox/dasher.git
cd dasher
npm install
Find the Button
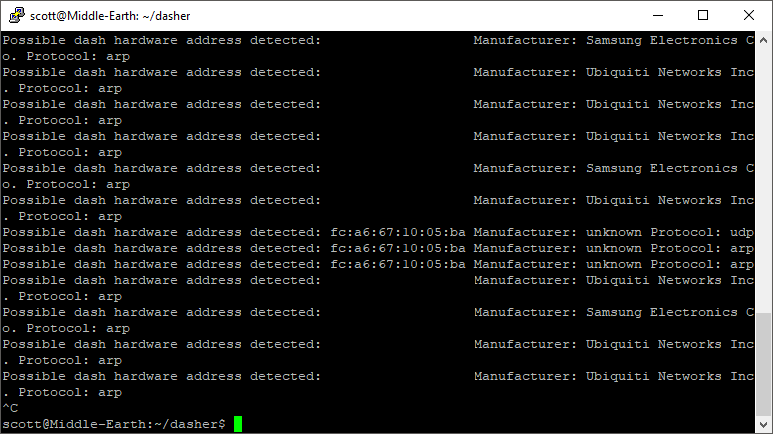
To setup Dasher you need to know the MAC address of your button and it isn't printed anywhere on the packaging. Dasher has a facility to allow you to do this which is a simple script you run and then click the button.
./script/find_button
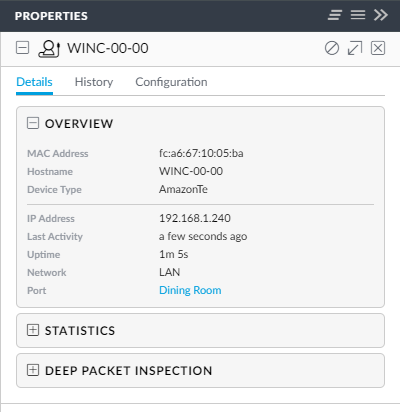
I have a full Ubiquiti Home Network so I could use the UniFi Controller to find the MAC of the new device on the WiFi.
Configure the Button
Now that we have the MAC for the button we can create the config file to control what it does. If you look in config/config.example.json you can see a few of the things that the button can do but mine will be issuing a simple HTTP GET request. For that I created config.json with the following.
{"buttons":[
  {
    "name": "Let's Encrypt",
    "address": "fc:a6:67:10:05:ba",
    "protocol": "arp",
    "url": "https://home.scotthelme.co.uk/{guid}.php",
    "method": "GET"
  }
]}
This will fire the HTTP GET request to a random endpoint I've created internally that will later handle the certificate issuance process. You could also hook this into something like IFTTT Maker Webhooks if you want some more flexibility and really start to look at a whole variety of things you could get this button to do.
Listening for Button Presses
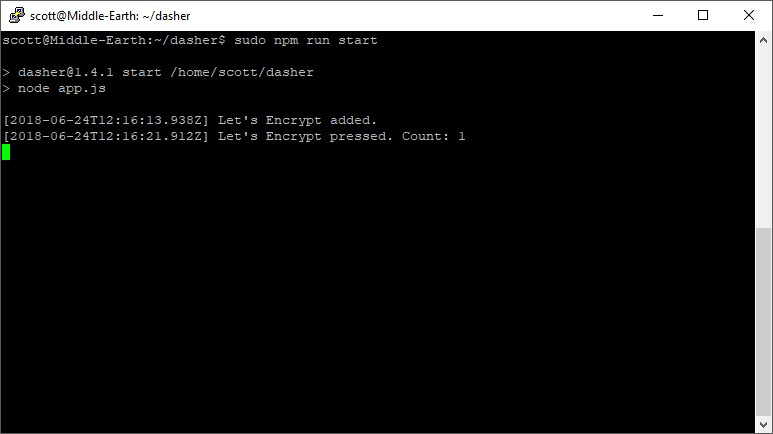
Once the config file is ready you can start Dasher to listen for clicks of your button and give it a click to test it out!
sudo npm run start
Issuing the Certificate
To issue the certificate I'm using a super simple PHP script that just runs a shell command to call another tool.
<?php

exec("/home/scott/acme.sh/acme.sh --issue --dns dns_cf -d 01-created.scotthelme.co.uk -d 02-using.scotthelme.co.uk -d 03-amazon.scotthelme.co.uk -d 04-dash.scotthelme.co.uk -d 05-button.scotthelme.co.uk --force 2>&1");

?>
I've not talked about acme.sh but I'm going to write up a more detailed blog about that soon. It allows you to issue Let's Encrypt certs using the DNS challenge instead of a HTTP challenge so I don't need to host any services externally for this little project. The script simply hooks the Cloudflare API, sets some DNS TXT records and then issues a certificate for me.
CLICK THE BUTTON!!!
There's really nothing to say here, it works!!!
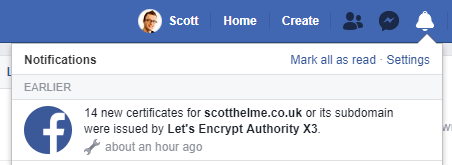
I gave it a few clicks just to make sure and issued several certs, you can see one of the ones generated by the Dash Button itself on Censys, crt.sh and even Facebook thanks to Certificate Transparency.
Here's the raw PEM of the first cert ever issued from Let's Encrypt with a Dash Button!
-----BEGIN CERTIFICATE-----
MIIGkjCCBXqgAwIBAgISA95YuU9KjvBMZ0NVxHUrW5unMA0GCSqGSIb3DQEBCwUA
MEoxCzAJBgNVBAYTAlVTMRYwFAYDVQQKEw1MZXQncyBFbmNyeXB0MSMwIQYDVQQD
ExpMZXQncyBFbmNyeXB0IEF1dGhvcml0eSBYMzAeFw0xODA2MjQwODA3MDdaFw0x
ODA5MjIwODA3MDdaMCYxJDAiBgNVBAMTGzAxLWNyZWF0ZWQuc2NvdHRoZWxtZS5j
by51azCCASIwDQYJKoZIhvcNAQEBBQADggEPADCCAQoCggEBAOn4owUm5rYza9ae
E/wnQZvRw7oeZauOwLoF0eHauu9z1vwZhOkLqMGHoRfvq/LKcx9ymXxLTfiriknL
8HKAtjn+QPtRmiAQgm8qZtVgWH64oLrcG19BtKrpNFpzv6c4LE6DnRbtidmgKxDo
A4NIKxlwo5y4oYU7u/DqwZIQBRpjgGP07/nj8K/CEuuqCp1DI9AmcnjE9KYljK5+
7UQWuKwZEBe5LNtfbrhG06m82qVjaFMSZLUemwbORel+ZTQbisYlt7remYE8p8su
a/Lhx4khdMW7DIH1dO63oKakAkIuMyTNCkn+7UFGjken3rH2MAF2huK7J7GVoi96
hA0x2QkCAwEAAaOCA5QwggOQMA4GA1UdDwEB/wQEAwIFoDAdBgNVHSUEFjAUBggr
BgEFBQcDAQYIKwYBBQUHAwIwDAYDVR0TAQH/BAIwADAdBgNVHQ4EFgQUugXO+ru/
9HNHqr8BC+YfHxD/wxcwHwYDVR0jBBgwFoAUqEpqYwR93brm0Tm3pkVl7/Oo7KEw
bwYIKwYBBQUHAQEEYzBhMC4GCCsGAQUFBzABhiJodHRwOi8vb2NzcC5pbnQteDMu
bGV0c2VuY3J5cHQub3JnMC8GCCsGAQUFBzAChiNodHRwOi8vY2VydC5pbnQteDMu
bGV0c2VuY3J5cHQub3JnLzCBlQYDVR0RBIGNMIGKghswMS1jcmVhdGVkLnNjb3R0
aGVsbWUuY28udWuCGTAyLXVzaW5nLnNjb3R0aGVsbWUuY28udWuCGjAzLWFtYXpv
bi5zY290dGhlbG1lLmNvLnVrghgwNC1kYXNoLnNjb3R0aGVsbWUuY28udWuCGjA1
LWJ1dHRvbi5zY290dGhlbG1lLmNvLnVrMIH+BgNVHSAEgfYwgfMwCAYGZ4EMAQIB
MIHmBgsrBgEEAYLfEwEBATCB1jAmBggrBgEFBQcCARYaaHR0cDovL2Nwcy5sZXRz
ZW5jcnlwdC5vcmcwgasGCCsGAQUFBwICMIGeDIGbVGhpcyBDZXJ0aWZpY2F0ZSBt
YXkgb25seSBiZSByZWxpZWQgdXBvbiBieSBSZWx5aW5nIFBhcnRpZXMgYW5kIG9u
bHkgaW4gYWNjb3JkYW5jZSB3aXRoIHRoZSBDZXJ0aWZpY2F0ZSBQb2xpY3kgZm91
bmQgYXQgaHR0cHM6Ly9sZXRzZW5jcnlwdC5vcmcvcmVwb3NpdG9yeS8wggEFBgor
BgEEAdZ5AgQCBIH2BIHzAPEAdgDbdK/uyynssf7KPnFtLOW5qrs294Rxg8ddnU83
th+/ZAAAAWQxDAAuAAAEAwBHMEUCID+5RlkK4Uo1Wv7ZfzaoqdaO4eeHSDS70rBl
Kv4XqOm7AiEAxApMfLGgYuMdqBBOKLmpfMlPSO4whGca6creuKtiKY4AdwApPFGW
VMg5ZbqqUPxYB9S3b79Yeily3KTDDPTlRUf0eAAAAWQxDABAAAAEAwBIMEYCIQDK
WcWTebaN4cD6W623wjV5c8VRU6XE/hInhvhJ3f1FpwIhAKuHjpYUAtr0U+Gs0sgh
oJbT6kthuKWcbs9T/jaHPh1sMA0GCSqGSIb3DQEBCwUAA4IBAQB3mP0cYk2hpH5P
epUui31Czkv9hZbO0ollm5EJbO1raLxyVOv24m+yTHuvJgHoc6wE7+G/sTSuJOa3
rOJTup7yfnl+wtiobvtGSNb3cQIcj2vjnFu2VDDOXWsmjgzuH3WoWXeiI82NQX0d
+jvA8JNt1MhBEctIPIPq0t8C4588B48xbWA5ubLdm091wswpaIgVUhJxEV2Y4N8b
NaTZt7QtFJVQb0MD0sISj2PRmNNyAA+oz7AlnhV01M52Kx37wIDNWosUe7GJa05H
tgfhPTrp3/NCs9uwuKLbZXEEjbvhzu9a5g3Rk+VocgeH1fxNMIK/FA73gJRXT0JY
Lp+rTYDj
-----END CERTIFICATE-----
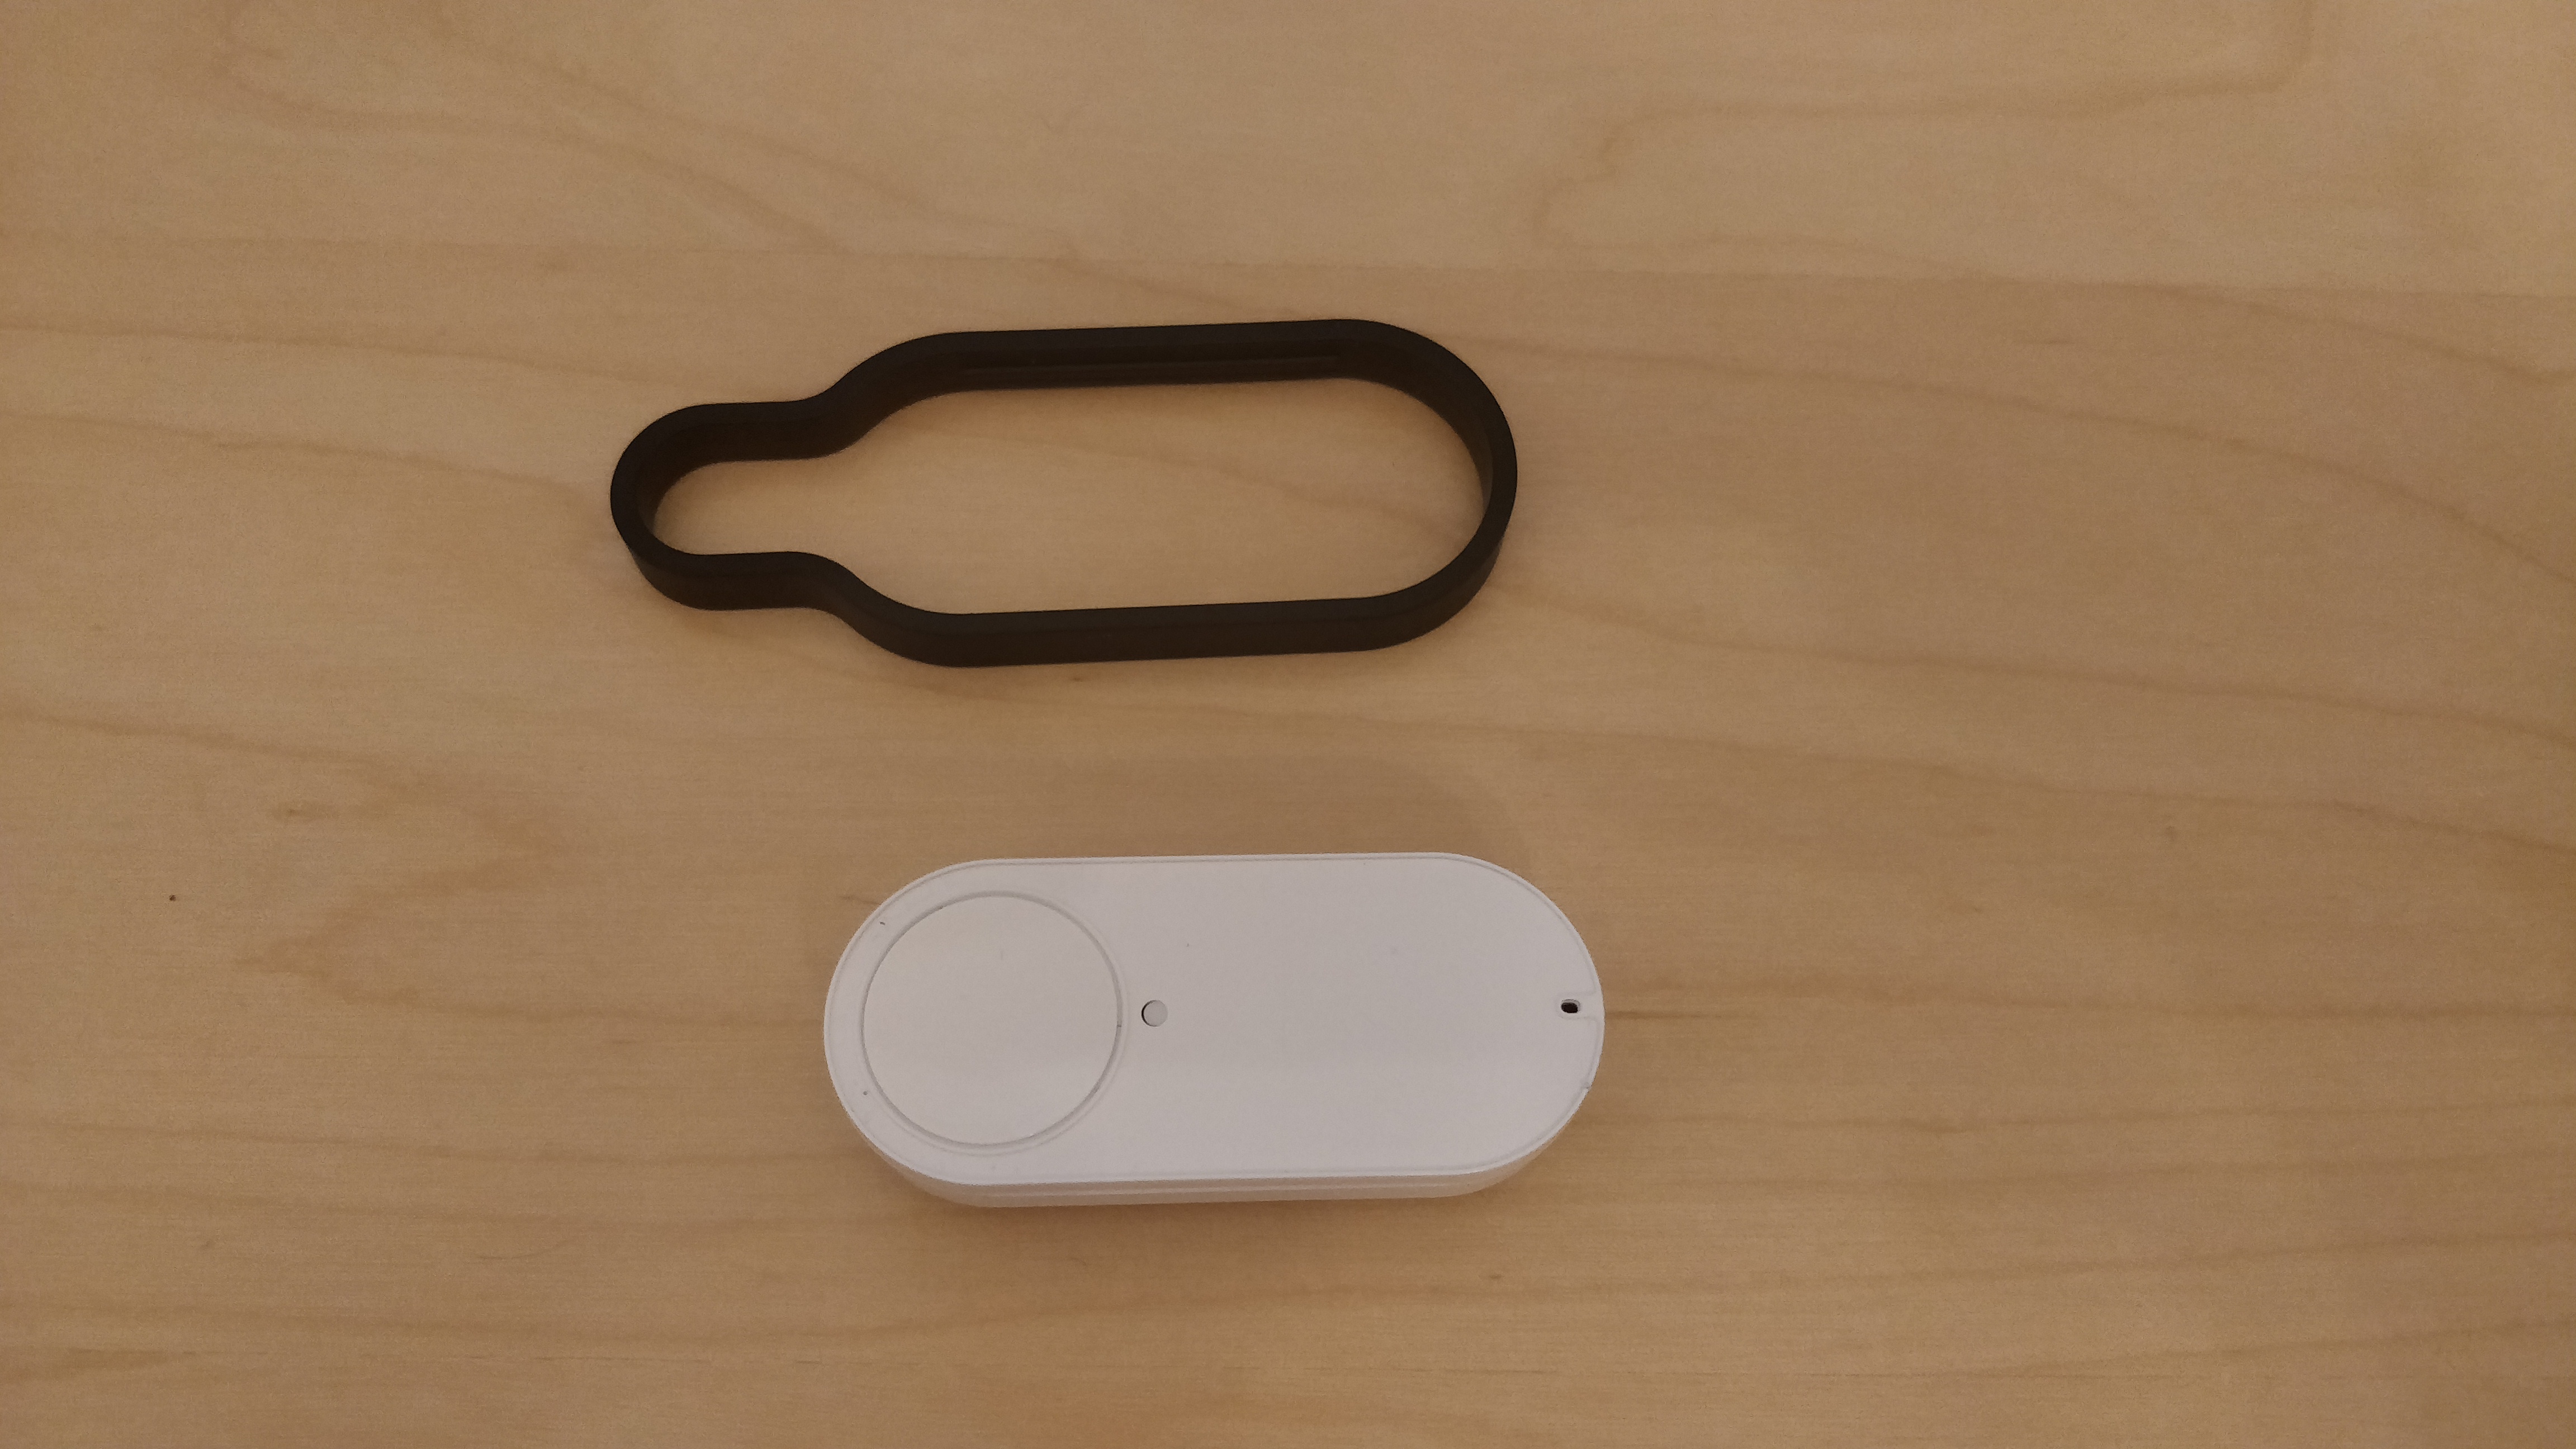
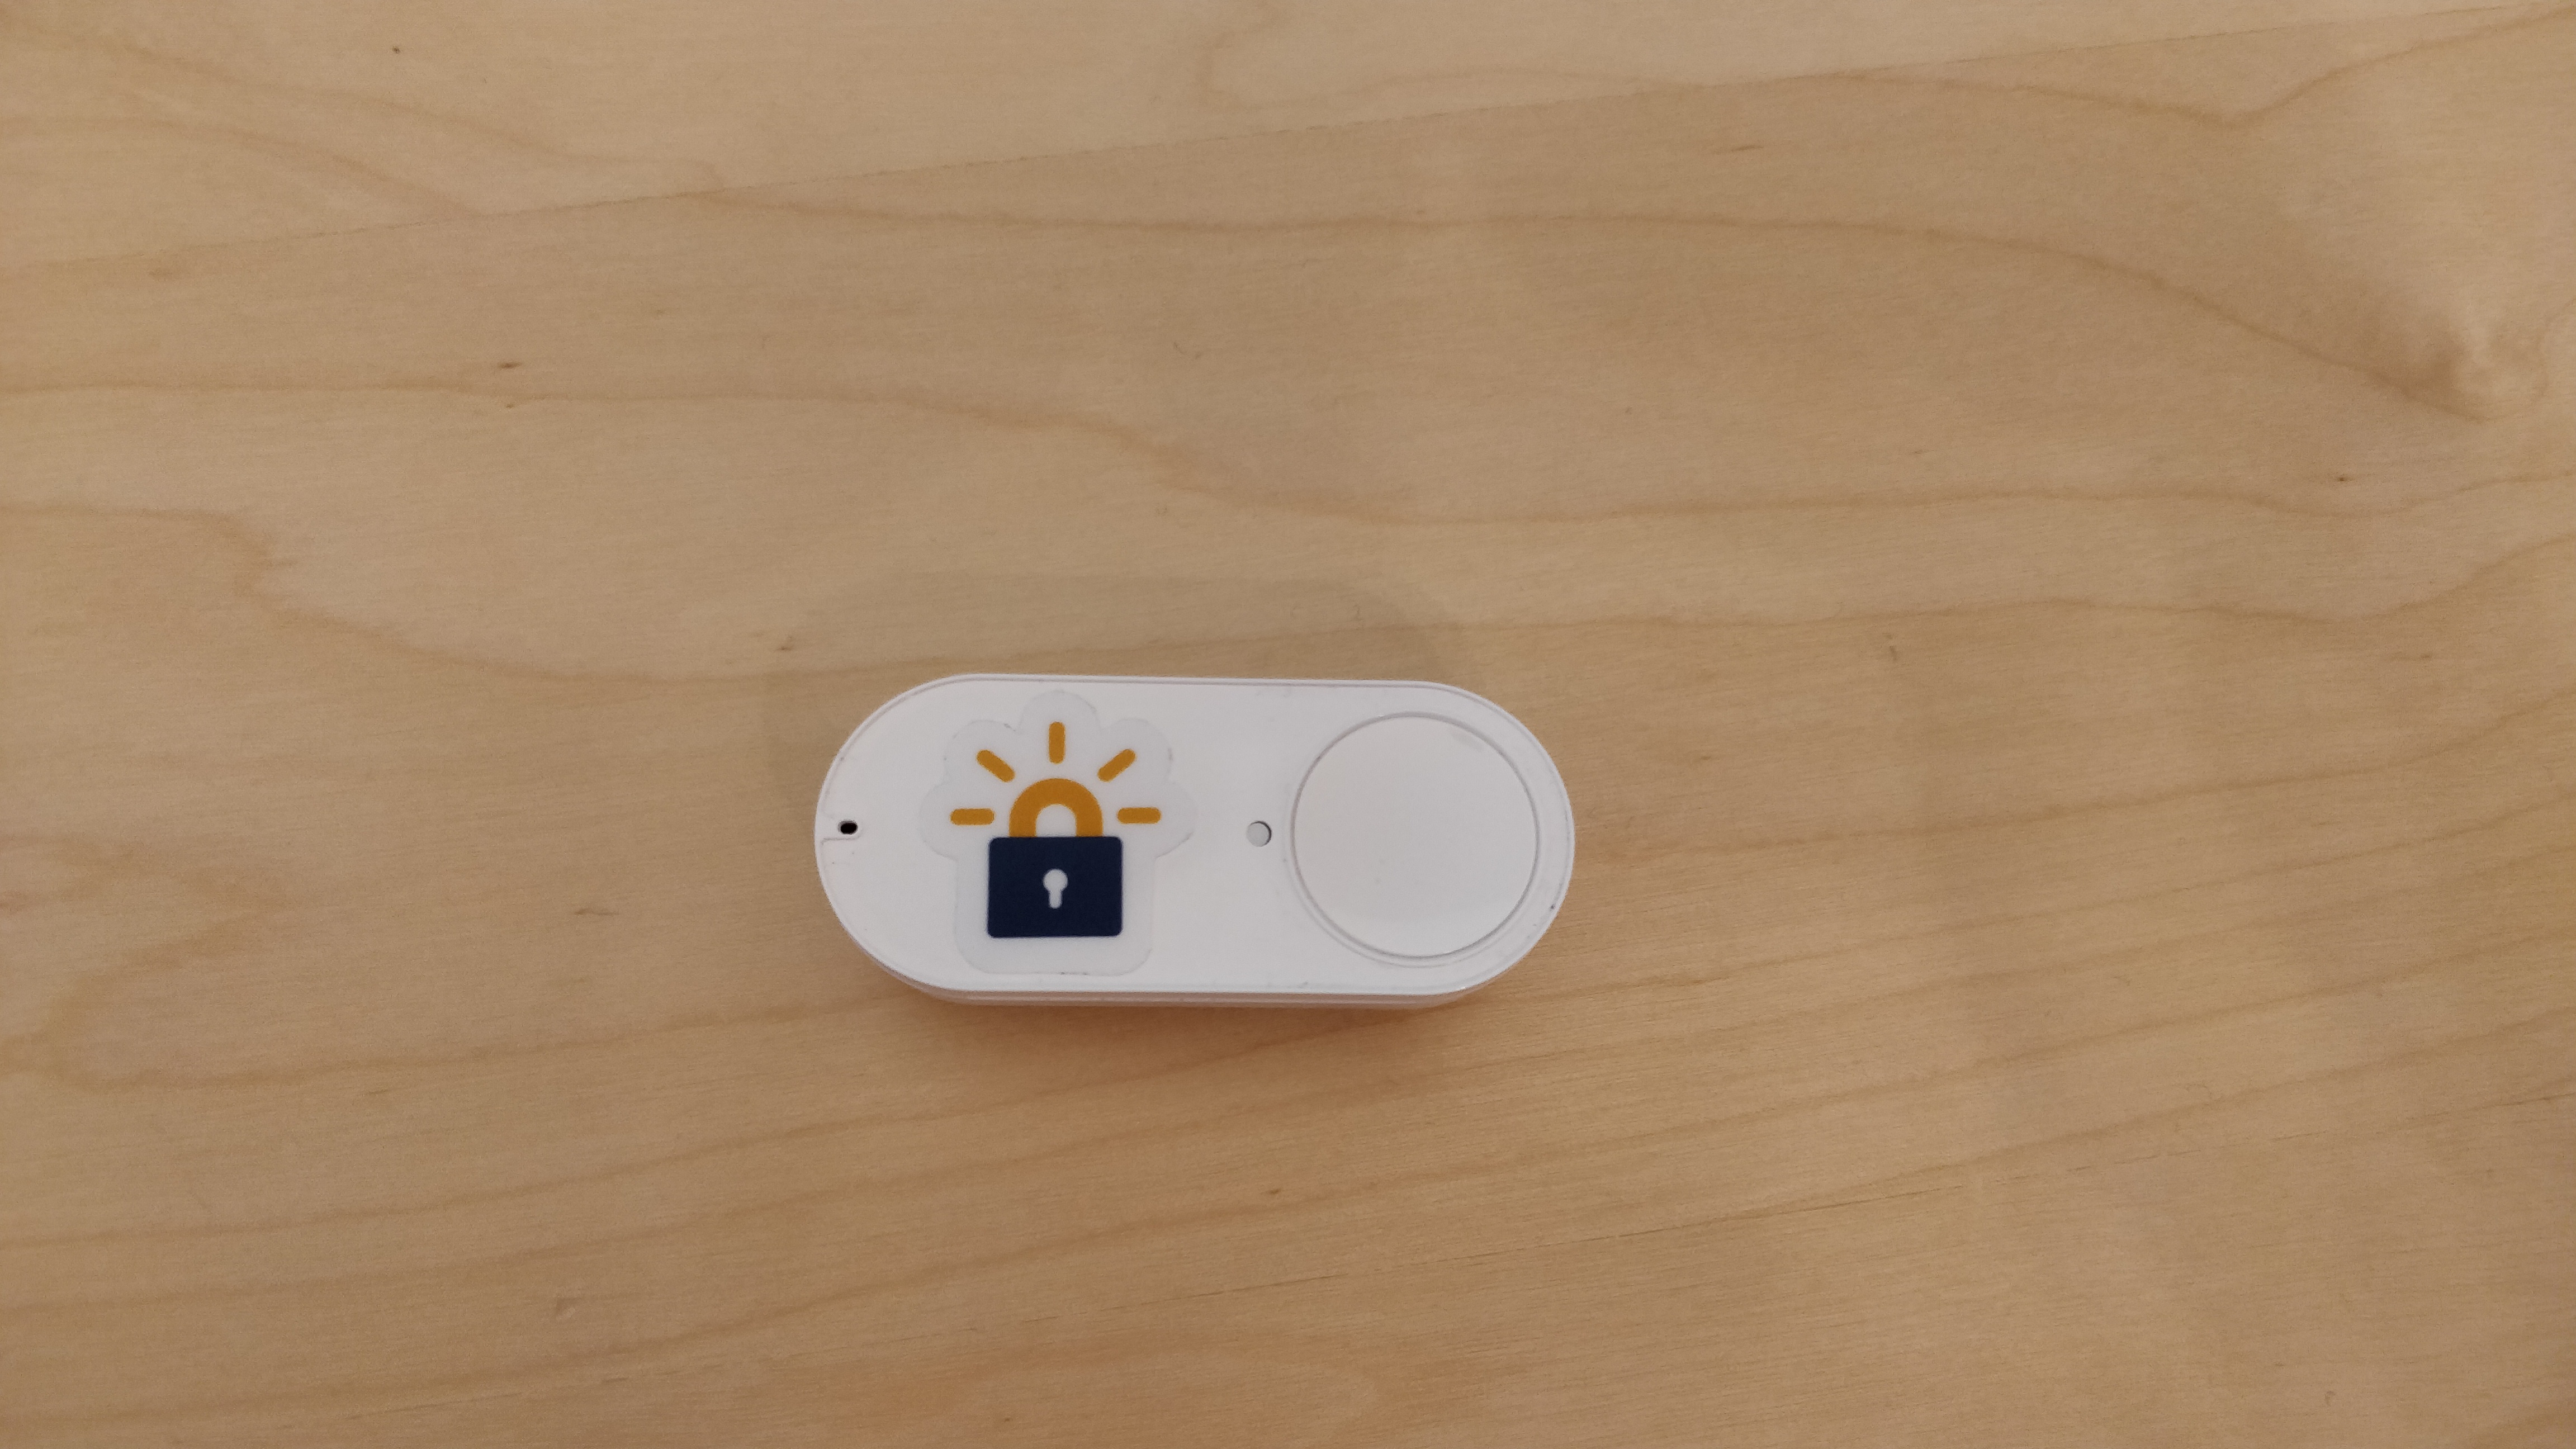
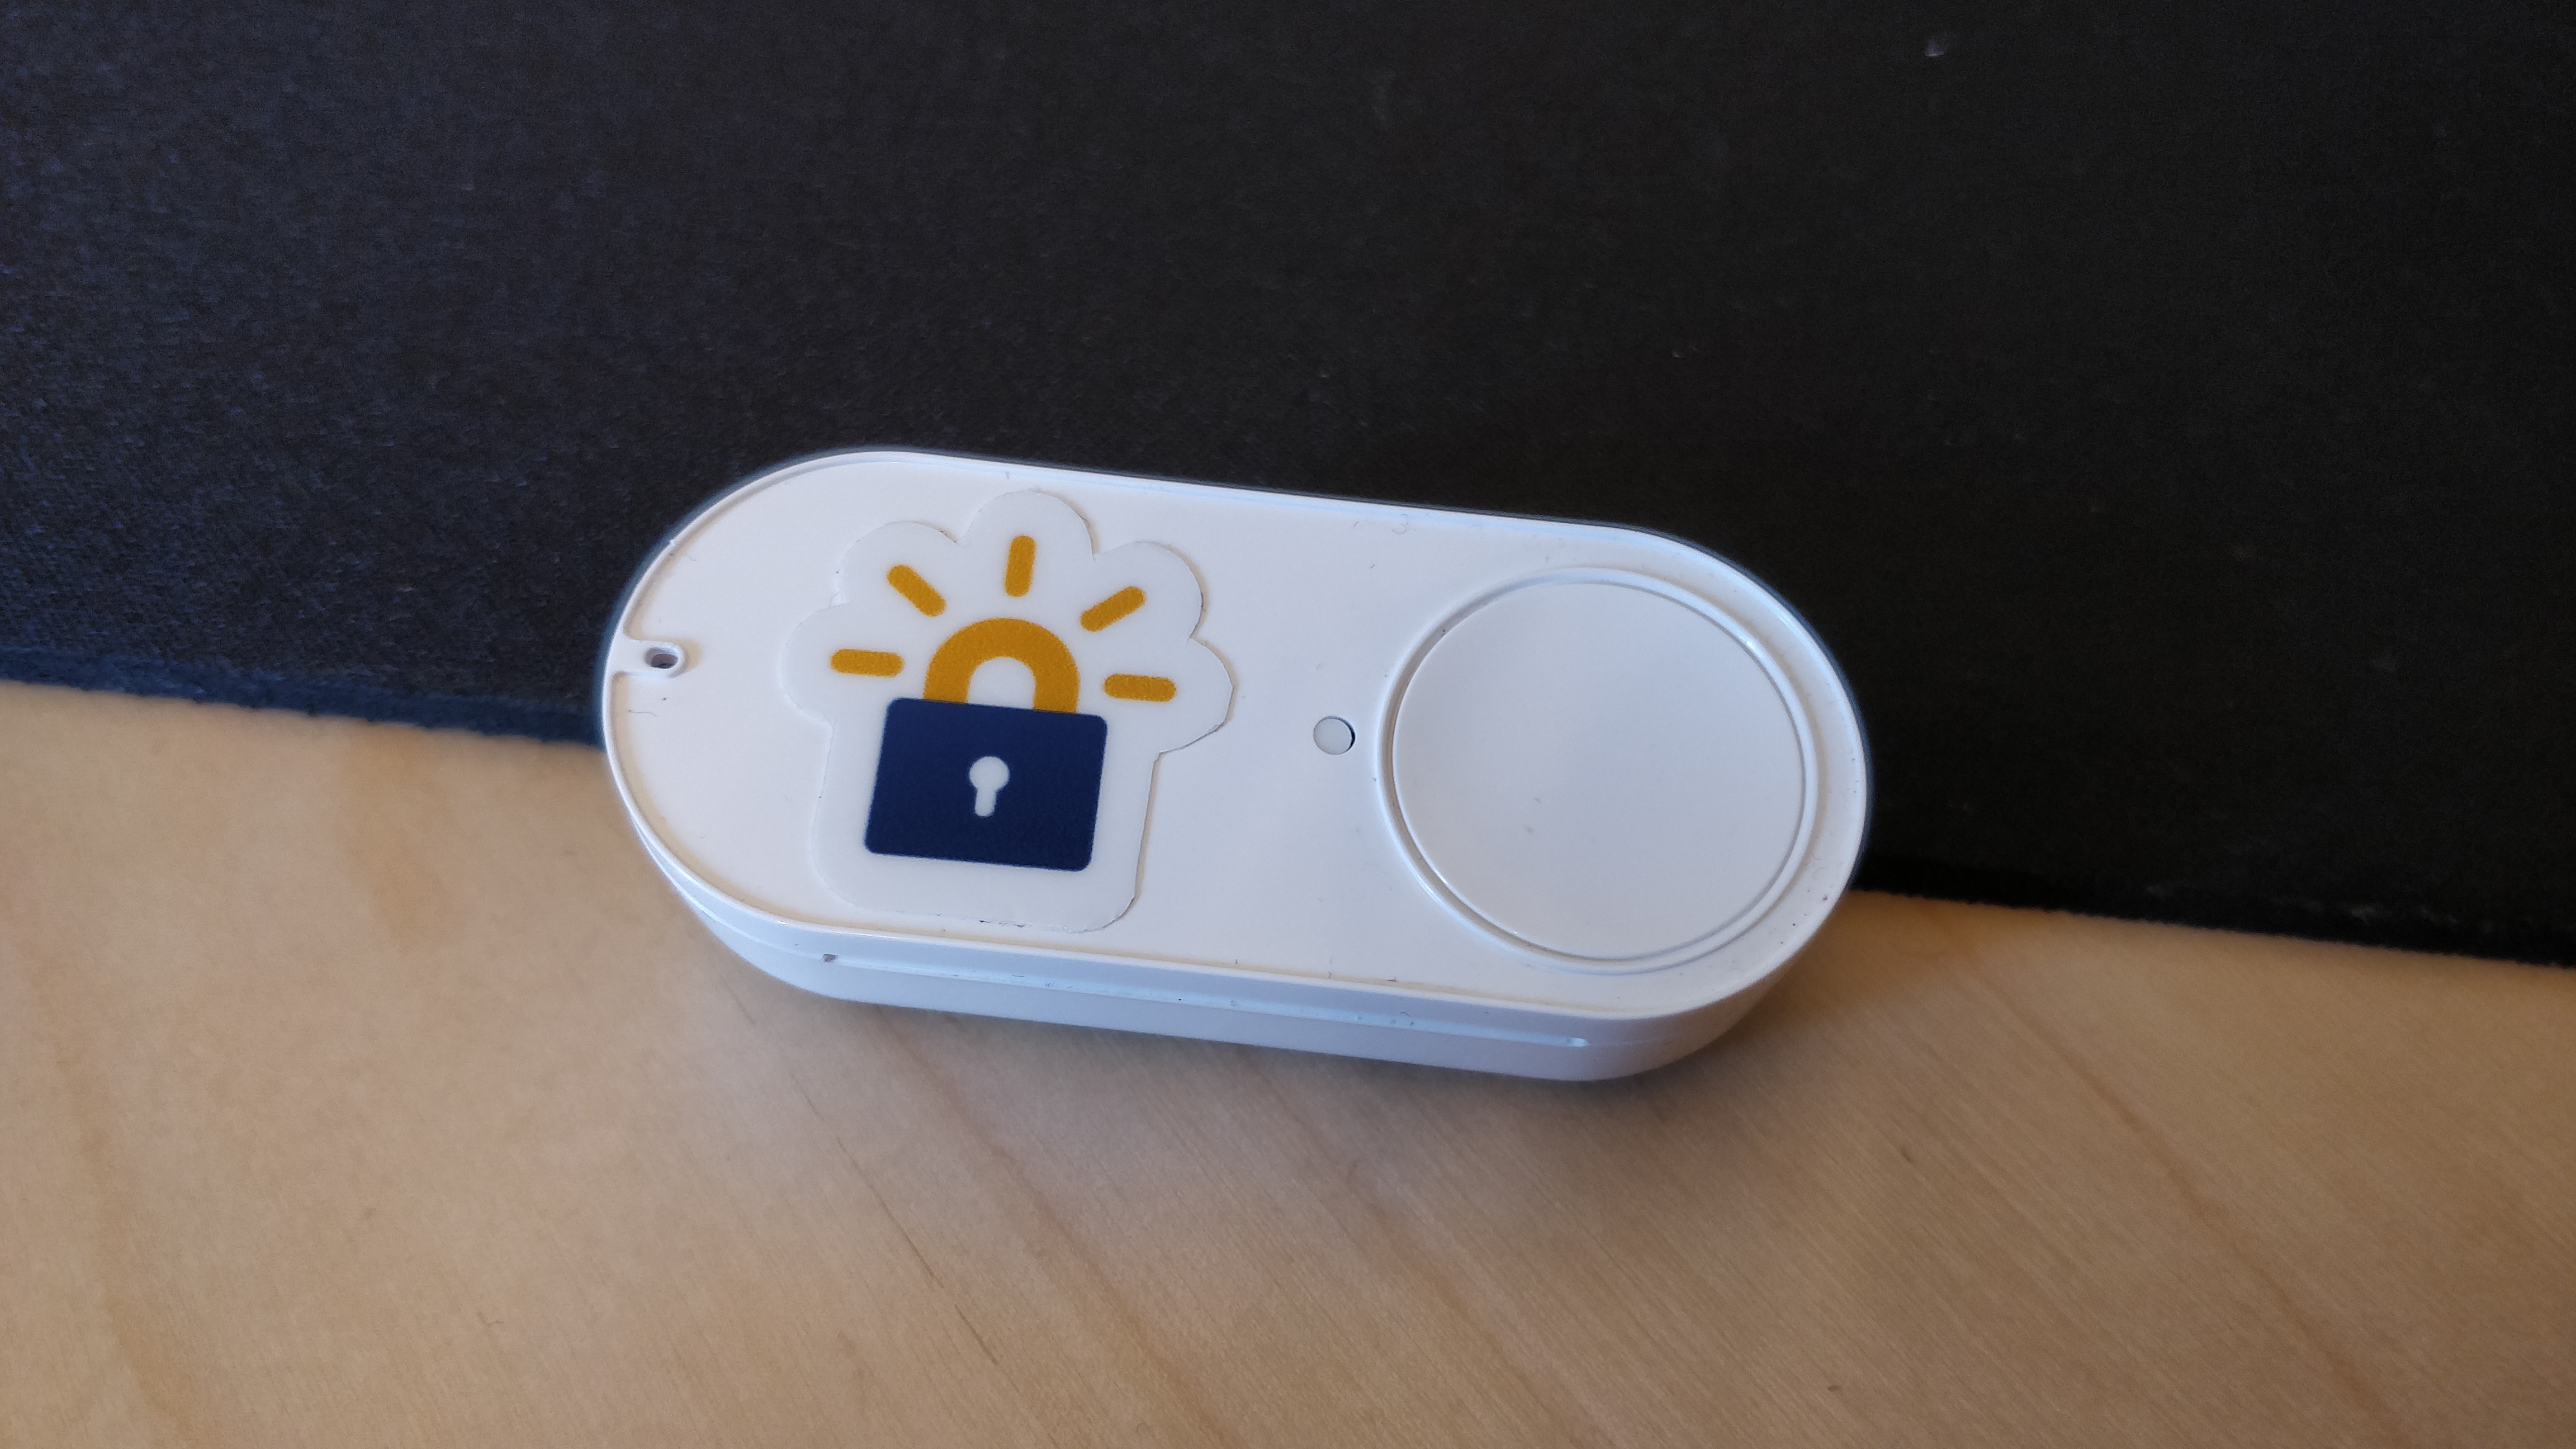
Customise the Button
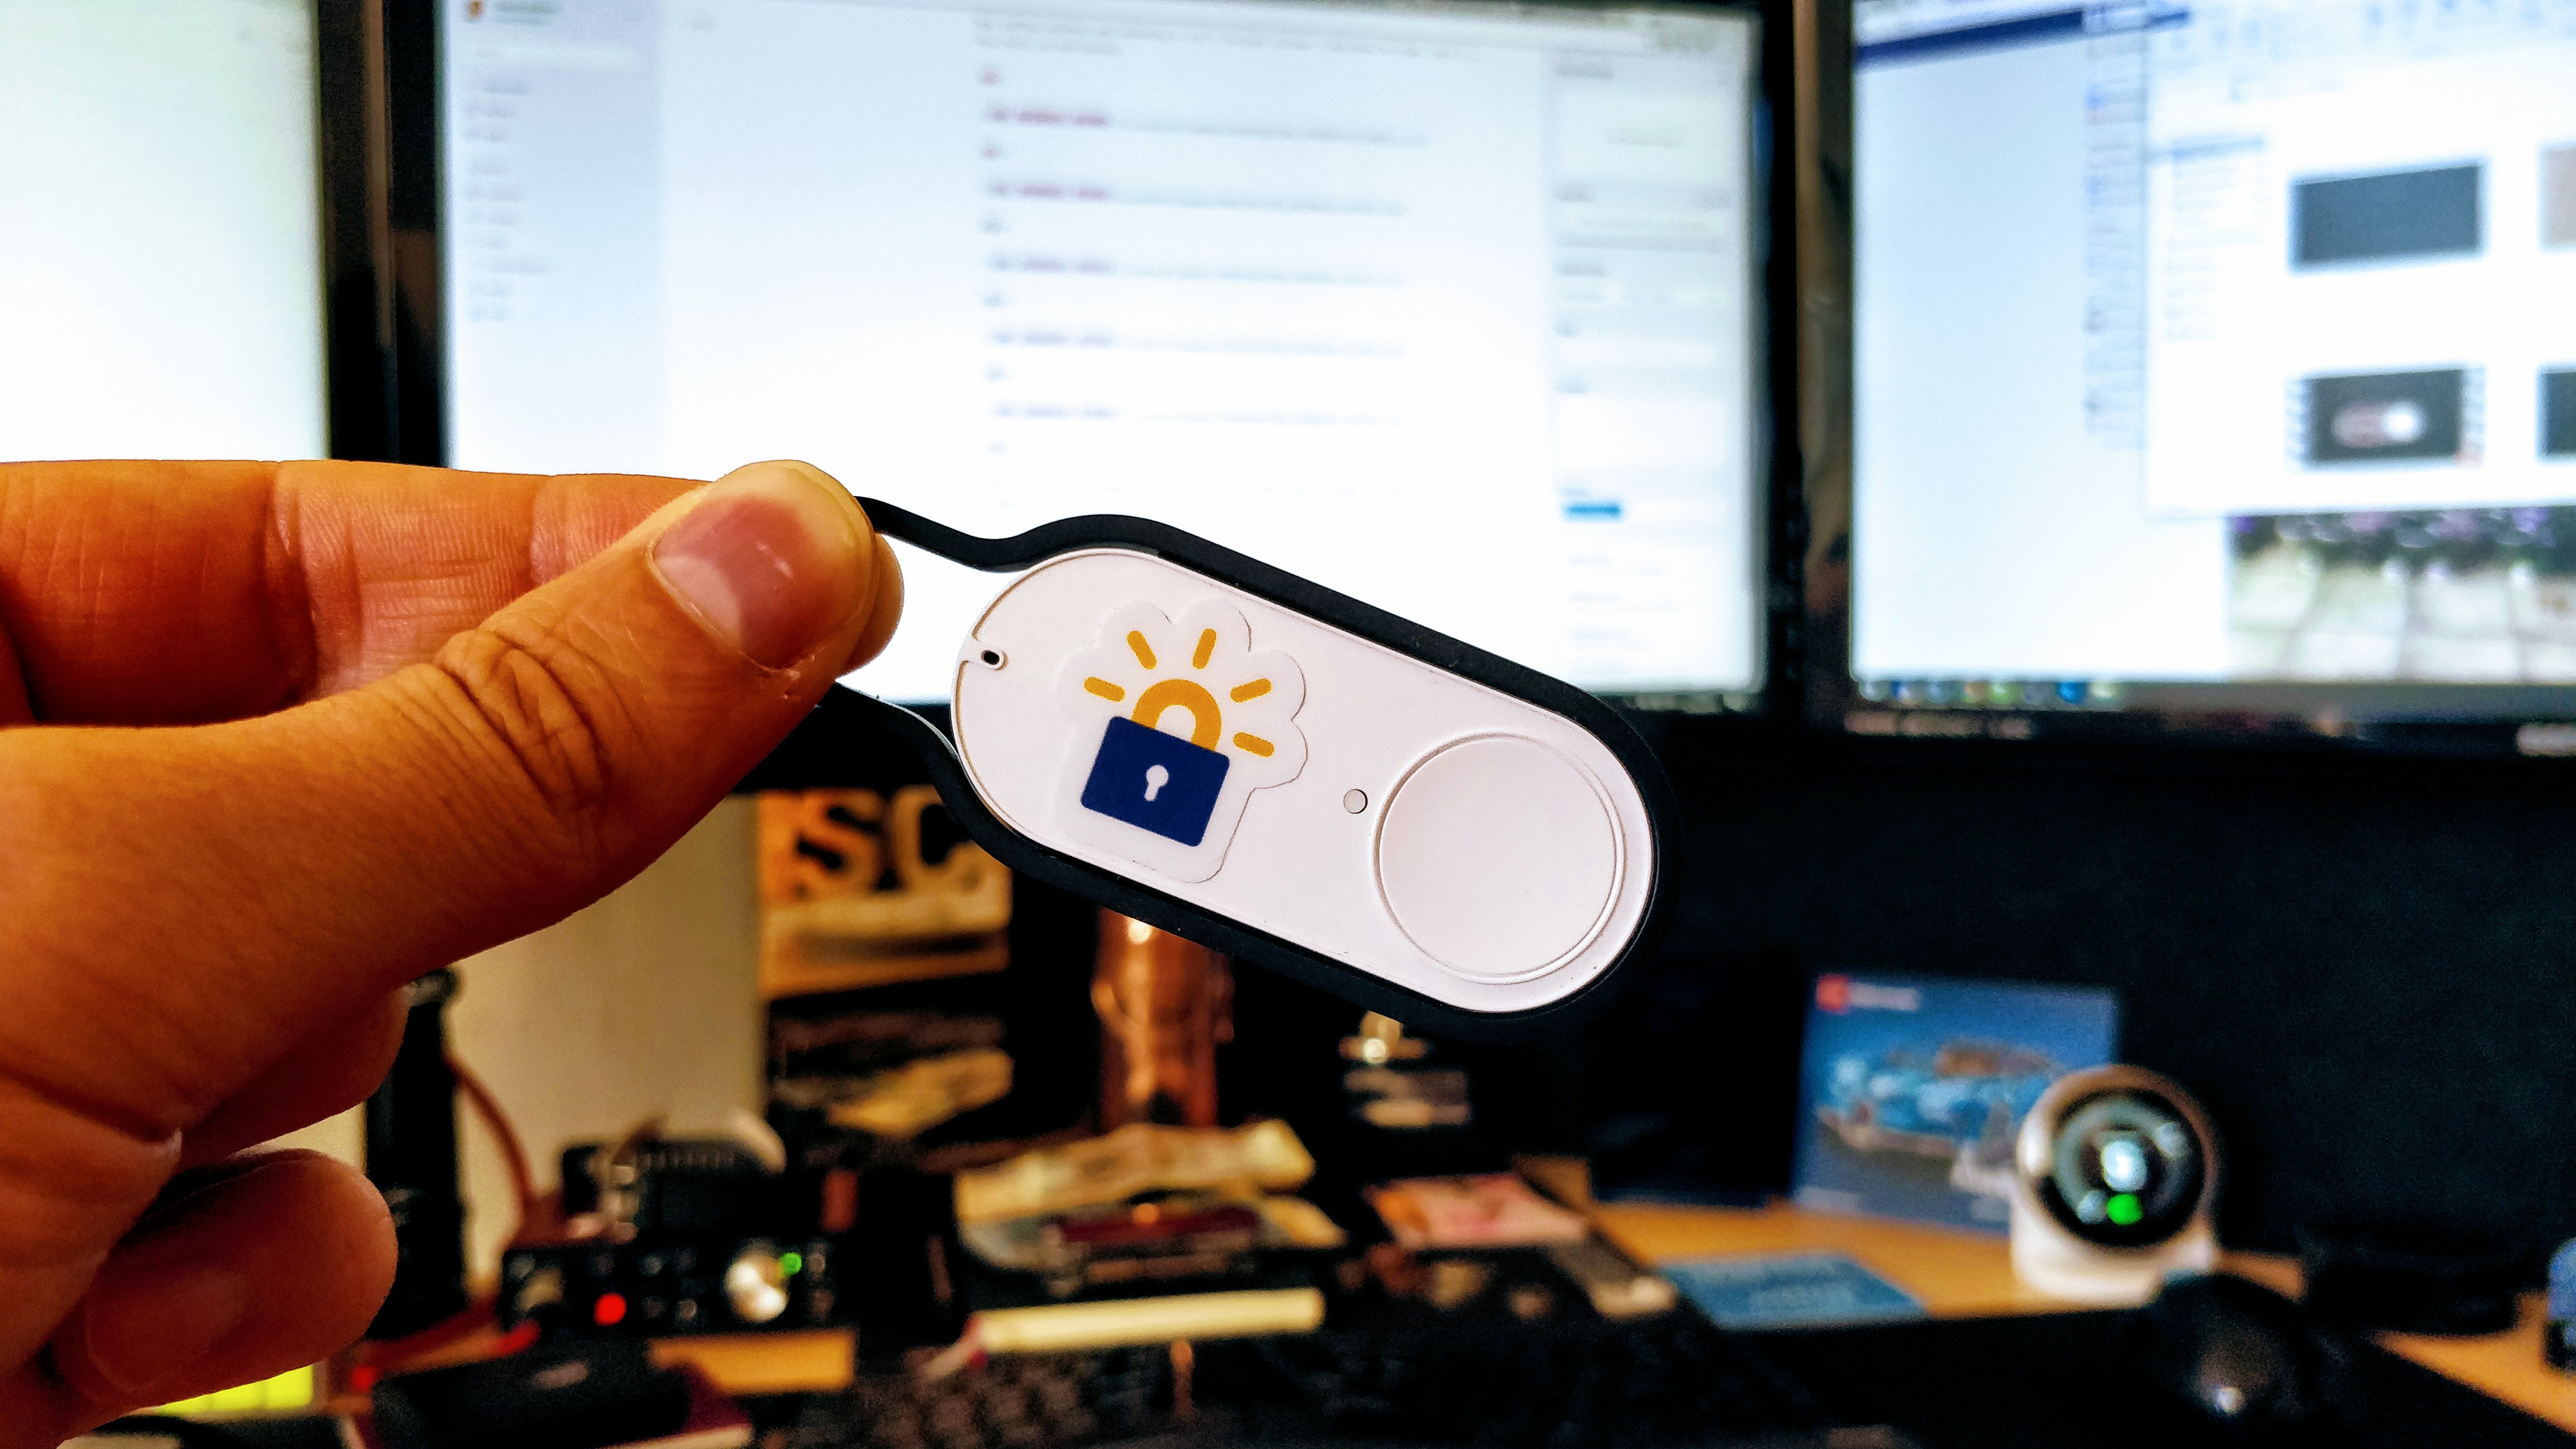
As you can see from the gif above I made a little change to my button by peeling off the coffee sticker and adapting a Let's Encrypt sticker I had here at home. Here's a few shots of the button.

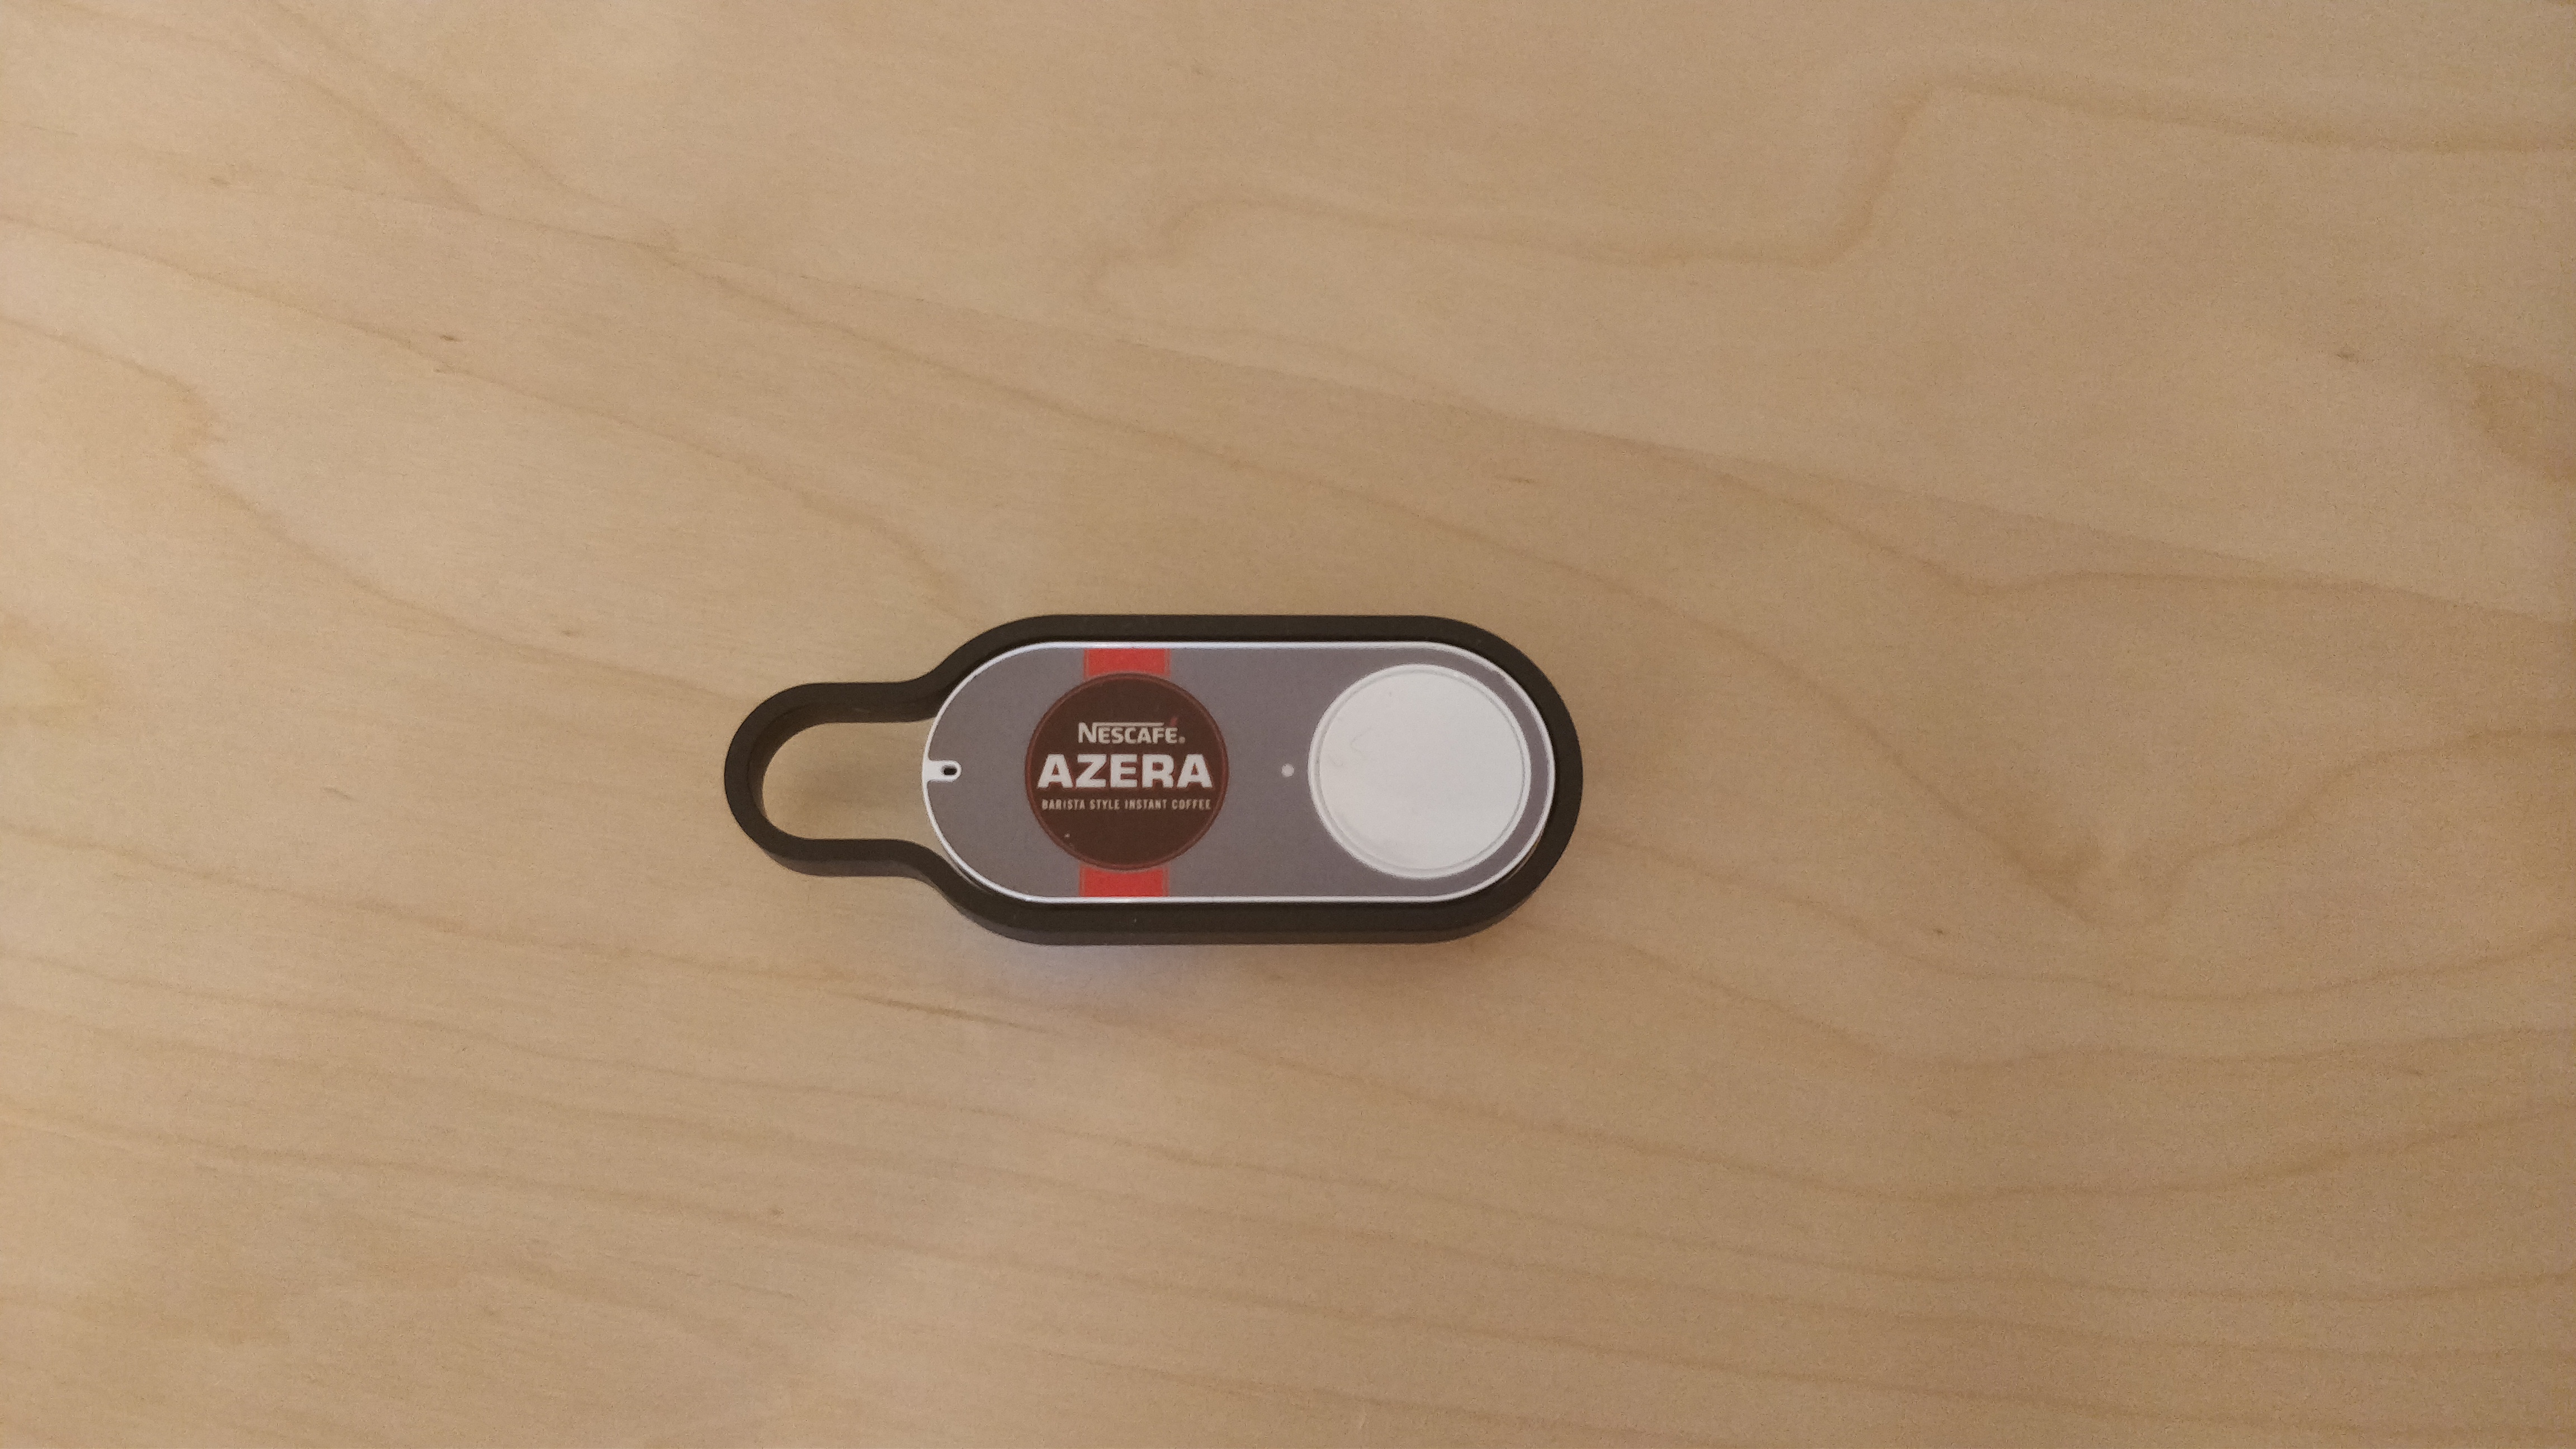
All in all it's a pretty cool little project that took a couple of hours to complete, all for a bit of fun!