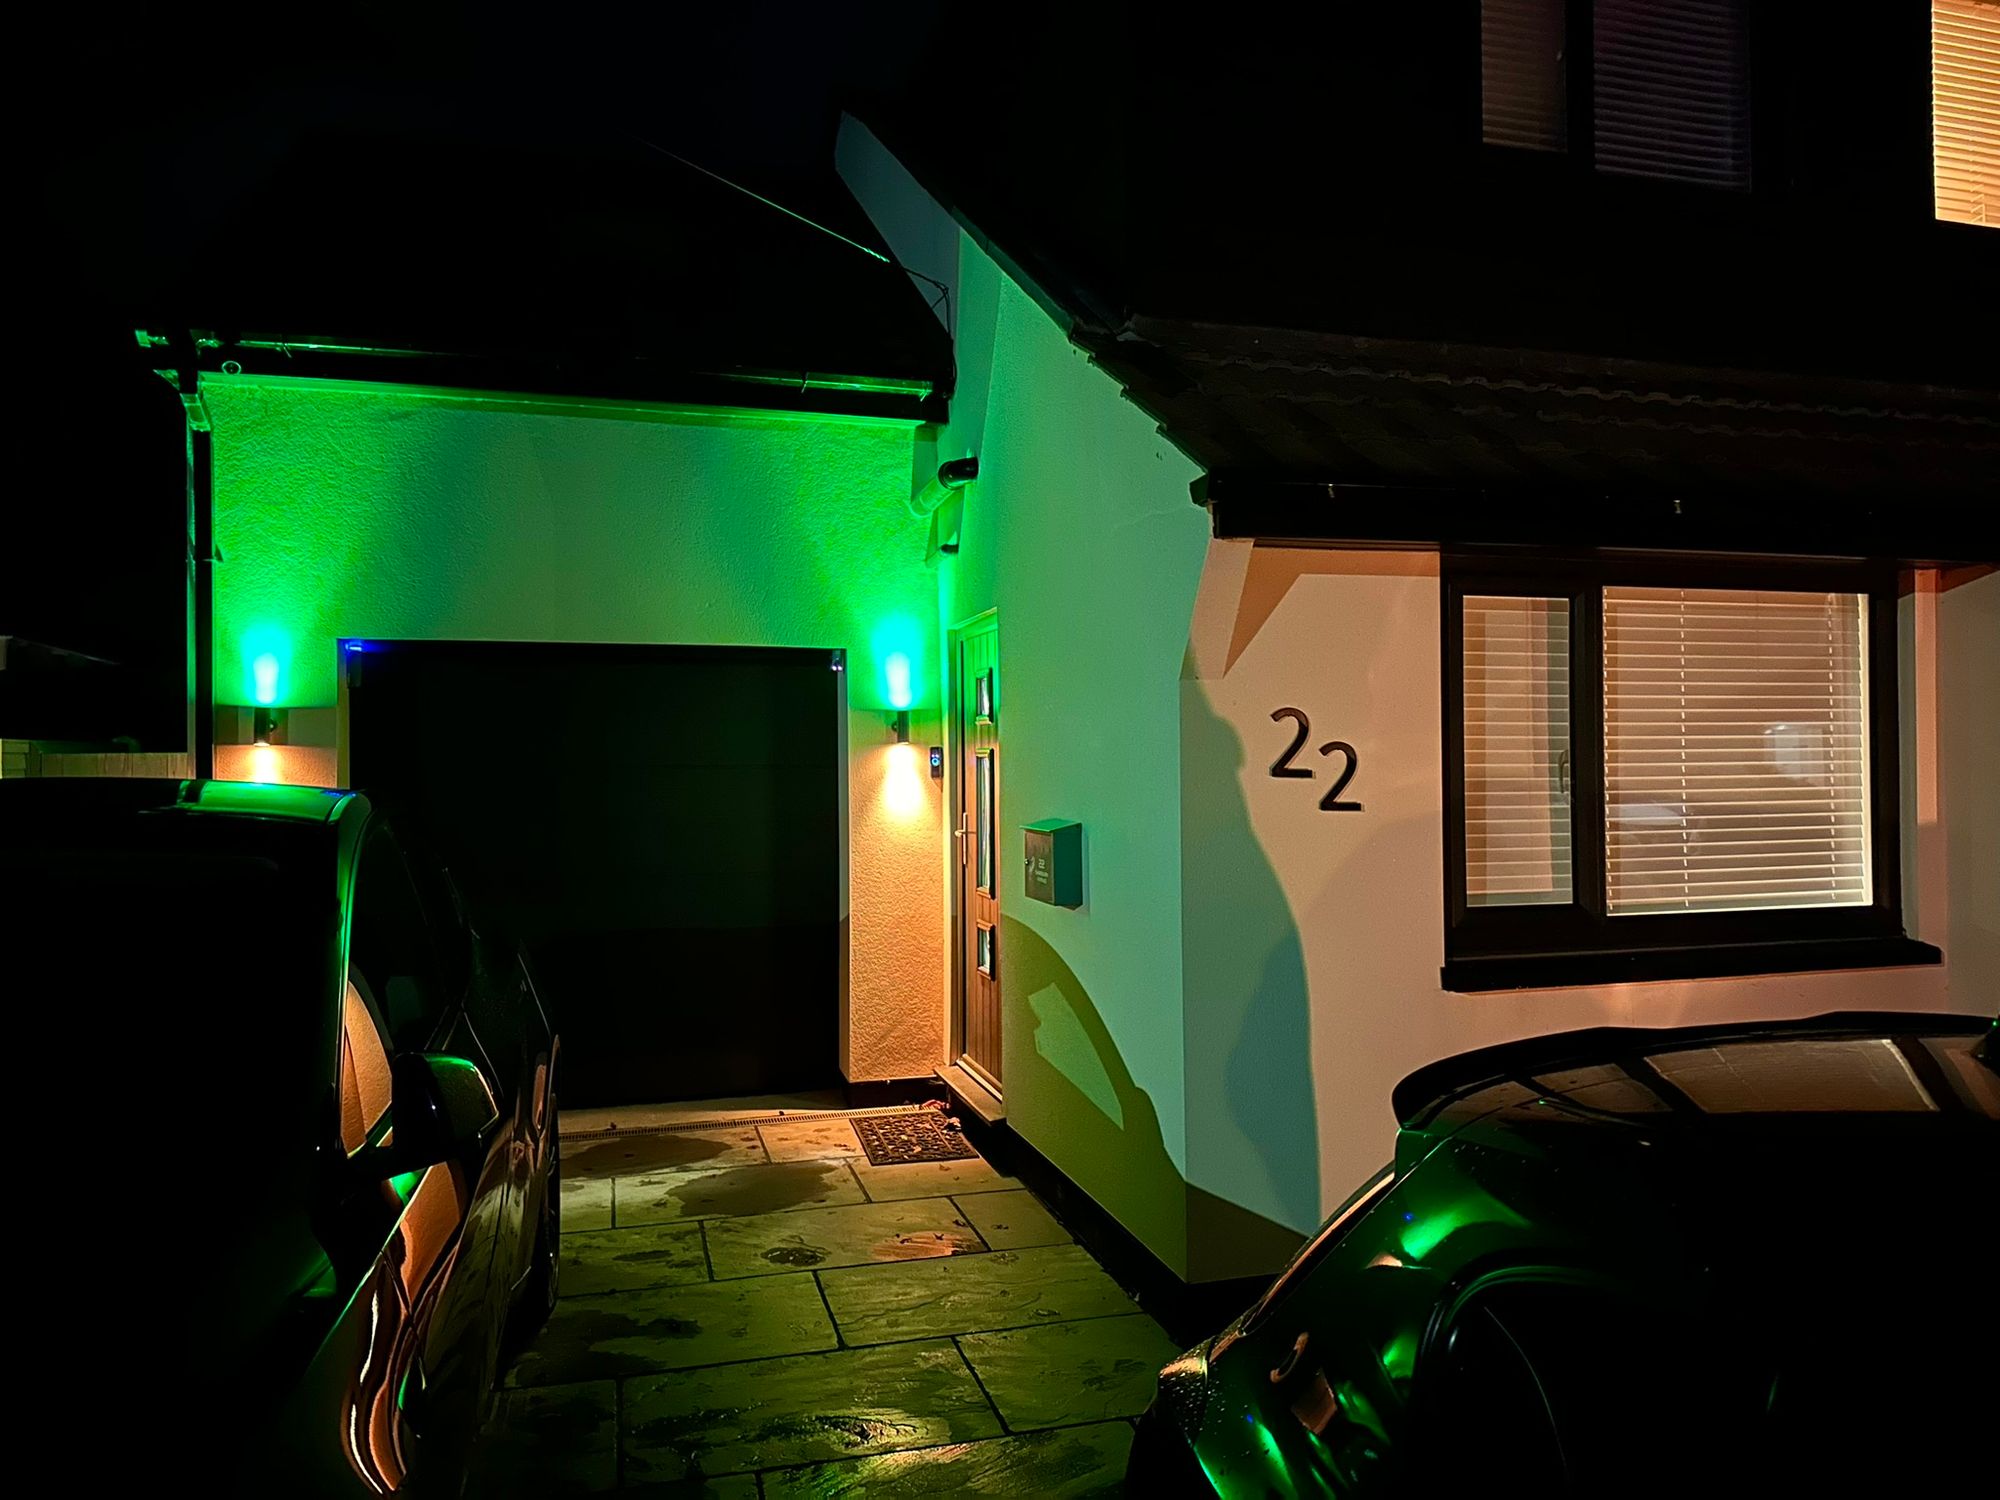
I love having smart devices around my house, and every now and then, you can have a little bit of fun with them too! Here's what it currently looks like from the outside of my house for Halloween.

Custom doorbell sounds
As Halloween has arrived, I thought it might nice to style the outside of my house using all of the RGB exterior lighting I've installed, and to play a custom sound from the doorbell when visitors press the button. It's pretty quick to do this and you might spend most of the time finding a suitable audio file to play when the button is pressed!
Enable SSH on your UniFi Console
The first thing you need to do is setup SSH access on your UniFi Console. This could be a UDM Pro, a CloudKey, or, like me, a UniFi NVR device. You can find specific instructions on how to do this here: https://help.ui.com/hc/en-us/articles/204909374-UniFi-Connect-with-SSH-Advanced
Once you have SSH access to your console, connect using the default credentials, or any specific ones you set, and modify the following file to enable SSH access on your devices like cameras and doorbells:
vi /srv/unifi-protect/config.json
Update Nov 2023: The file path changed.
vi /etc/unifi-protect/config.json
If the file doesn't exist, you can create it and add the following content:
{
 "enableSsh": true
}
If the file does exist, you can edit it and add the required config, making sure to keep the syntax in the JSON file valid.
{
 "someExistingKey": "someExistingValue",
 "enableSsh": true
}
Now restart the UniFi Protect service to load the new configuration.
systemctl restart unifi-protect
Connect to the Doorbell via SSH
You can now test the connection to your doorbell for which you will need to know the IP address, which can be found in the 'UniFi Devices' list in Protect. Here is the SSH command to connect, just substitute my IP address with yours:
ssh ubnt@192.168.1.140
You will be asked for a password and the password for the device can be found in the Protect dashboard by going to Settings -> System and clicking 'Reveal' under the 'Recovery Code' heading.

I was automatically dropped into the correct folder when I connected to the doorbell, but just to make sure, you can use this command to make sure you're in the right place:
cd /var/etc/persistent
Set up your custom chime sound!
You can now edit the configuration file in this folder to make the changes on the doorbell that we need to make for our custom sound:
vi ubnt_sounds_leds.conf
The path we need to change is sounds_ring_button and I also took the opportunity to change speakerVolume to 100 while I was here!
{
  "customSounds": {
    "sounds_ring_button": "../../../../../../var/etc/sounds/custom.wav"
  },
  ...
  "speakerVolume": 100,
  ...
}
The final piece of the puzzle is to copy over your WAV file to the doorbell and put it in the right folder:
/var/etc/sounds/custom.wav
You will need to update the filename if you don't call it custom.wav and you can copy it over using an scp command or a tool like WinSCP if you're more comfortable with that:
scp custom.wav ubnt@192.168.1.140:/var/etc/sounds/custom.wav
Now all that's left is to restart the correct process by finding it's pid, and you're good to go. Here is how you find the pid:
ps | grep ubnt_sounds_leds
It will give you output similar to this, and the pid for ubnt_sounds_leds is the first number on the line, so for me it was 2560 but it will be different for you:
 2560 ui        159m S    /bin/ubnt_sounds_leds
 6710 ui        2968 S    grep leds
You can then kill the pid, which will be restarted for you automatically, by using this command and replacing my pid with your pid:
kill -TERM 2560
That's it, go and hit the button!!
I'm planning to utilise this again for Christmas and perhaps just for a little more fun throughout the year too. My 10 year old also wants to know if the doorbell can play fart sounds... 😂
